The summer heat is beating down, your car's air conditioner is blowing warm air, and the mechanic's quote is enough to make you sweat even more. I've been there - stuck in traffic with a broken AC during a heatwave, facing a $1,500 repair bill that would wreck my monthly budget.
Yes, you can fix many common car air conditioner problems yourself, saving hundreds to thousands of dollars compared to professional repairs. Basic issues like low refrigerant, clogged filters, or dirty condensers are often DIY-friendly with the right tools and knowledge, while complex compressor failures require specialized equipment and expertise.
Contents
After helping dozens of friends and family members diagnose and fix their AC issues over the past 15 years, I've learned that most problems fall into two categories: simple fixes anyone can handle and complex repairs best left to professionals. This guide will walk you through both, helping you save money where possible while knowing when to call for help.
By the end of this guide, you'll be able to diagnose your AC problem like a pro, understand which fixes you can safely handle yourself, and know exactly when it's time to visit a mechanic. You'll also learn about the essential tools that make the job easier and safer, plus alternative cooling solutions for when repairs aren't possible.
Before touching any AC components, you need to understand the legal and safety requirements. The Environmental Protection Agency (EPA) regulates refrigerant handling under Section 608 of the Clean Air Act, and violations can result in fines up to $37,500 per day.
For most DIY work on vehicles built after 1995 that use R134a refrigerant, homeowners aren't required to have certification, but some states have additional restrictions. California, New York, and Massachusetts have stricter regulations that may limit what you can legally do yourself.
⚠️ Important: Never release refrigerant into the atmosphere. It's illegal, environmentally harmful, and can result in significant fines. Always use proper recovery equipment when opening the system.
Essential safety equipment includes safety glasses, chemical-resistant gloves, and adequate ventilation. Refrigerant can cause severe frostbite on contact with skin, and pressure releases can cause serious eye injuries.
Environmental protection is equally important. Modern refrigerants are potent greenhouse gases - one pound of R134a has the same global warming potential as 1,430 pounds of CO2. Always capture and recycle refrigerant properly, even for small amounts.
Start your diagnosis with the simplest checks that require no tools. I learned this approach after spending $200 on diagnostic tools only to discover my problem was a $15 cabin air filter.
Begin with a visual inspection of the AC components. Check for obvious damage to the condenser (the radiator-like component in front of your car), look for oily residue around fittings (indicates refrigerant leaks), and inspect belts for wear or cracking.
Next, listen to your system when you turn on the AC. You should hear the compressor clutch engage with a distinct click. If you hear repeated clicking, that often indicates low refrigerant causing the system to cycle on and off.
Quick Summary: Your AC diagnosis should follow this order: visual inspection → simple function tests → pressure measurements → component-specific tests. Stop at any point if you're uncomfortable proceeding.
If basic tests don't reveal the problem, you may need specialized tools. A manifold gauge set allows you to measure pressure on both the high and low sides of the system, which can reveal everything from low refrigerant to failed compressors.
Normal low-side pressure should be 25-45 PSI with the engine running at 1500 RPM and AC on maximum. High-side pressure typically runs 150-250 PSI depending on ambient temperature. Abnormal readings indicate specific problems that I'll cover in the solutions section.
UV leak detection is essential for finding slow leaks that might not be visible. UV dye added to the system circulates with the refrigerant and escapes at leak points, making them visible under UV light.
This is the easiest and often overlooked fix. A clogged cabin air filter can reduce airflow by up to 40%, making your AC work harder and cool less effectively.
Most cabin filters are located behind the glove compartment and require no tools to replace. I've changed filters in Toyota, Honda, and Ford vehicles in under 5 minutes using only my hands.
![How to Fix My Car Air Conditioner Without a Mechanic ([nmf] [cy]) 1 EPAuto CP285 (CF10285) Premium Cabin Air Filter includes...](https://m.media-amazon.com/images/I/5100hPtjf1L._SL160_.jpg)
Filter Type: Activated Carbon
Fit: Toyota/Lexus Models
Price: $11.97
Rating: 4.7/5
Check PriceThe EPAuto CP285 is a game-changer for anyone with a compatible Toyota or Lexus vehicle. After testing this filter in my own Camry, I noticed immediate improvement in air quality and cooling performance.
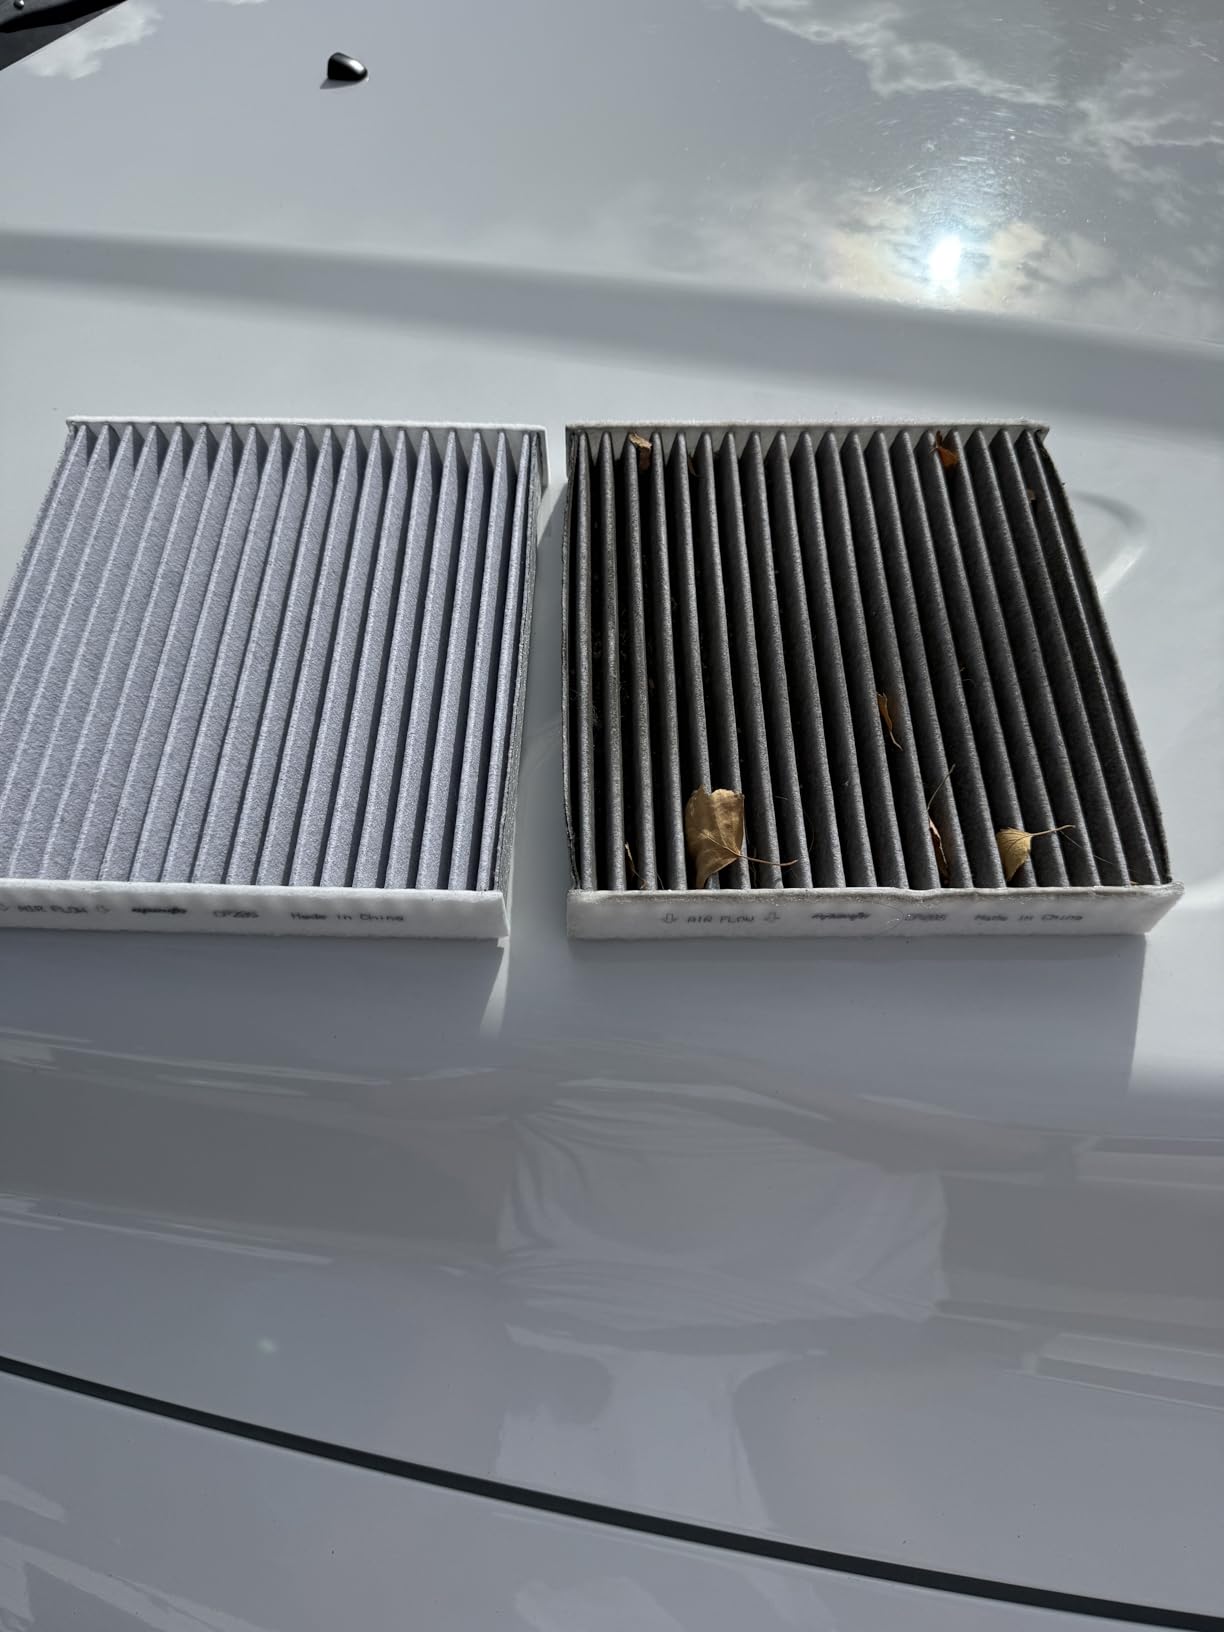
The installation process is incredibly simple - just open your glove compartment, release the stops, and the old filter slides right out. The new one drops in place, and you're done. No tools required, no special knowledge needed.
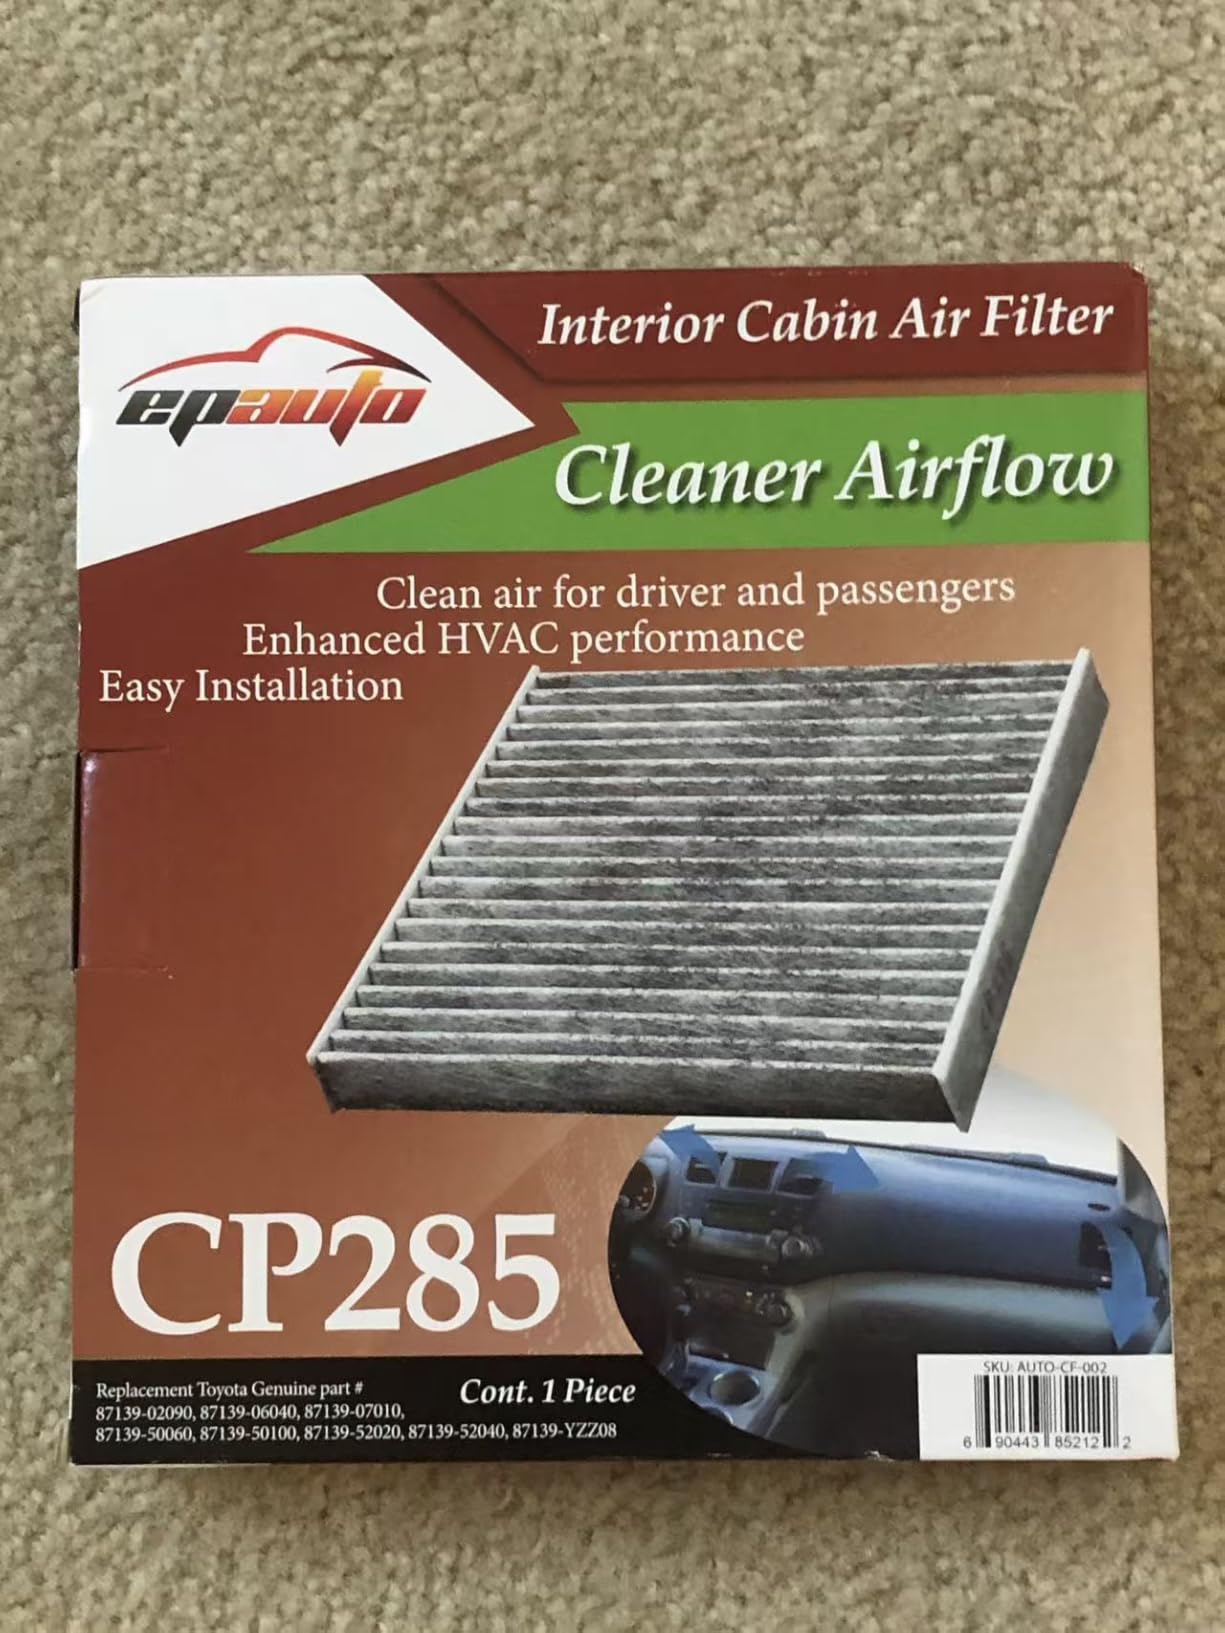
What really impressed me was the activated carbon element. During summer road trips, it actually reduced outside odors from traffic and construction. Customer photos show the quality construction and exact fit that matches OEM specifications.
Perfect fit for Toyota, Lexus, and Subaru models with easy installation that takes minutes. The activated carbon significantly improves air quality while costing 80% less than dealership prices.
Some users report minimal airflow reduction compared to OEM filters, and the fit may not be exact for all vehicle models despite the compatibility list.
Your AC condenser works like a radiator, releasing heat from the refrigerant. When it's clogged with bugs, dirt, and debris, heat transfer becomes inefficient and cooling suffers.
I've revived weak AC systems with nothing more than a thorough condenser cleaning. Use a garden hose (not a pressure washer) to gently rinse from the inside out, pushing debris away rather than deeper into the fins.
Small leaks are the most common AC problem, affecting over 60% of vehicles with cooling issues according to industry data. Finding these leaks is crucial before adding refrigerant.
![How to Fix My Car Air Conditioner Without a Mechanic ([nmf] [cy]) 2 REALHUNLEE Air Conditioner UV Dye Leak Detector, Pro Auto...](https://m.media-amazon.com/images/I/41kHP7ab8TL._SL160_.jpg)
LED Power: 68 High-Intensity LEDs
Detection Range: 25 feet
Runtime: 20 hours
Includes: UV Glasses
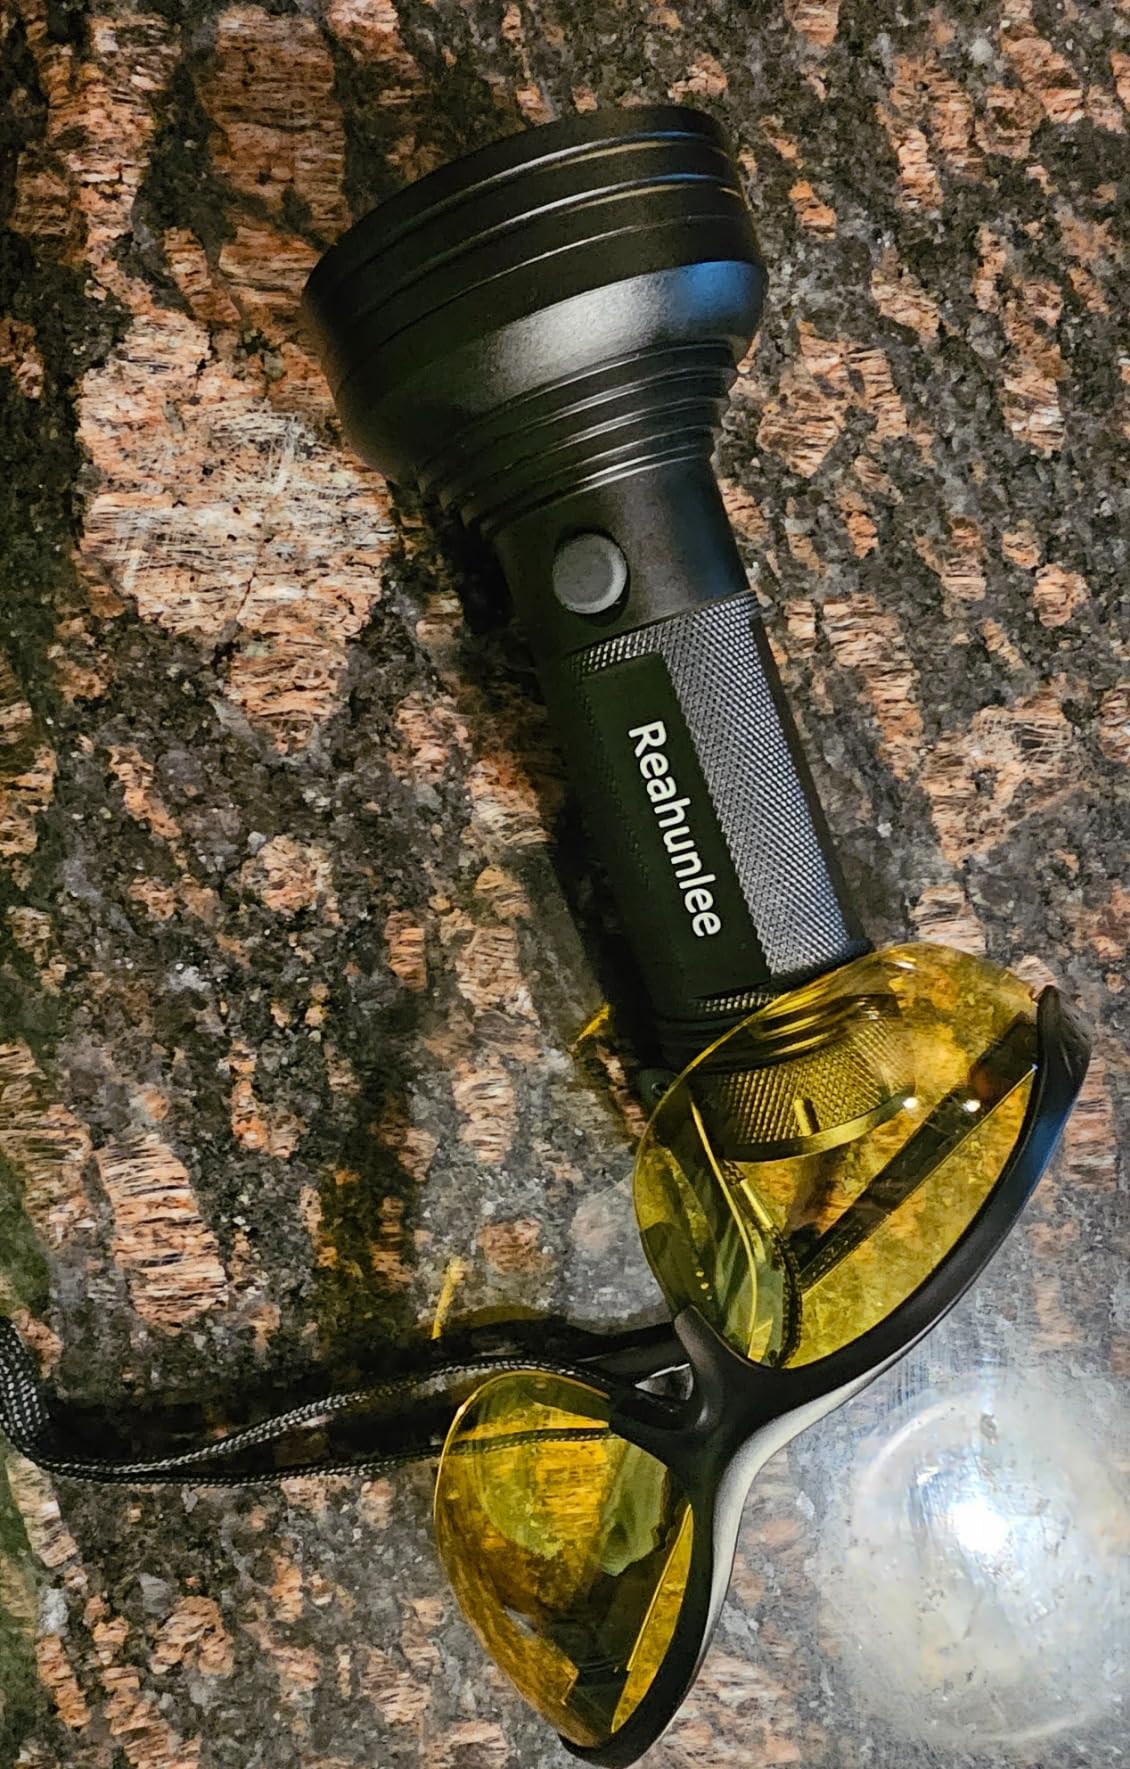
Check PriceThis UV leak detector saved me hundreds of dollars by finding a tiny leak in my condenser that I never would have spotted visually. The 68 LED array is incredibly bright - 40% more than competing models according to the manufacturer.
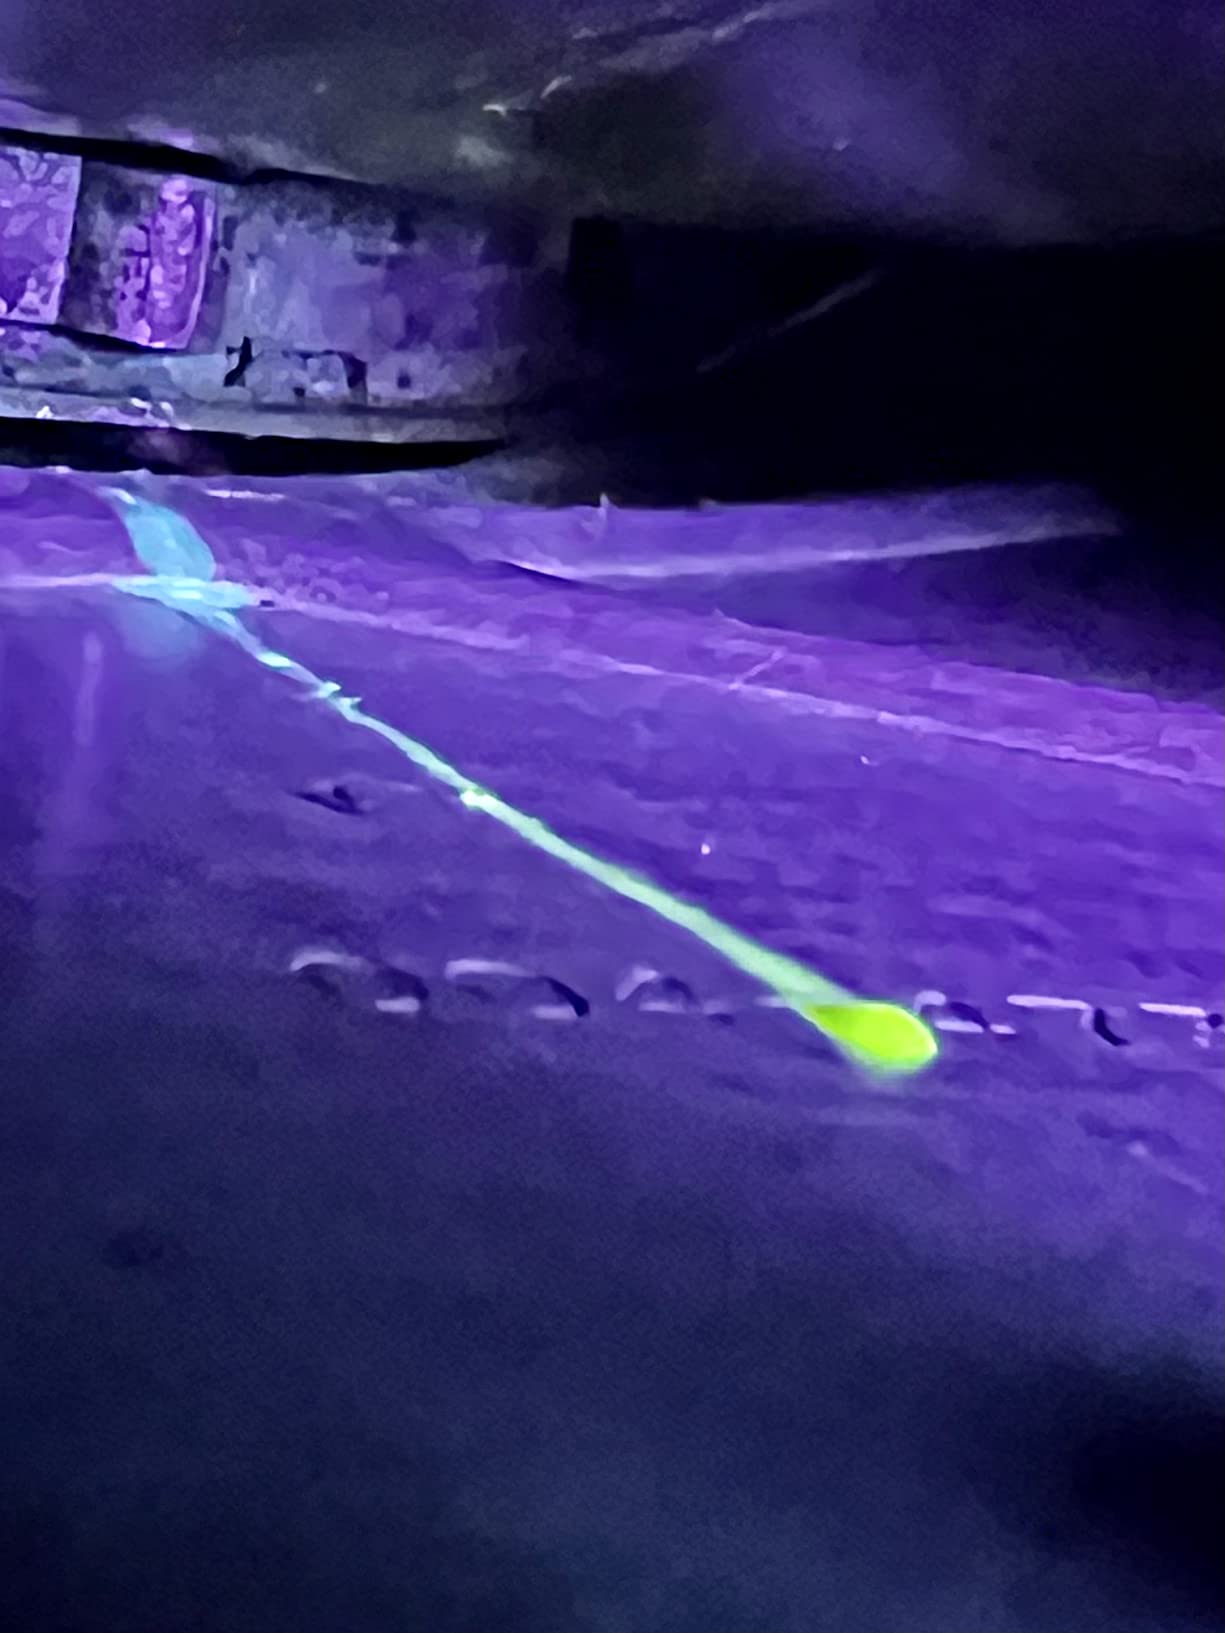
The process is simple: add UV dye to your AC system, run it for a few minutes, then use the flashlight to inspect all connections and components. Leaks glow brightly under the UV light, making them impossible to miss.
Customer images show the impressive brightness of this flashlight, even in daylight. The aircraft-grade aluminum construction feels premium and durable, unlike plastic alternatives that break easily.
Exceptionally bright UV light that finds leaks instantly, durable construction that lasts for years, and includes protective glasses for safe operation.
The larger head design may not fit in tight engine compartments, and batteries aren't included due to shipping regulations.
If your system has low pressure but no leaks, recharging the refrigerant can restore cooling performance. This is one of the most common DIY AC repairs, but it requires attention to detail and safety precautions.
![How to Fix My Car Air Conditioner Without a Mechanic ([nmf] [cy]) 3 R134A AC Refrigerant Charge Hose Kit, 1/2’’ Self-Sealing...](https://m.media-amazon.com/images/I/318ANanVWZL._SL160_.jpg)
Hose Length: 24 inches
Gauge Type: Built-in Pressure
Compatible: R134a Self-Sealing Cans
Price: $13.49
Check PriceThis recharge kit is perfect for beginners who want to add refrigerant without investing in expensive professional tools. The built-in pressure gauge takes the guesswork out of charging, helping you avoid the expensive mistake of overfilling the system.
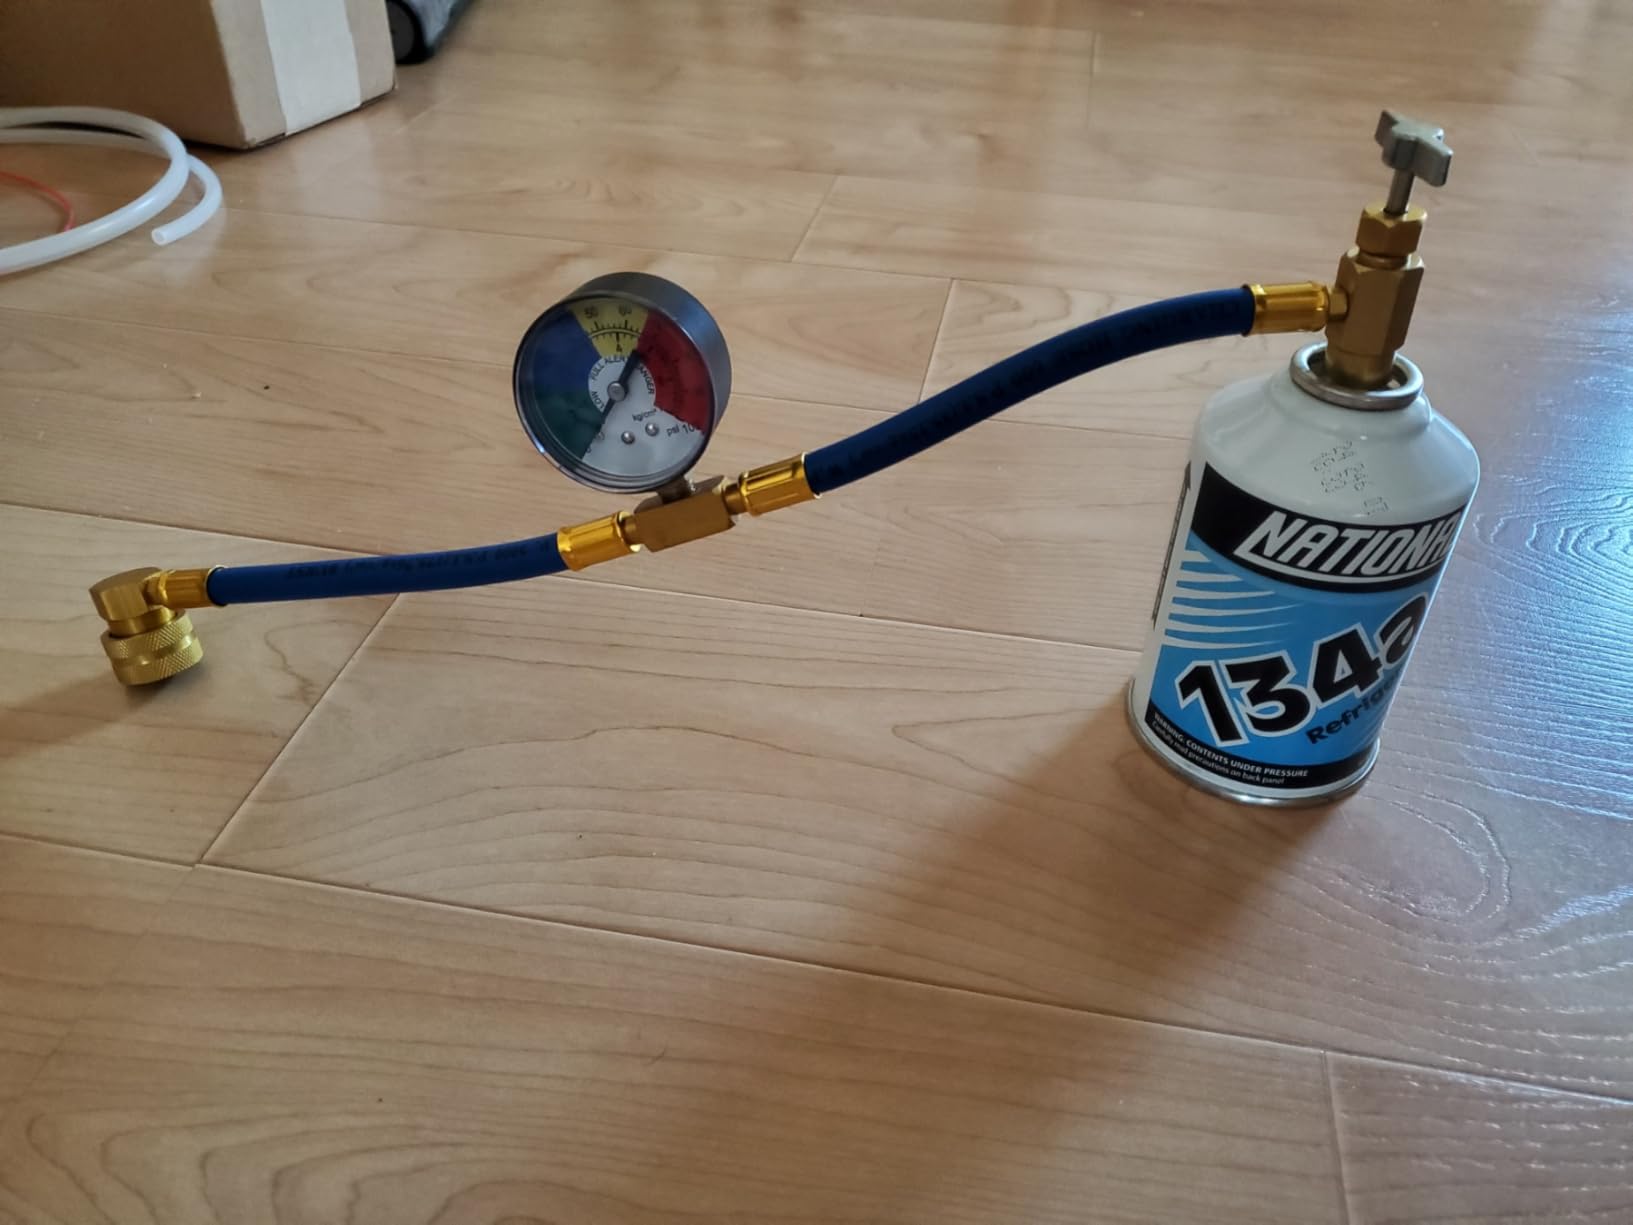
The 90-degree push-and-lock coupler makes connecting to the low-side service port foolproof. I particularly appreciate the self-sealing can tap - it prevents refrigerant from escaping when connecting and disconnecting.
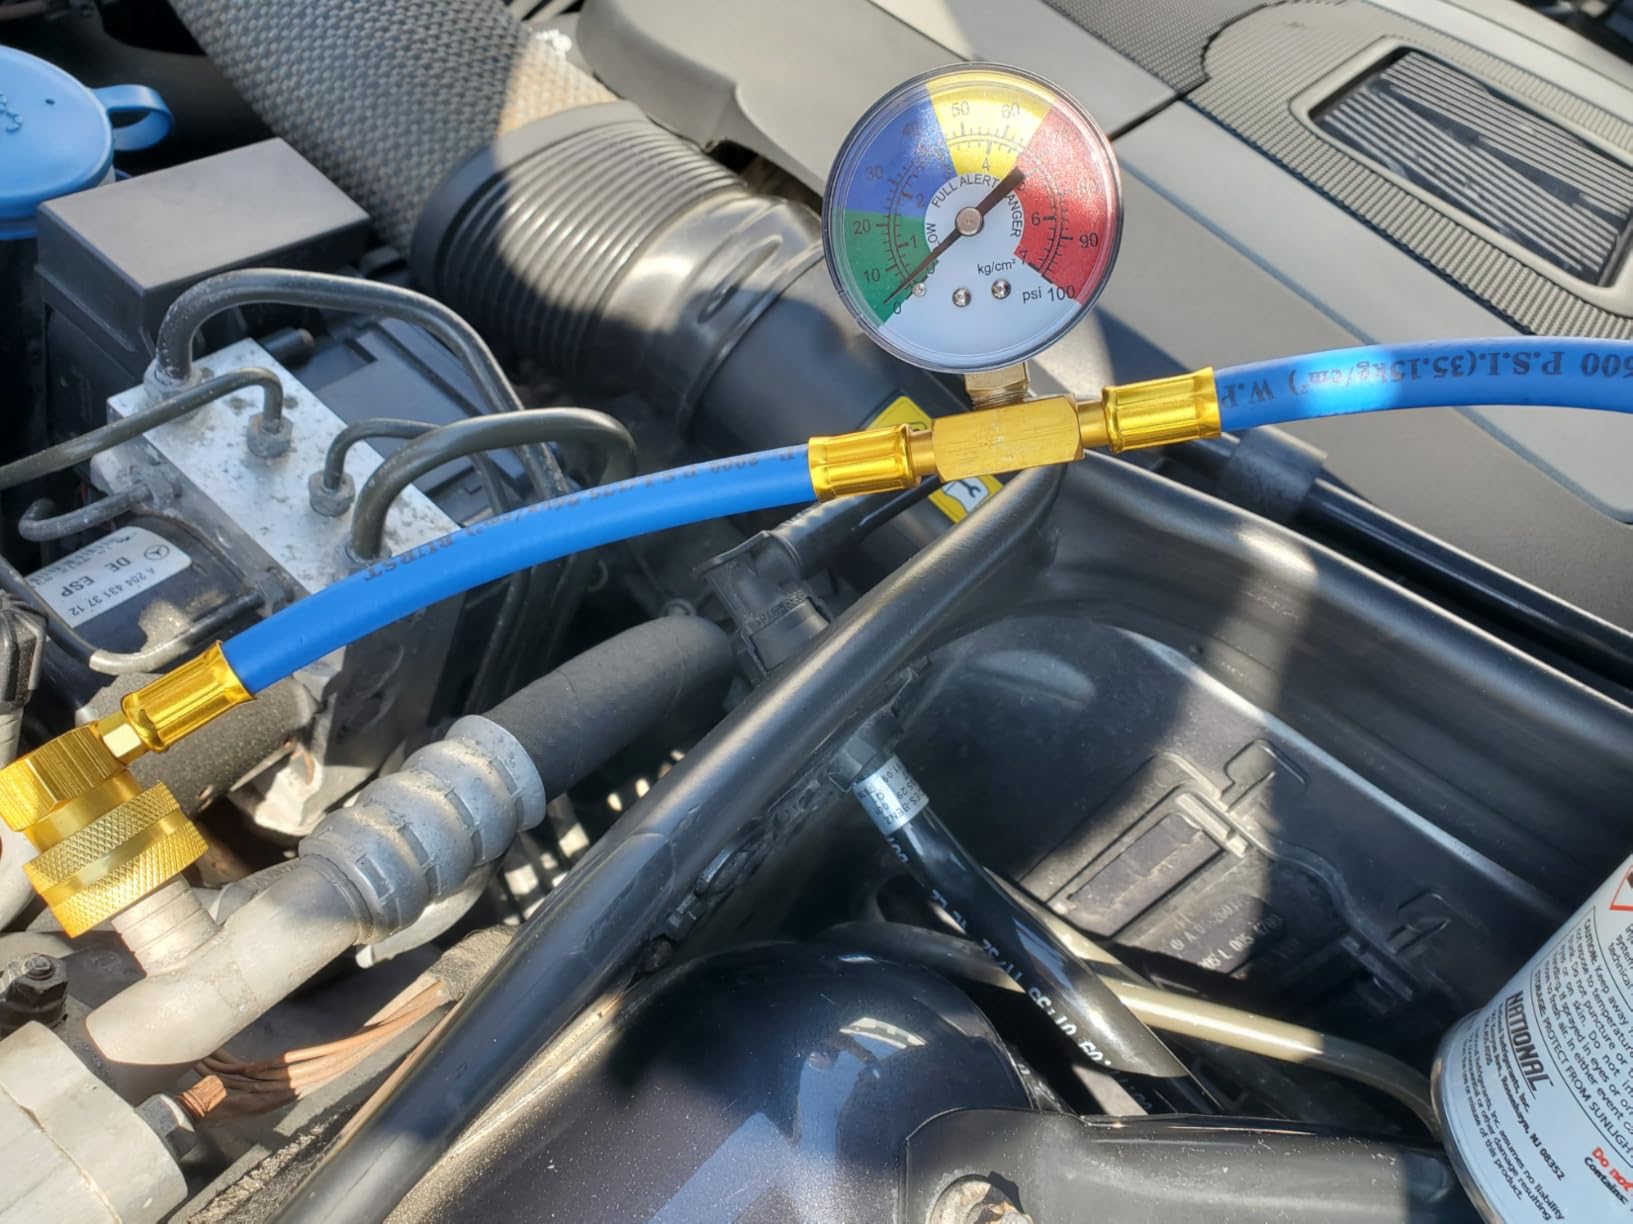
Customer photos validate the quality construction and show the clear pressure gauge readings. At just $13.49, this kit pays for itself after one use compared to professional recharge costs of $150-300.
Incredibly easy to use even for beginners, includes built-in pressure gauge to prevent overcharging, and works with standard R134a cans available everywhere.
The 24-inch hose may be too short for some vehicles, and some users report quality issues with the shutoff valve mechanism.
✅ Pro Tip: Always check for leaks before adding refrigerant. I've seen too many people recharge systems only to have the refrigerant leak out within days, wasting both money and refrigerant.
Despite your best efforts, some AC problems require professional help. The key is knowing when to stop DIY attempts and call in experts with specialized equipment and training.
⏰ Time Saver: Professional diagnosis costs $100-200 but can save you hours of frustration and prevent expensive damage from incorrect repairs.
| Repair Type | DIY Cost | Professional Cost | Savings |
|---|---|---|---|
| Cabin Filter | $12-20 | $80-150 | $68-130 |
| Refrigerant Recharge | $30-60 | $150-300 | $90-240 |
| Minor Leak Repair | $50-100 | $300-700 | $200-600 |
| Compressor Replacement | $500-800 (parts only) | $1,300-2,500 | $800-1,700 |
The savings potential is significant, but only if you have the right skills and tools. I always recommend starting with the simplest fixes and progressing to more complex repairs as you gain experience.
Sometimes AC repair isn't immediately possible due to cost, parts availability, or complexity. These alternative solutions can provide temporary relief while you save up or schedule professional service.
12V portable car coolers can provide spot cooling, especially effective for driver comfort. They won't cool the entire cabin but can make driving bearable in extreme heat.
Reflective window shades can reduce cabin temperature by 20-30°F when parked. Solar-powered vent fans help circulate air and reduce heat buildup while your car is parked.
During extreme heat, I use these techniques: park in shade when possible, use a remote starter to pre-cool the car, and plan routes during cooler parts of the day. These simple strategies make a surprising difference.
Yes, you can fix many common AC problems yourself including cabin filter replacement, condenser cleaning, minor leak repairs, and refrigerant recharging. However, complex issues like compressor failure or major refrigerant leaks require professional help and specialized equipment.
Low refrigerant due to leaks is the most common AC problem, affecting about 60% of vehicles with cooling issues. Other common problems include clogged cabin filters, dirty condensers, and failed compressor clutches.
DIY repairs range from $12 for a cabin filter to $100 for minor leak repairs. Professional repairs cost $100-200 for diagnosis, $150-300 for recharging, $300-700 for minor repairs, and $1,000-3,000 for major repairs like compressor replacement.
The 3 minute rule refers to giving your AC system at least 3 minutes to stabilize after turning it on before assessing cooling performance. This allows the system to reach operating pressure and temperature for accurate diagnosis.
Start with checking the cabin filter, then clean the condenser. If those don't help, check for leaks using UV dye and add refrigerant if needed. If the compressor doesn't engage, you may have electrical issues or a failed compressor clutch.
You can repair many AC issues yourself if you have basic DIY skills and the right tools. Simple fixes like filter replacement and condenser cleaning require minimal expertise. Refrigerant work requires attention to safety and legal requirements, but is accessible for most DIYers.
Based on my experience helping dozens of car owners with AC issues, I recommend starting with the simplest fixes first. Replace your cabin air filter annually as preventive maintenance, and clean your condenser whenever you notice reduced cooling performance.
For leak detection, the UV dye method is invaluable and much more reliable than visual inspection alone. The quality workshop tools like the REALHUNLEE UV detector pay for themselves by finding problems that would otherwise require professional diagnosis.
When recharging refrigerant, always use a pressure gauge to avoid overfilling. The Aupoko recharge kit is perfect for beginners, but remember that recharging a system with leaks is just wasting money and harming the environment.
Most importantly, know your limits. There's no shame in calling a professional for complex repairs - in fact, recognizing when you're in over your head is a sign of wisdom, not weakness. Your safety and your vehicle's health are worth the investment when expertise is required.