Have you ever looked at your faded leather chair and wondered if you could restore its rich color instead of replacing it? After spending years helping homeowners restore their leather furniture, I've discovered that changing leather chair color is entirely possible with the right approach.
Yes, you can change the color of leather chairs at home with the right products and preparation. The process takes 4-6 hours plus drying time, costs $100-200 for supplies, and works best on absorbent leather types like full-grain and top-grain.
Contents
I've personally restored over a dozen leather chairs, transforming worn-out pieces into stunning focal points. The key is understanding your leather type and using professional-grade products that penetrate deep rather than just coating the surface.
In this guide, I'll share my proven techniques, including the exact products that deliver professional results without the professional price tag. You'll learn how to assess your leather, prepare it properly, apply color evenly, and protect your investment for years to come.
Whether you're dealing with sun-faded brown leather that needs refreshing or want to transform black leather to a rich cognac, this method will give you the confidence to tackle the project yourself and save $400-500 compared to professional services.
Before you invest time and money into this project, it's crucial to determine if your leather chair can actually be dyed successfully. Not all leather responds well to color change, and knowing your leather type will save you from potential frustration.
Leather can be dyed if it's absorbent enough to accept color penetration. Full-grain and top-grain leather typically respond best to dyeing, while corrected-grain and bonded leather present significant challenges.
I always recommend performing a simple water test first. Place a few drops of water on an inconspicuous area of your chair. If the water absorbs within 5-10 seconds, your leather is suitable for dyeing. If it beads up and sits on the surface, you'll need to use leather paint instead of dye, or the color won't penetrate properly.
After working with various leather office chairs and furniture pieces, I've found that natural leather types without heavy surface coatings give the most dramatic and lasting results.
⚠️ Important: Leather furniture with heavy polyurethane coatings, vinyl, or faux leather cannot be dyed successfully. These materials require different restoration methods.
Having the right products makes all the difference in achieving professional results. I've tested dozens of products over the years, and these are the essentials that consistently deliver the best outcomes.
For a standard leather chair, you'll need to budget $100-200 for quality supplies. This represents significant savings compared to the $550-600 professional services charge for the same transformation.
Your shopping list should include leather preparer/deglazer, leather dye or paint specifically formulated for furniture, applicators (wool daubers work best), and a protective finisher. I also recommend keeping extra applicators on hand, as switching to fresh ones prevents color contamination between coats.
Based on my experience, you'll use approximately 4-8 ounces of dye for a standard armchair, more if you're going from a light to dark color or if the leather is particularly absorbent. It's always better to have extra product than to run out mid-project.
| Product | DIY Cost | Professional Cost | Your Savings |
|---|---|---|---|
| Complete color change | $100-200 | $550-600 | $350-500 |
| Preparation products | $15-25 | $75-100 | $50-75 |
| Color application | $50-100 | $250-300 | $150-200 |
| Finishing & protection | $35-75 | $150-200 | $75-125 |
![How To Change Color Of Leather Chair ([nmf] [cy]) Guide 1 Fiebing's Leather Dye (4 Fl Oz, Oxblood) - Alcohol-Based,...](https://m.media-amazon.com/images/I/415t1QlhOhL._SL160_.jpg)
Type: Alcohol-based dye
Size: 4 oz
Coverage: 12-15 sq ft
Includes: Wool dauber
Check PriceFiebing's Leather Dye stands out as the industry standard for leather restoration, and for good reason. I've used this product on numerous best leather recliners with consistently impressive results.
The alcohol-based formula penetrates deep into the leather fibers rather than sitting on the surface, which means the color becomes part of the leather itself. This penetration is what gives it such durability and flexibility as the leather ages and moves.
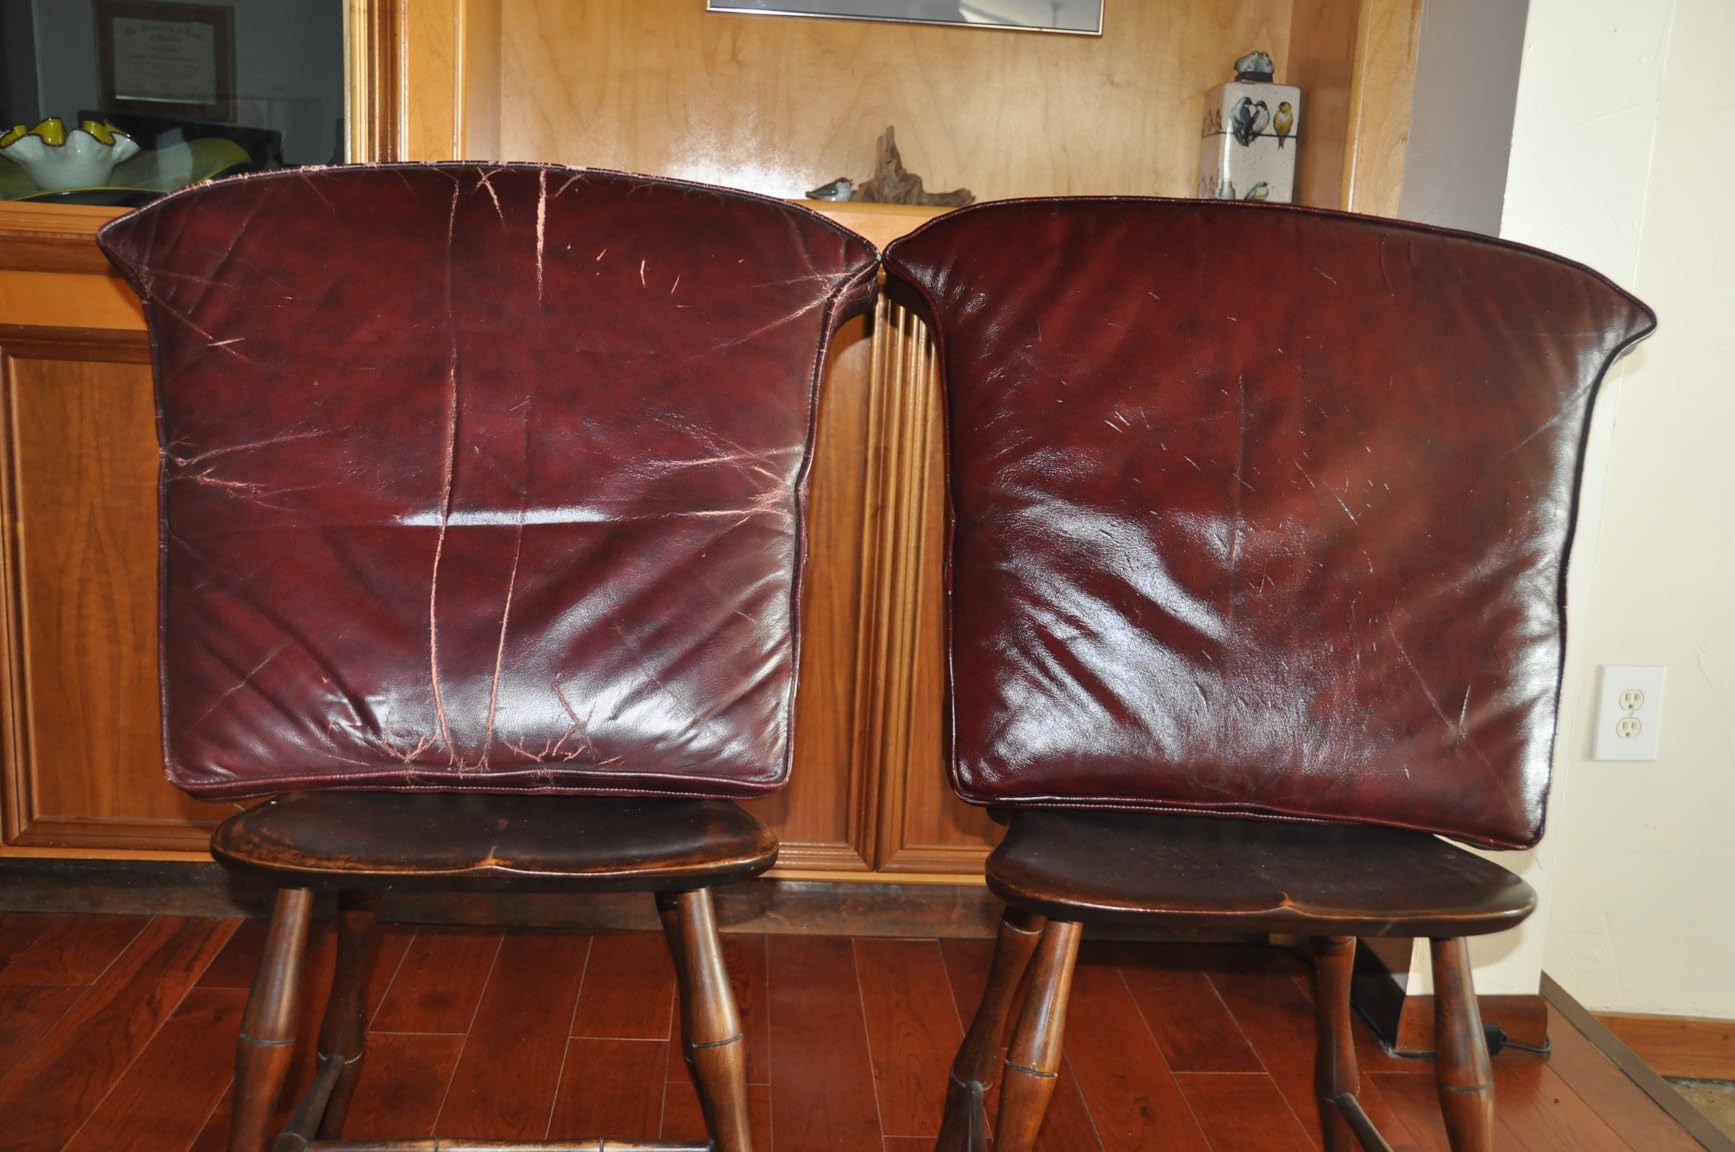
What I appreciate most about this dye is its versatility. It works exceptionally well on vegetable-tanned and unfinished leather, creating a rich, deep color that looks completely natural. The included wool dauber applicator is perfect for getting into seams and detailed areas where brushes might miss.
Customer photos consistently show remarkable transformations from faded, worn leather to vibrant, renewed pieces. The dye creates a beautiful sheen that enhances the leather's natural character without looking artificial.
One thing to note is that this dye requires proper preparation with a deglazer for best results. The prep work adds time to your project but is essential for the dye to penetrate evenly and last long-term.
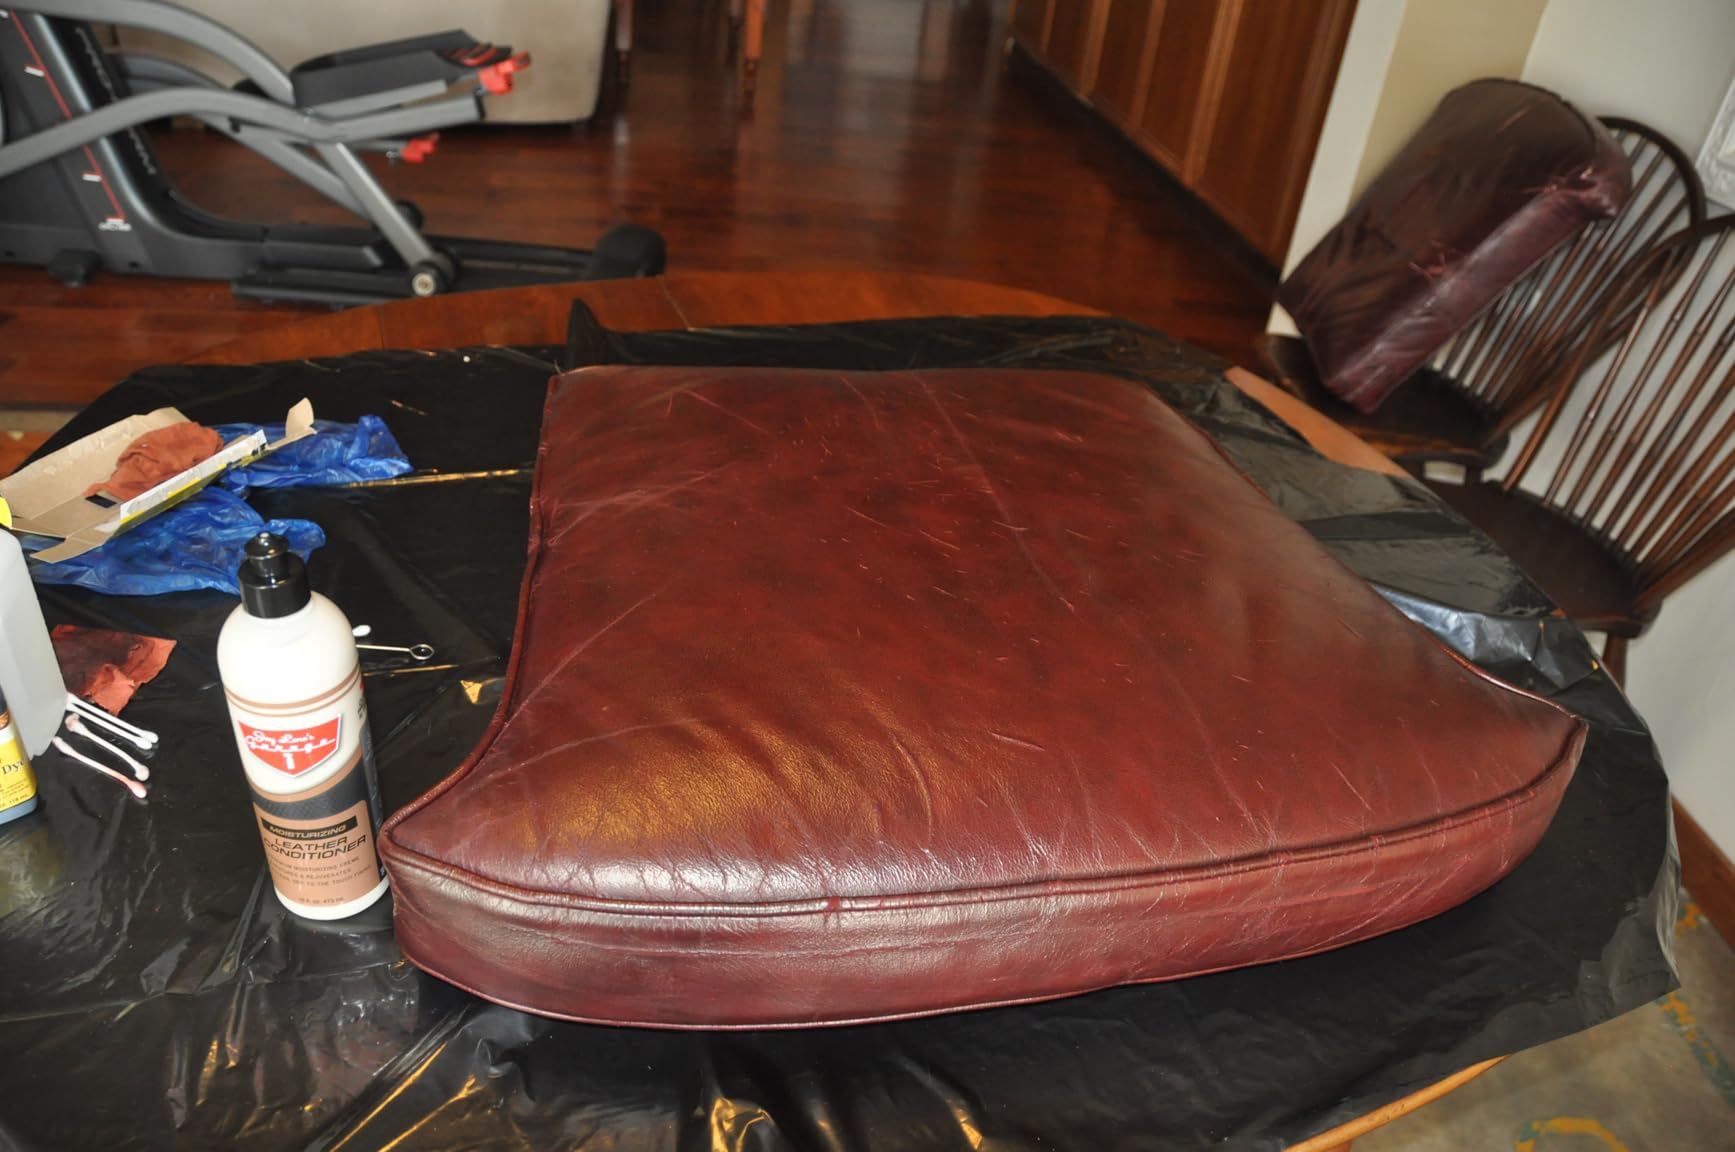
The 4-ounce bottle provides enough coverage for most standard leather chairs, though you might need additional product if you're working with a large sectional or making a dramatic color change from light to dark.
Creates permanent color that won't peel or crack when properly applied. Works exceptionally well on absorbent leather types and provides professional-quality results at a reasonable price point.
Requires extensive preparation and careful application. Not suitable for leather with heavy existing coatings without proper deglazing first.
![How To Change Color Of Leather Chair ([nmf] [cy]) Guide 2 Leather Recoloring Balm, Color Restorer, Scratch Remover,...](https://m.media-amazon.com/images/I/41fdnyBMObL._SL160_.jpg)
Type: Color restoration balm
Coverage: All-in-one formula
Features: UV protection
Application: No additional products needed
Check PriceThe FORTIVO Leather Recoloring Balm offers a different approach to leather restoration that's perfect for those who want a simpler, less involved process. Instead of the traditional dye method, this balm combines color restoration with protective properties in one step.
I recommend this product particularly for leather chairs that have faded from sun exposure or have light scratches that need attention. The balm formula penetrates the leather while simultaneously adding a protective layer that helps prevent future UV damage.
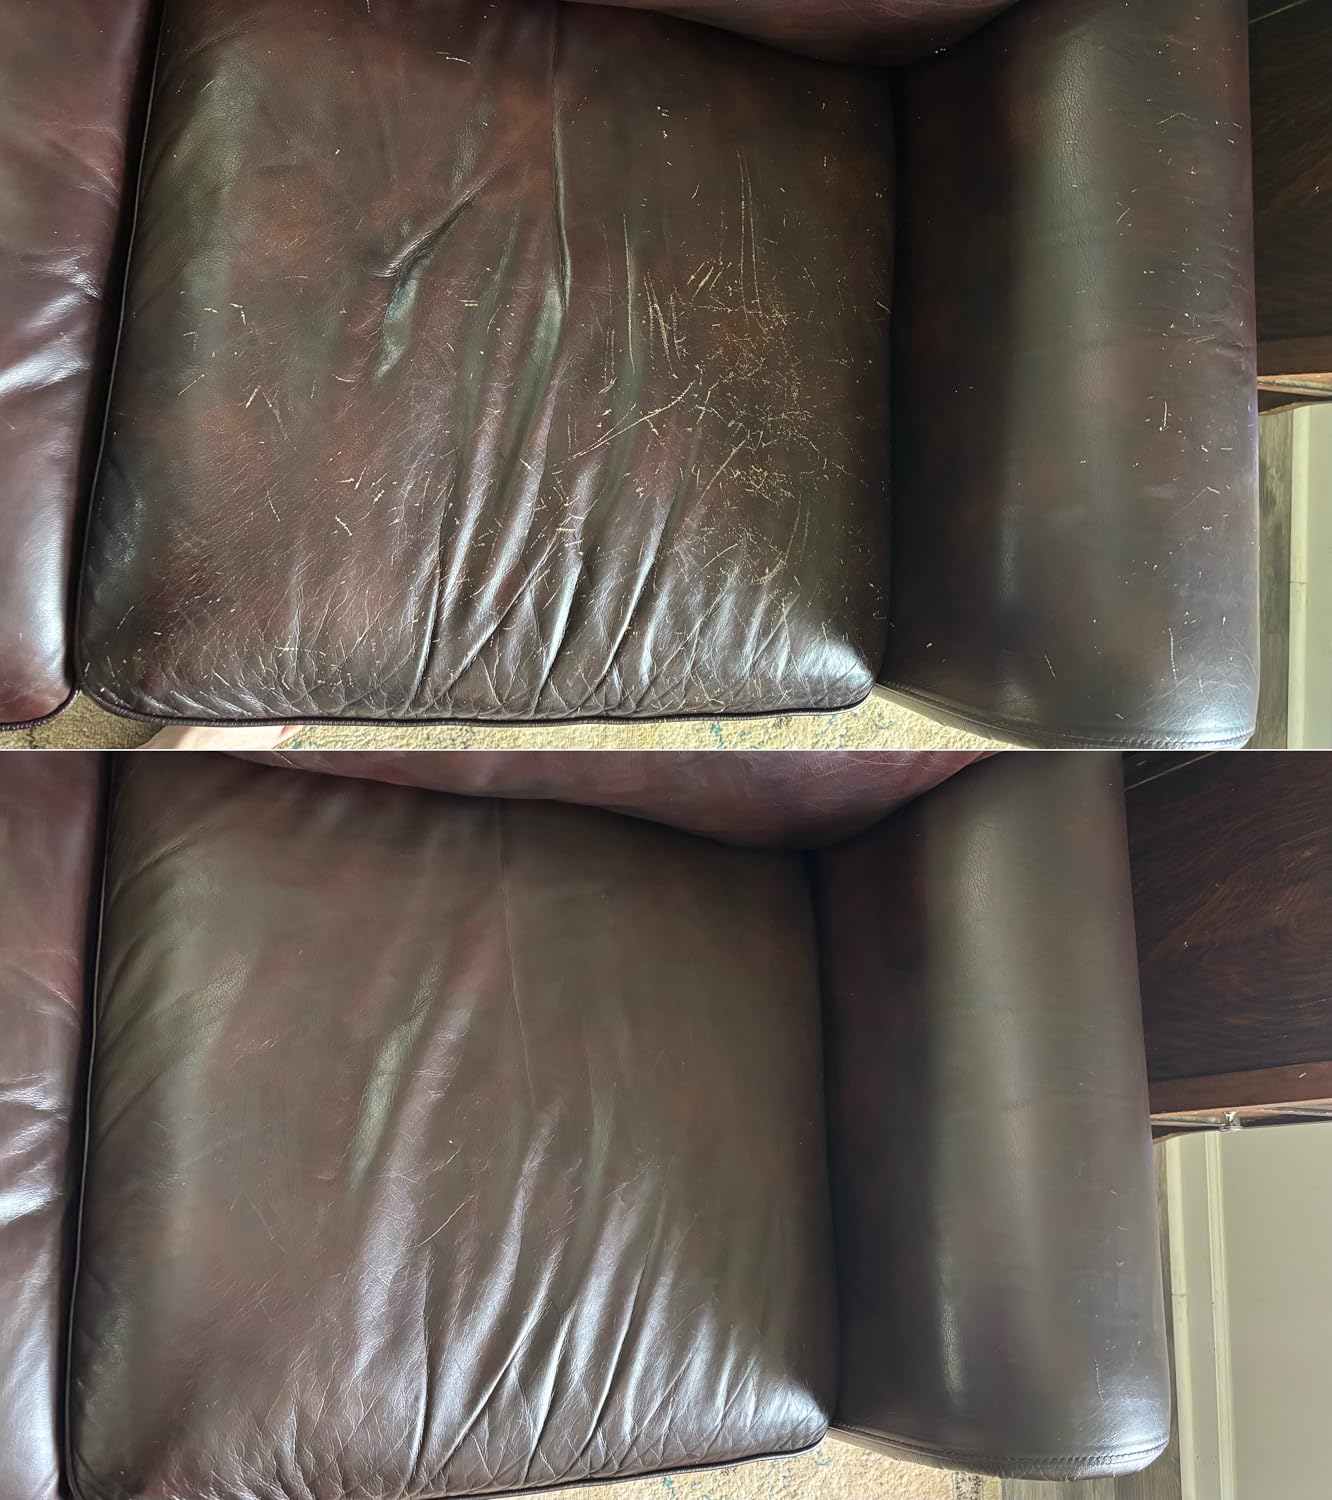
What sets this product apart is its ease of use. You don't need separate preparation products or applicators – the balm is designed to work as a complete system. This makes it ideal for beginners or those who want to avoid the multi-step process of traditional leather dyeing.
The formula includes UV protection, which is a crucial feature for leather furniture that receives sunlight. This preventative aspect can significantly extend the life of your color restoration work.
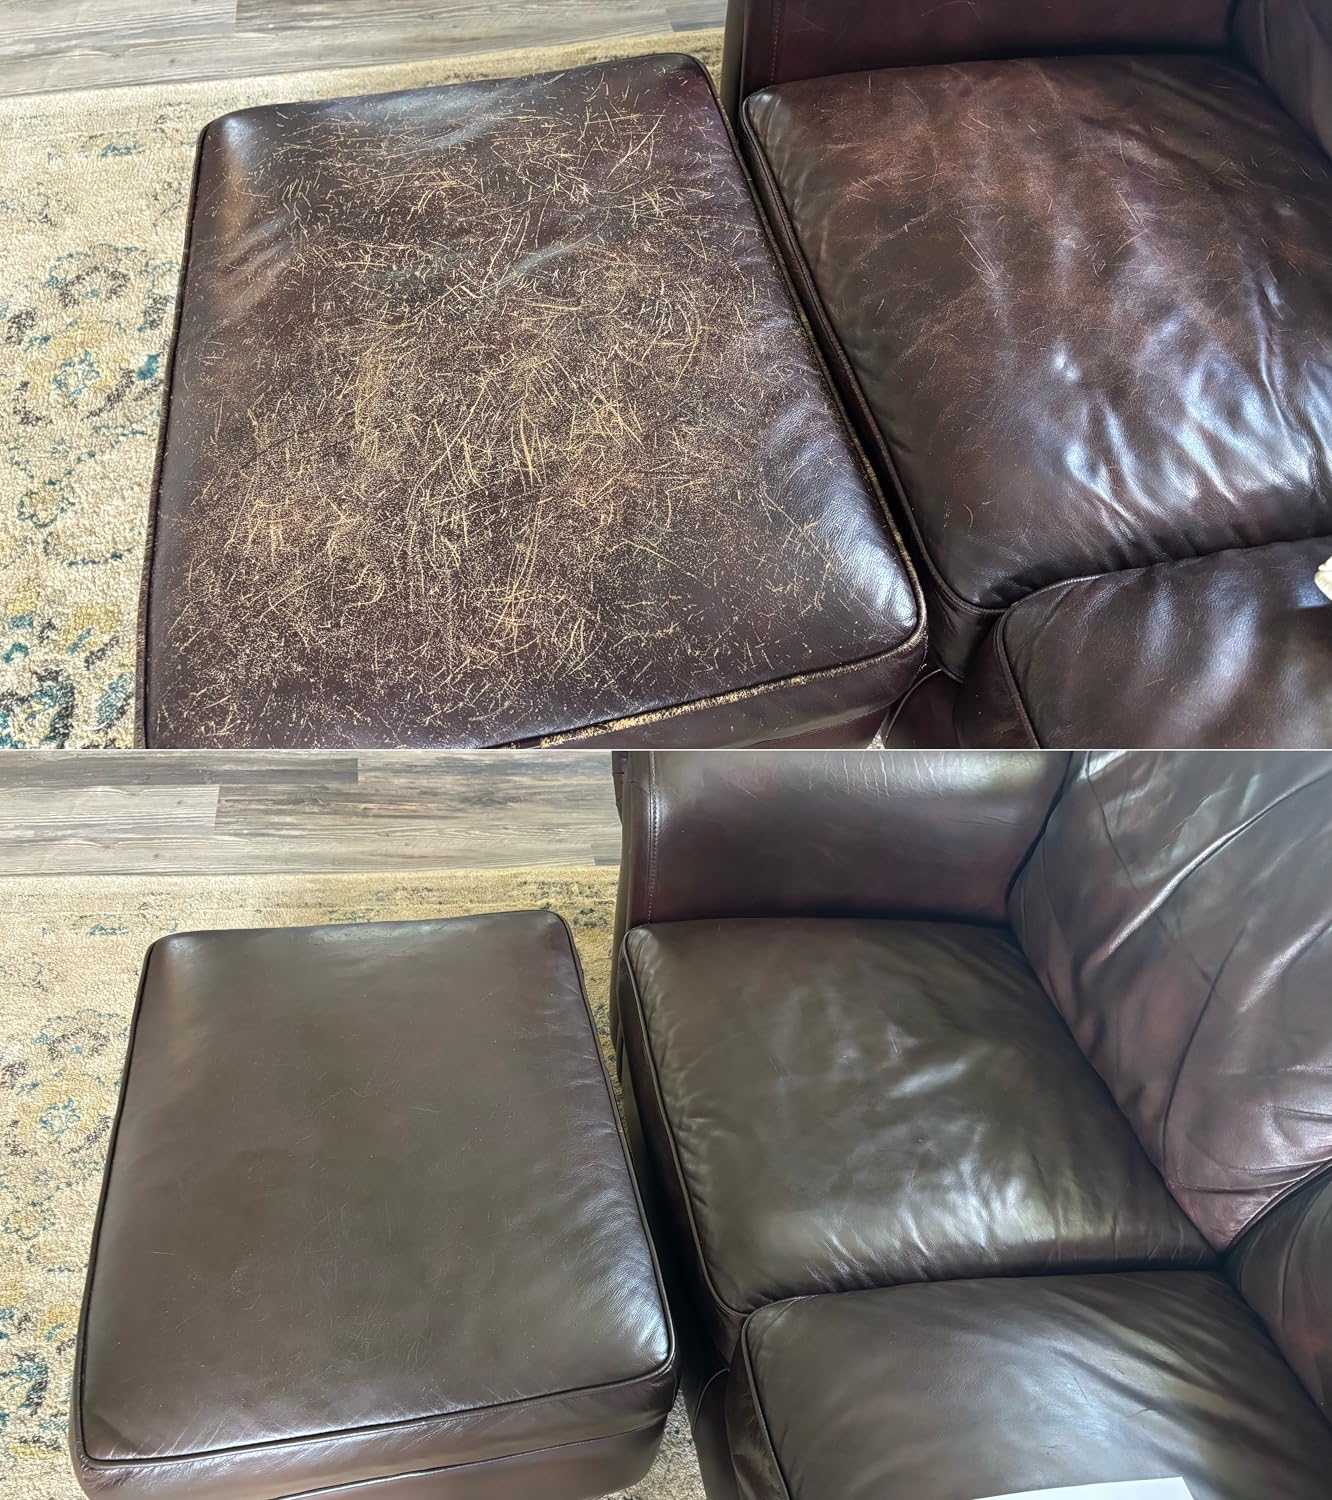
Customer images show impressive before-and-after results, with faded brown leather returning to a rich, uniform color. The balm seems particularly effective at eliminating the appearance of wear patterns and sun-faded areas.
Perfect for quick fixes and faded leather restoration. The all-in-one formula saves time and eliminates the need for multiple products.
Lack of customer reviews makes it harder to verify long-term results. Higher price point compared to individual products in a traditional system.
![How To Change Color Of Leather Chair ([nmf] [cy]) Guide 3 Angelus Leather Preparer & Deglazer 5 Oz](https://m.media-amazon.com/images/I/41yz7biMFfL._SL160_.jpg)
Size: 5 oz bottle
Purpose: Surface preparation
Removes: Factory finishes, oils, contaminants
Essential for: All leather dyeing projects
Check PriceYou might be tempted to skip the preparation step, but I've learned from experience that proper prep is 80% of the success in leather dyeing. The Angelus Leather Preparer & Deglazer is absolutely essential for achieving professional results.
This product removes factory finishes, oils, and surface contaminants that prevent dye from penetrating evenly. Without proper deglazing, you'll end up with splotchy, uneven color that looks amateurish at best.

I've used this preparer on everything from antique leather chairs to modern leather furniture, and it consistently creates the perfect canvas for dye application. The 5-ounce bottle provides enough product for multiple projects, making it a cost-effective investment.
The deglazer works by breaking down the existing surface finish and oils, allowing the leather fibers to accept new color. This process is crucial for leather that has been previously dyed or has protective coatings from the manufacturer.
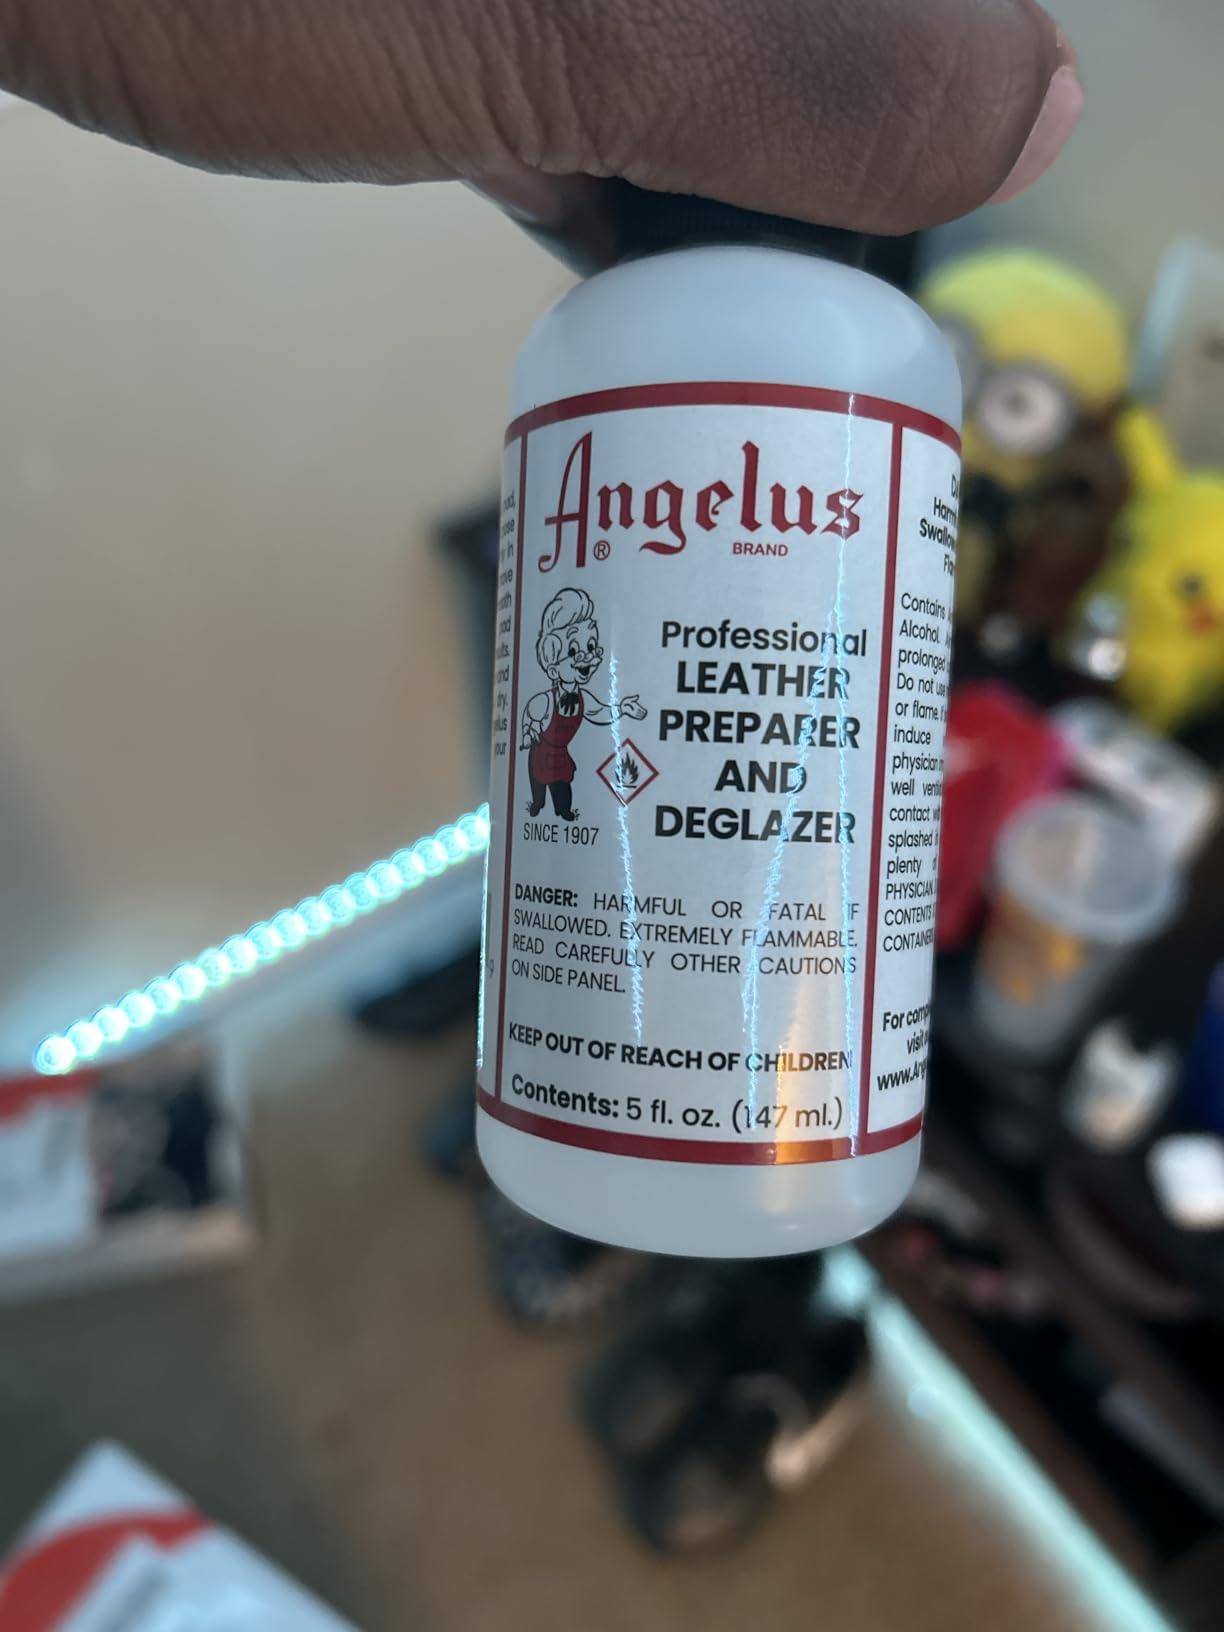
Customer photos show the dramatic difference this preparation makes – dull, resistant leather becomes receptive and ready for color transformation. The before-and-after comparisons clearly demonstrate why skipping this step leads to poor results.
Essential for preparing leather surfaces properly. Creates the foundation for successful color application and long-lasting results.
Strong chemical smell requires good ventilation. Can be harsh on certain leather types if not used according to instructions.
![How To Change Color Of Leather Chair ([nmf] [cy]) Guide 4 Angelus No. 600 Acrylic Leather Finisher – Flexible Clear...](https://m.media-amazon.com/images/I/41iWbEXWSTL._SL160_.jpg)
Size: 4 oz bottle
Finish: High gloss
Protection: Water-resistant
Flexibility: Won't crack with leather movement
Check PriceThis finisher is particularly important for high-traffic areas like chairs that see regular use. It provides protection against scuffs, moisture, and everyday wear while maintaining the leather's natural flexibility.
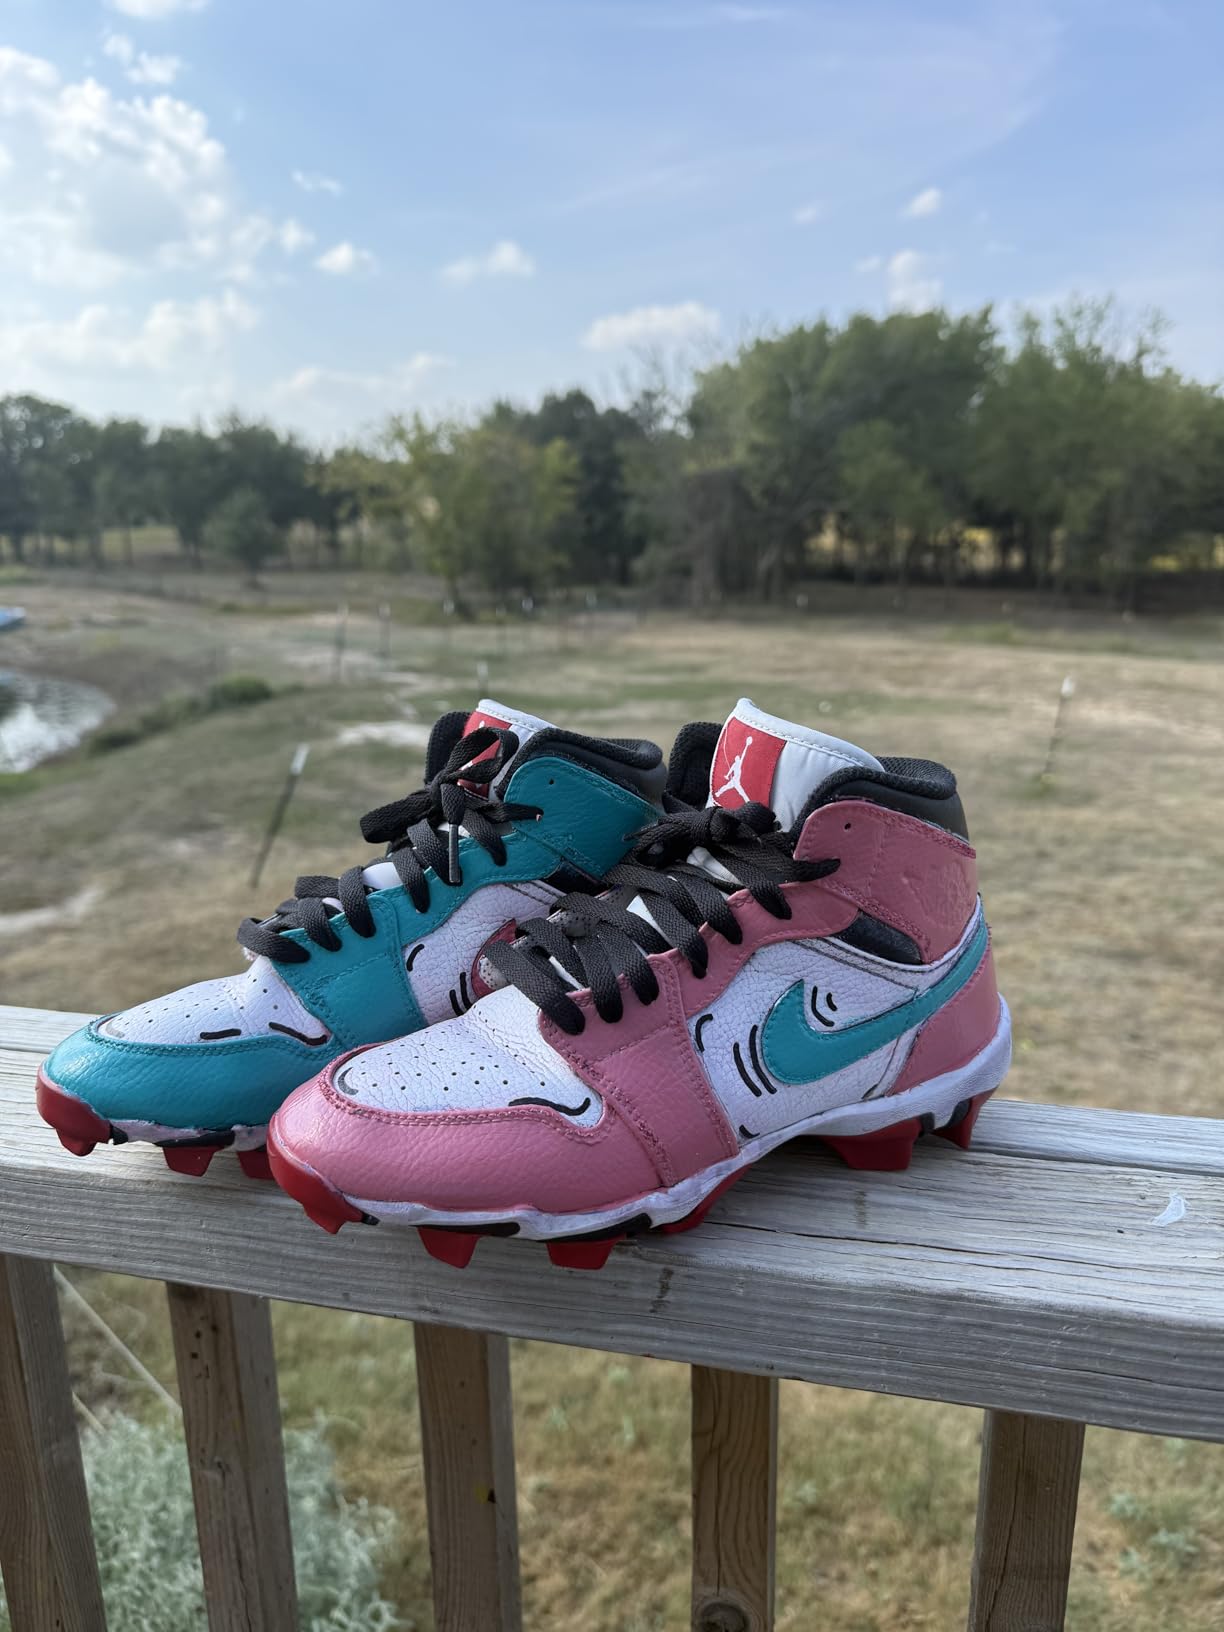
I've found that this finisher significantly extends the life of color restoration work. Without proper sealing, even professionally applied dye can wear off over time, especially in areas of frequent contact like armrests and seat cushions.
The high-gloss finish creates a luxurious, professional appearance that enhances the richness of your chosen color. It dries clear and won't yellow over time, preserving the true color of your restoration work.
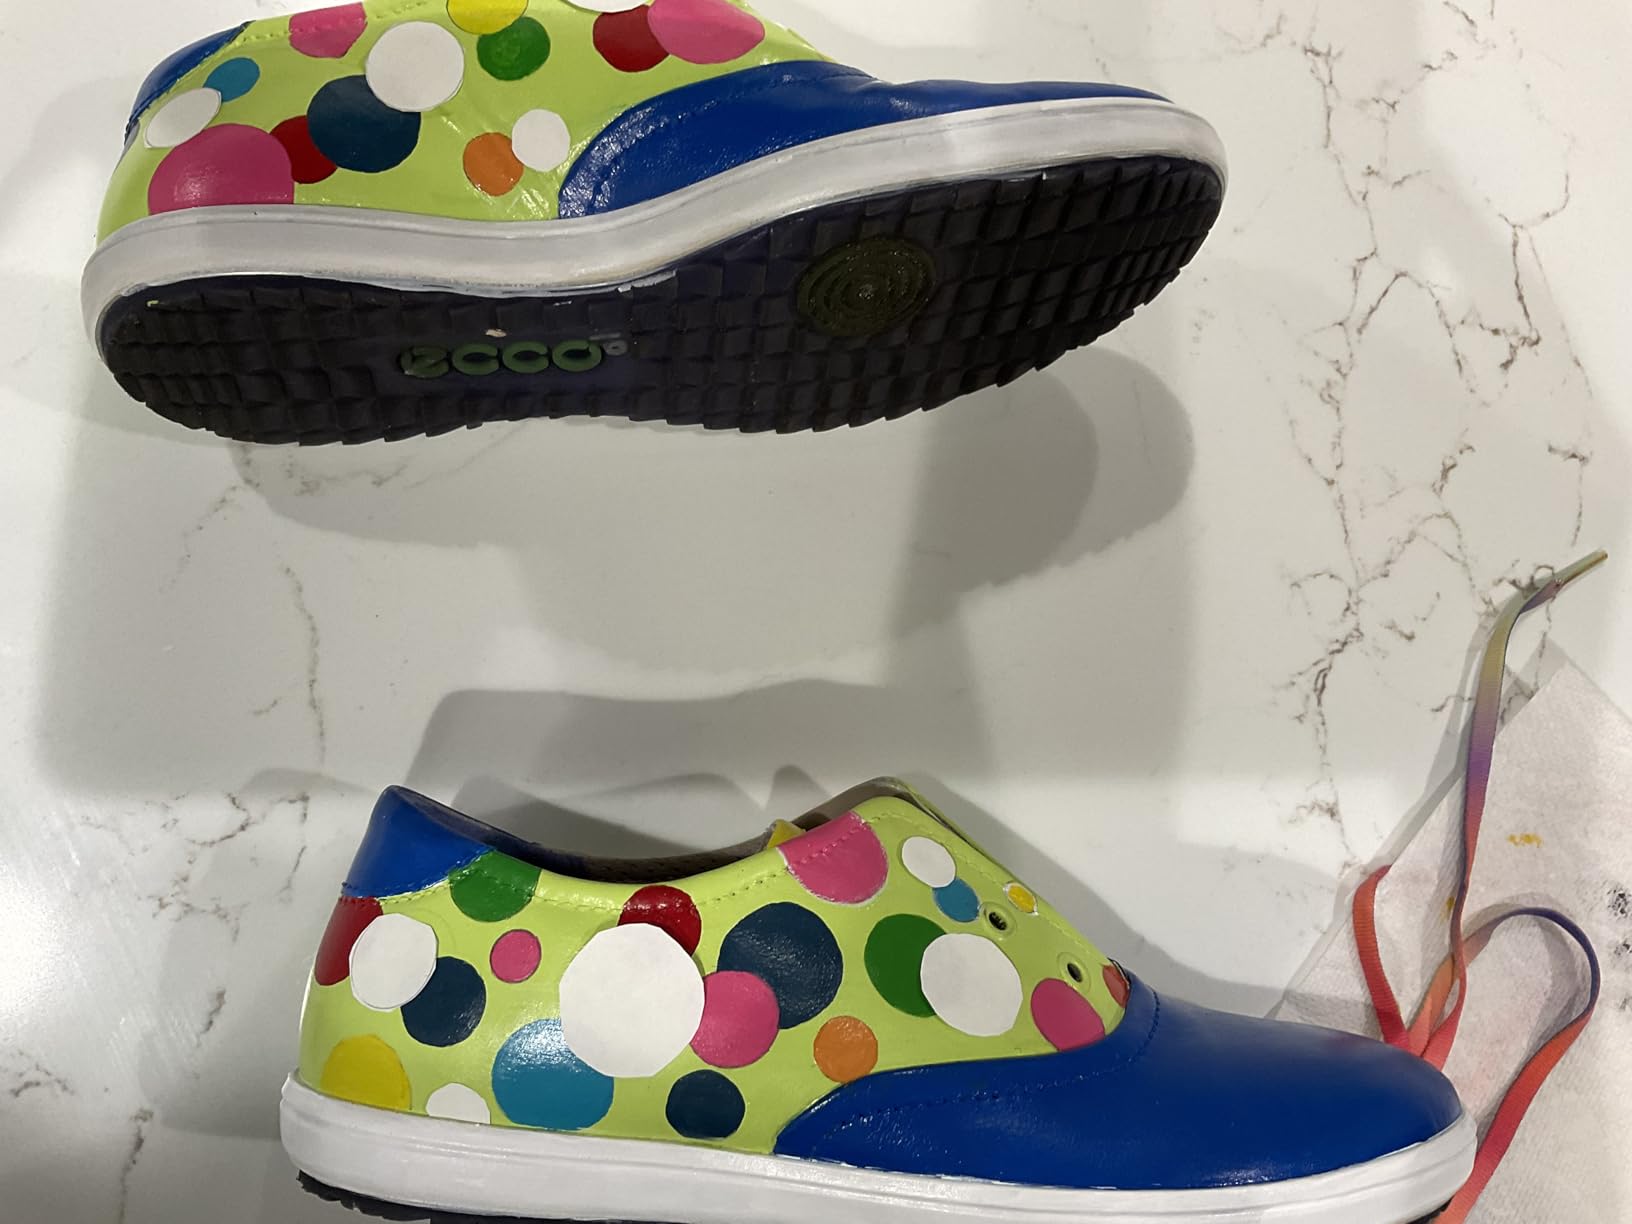
Customer photos consistently show beautiful, glossy finishes that look professionally applied. The finisher seems particularly effective at creating depth and richness in the color, making the leather look like new again.
Essential for protecting your color investment and creating a professional finish. Extends the life of your restoration work significantly.
Some quality control issues with dried product. Gloss finish may not be suitable for all leather applications or aesthetic preferences.
Proper preparation is the foundation of successful leather dyeing. I learned this the hard way after my first attempt resulted in streaky, uneven color that needed to be completely redone.
Start by thoroughly cleaning your leather chair with a leather cleaner designed to remove dirt and oils without stripping the natural finish. Avoid using harsh household cleaners, which can damage the leather fibers and affect dye absorption.
Once clean, apply the Angelus Leather Preparer & Deglazer using a clean cloth or applicator pad. Work in small sections, allowing the preparer to sit for 5-10 minutes to break down existing finishes. This step is crucial for removing factory coatings that prevent dye penetration.
✅ Pro Tip: Always test the preparer on a small, hidden area first to ensure it doesn't cause discoloration or damage to your specific leather type.
After deglazing, allow the leather to dry completely – usually 30-60 minutes depending on humidity and temperature. Proper drying is essential for optimal dye absorption.
Once dry, lightly sand the leather with fine-grit sandpaper (320-400 grit) to create a better surface for dye absorption. This step is especially important for corrected-grain leather or leather with existing finishes.
Finally, wipe the chair with a clean, damp cloth to remove any sanding dust and allow it to dry completely. Your leather is now ready for color application.
The application process requires patience and attention to detail for professional results. I recommend setting aside 2-3 hours for this phase, allowing adequate drying time between coats.
Begin by applying a thin, even coat of leather dye using a wool dauber or soft sponge. Work in small sections, using circular motions to ensure even coverage. Avoid the temptation to apply thick coats – multiple thin layers always produce better results than one thick application.
Allow the first coat to dry for 30-45 minutes before applying the next. The drying time may vary based on temperature, humidity, and leather absorbency. You'll know it's dry when it no longer feels cool to the touch.
Apply 2-3 coats total, or until you achieve the desired color intensity. Each coat will deepen the color and improve coverage. Don't judge the final color until after the finisher is applied, as it often darkens and enriches the color.
Pay special attention to seams, creases, and detailed areas where dye might pool or be absorbed unevenly. Use a smaller brush or dauber for these areas to ensure complete coverage.
After the final coat, allow the dye to cure for at least 24 hours before applying the finisher. This curing time is essential for the dye to fully penetrate and bond with the leather fibers.
The finishing step protects your color work and creates a durable surface that will withstand regular use. This phase typically takes 1-2 hours plus curing time.
Apply the Angelus Acrylic Finisher using a clean, soft sponge or cloth. Work in thin, even layers, avoiding drips and pooling. The finisher should be applied smoothly but not heavily – too much can create a plastic-like appearance.
Allow the first coat to dry for 30 minutes before applying a second coat if desired. Two coats provide better protection and a more uniform finish.
After application, allow the finisher to cure for at least 24 hours before using the chair. Full curing takes up to 7 days, during which time the finish will continue to harden and reach maximum durability.
During the curing period, avoid placing heavy objects on the chair or using it regularly. Light use is acceptable after 24 hours, but be gentle with the newly finished surface.
⚠️ Important: Proper curing is essential for long-lasting results. Rushing this step can lead to premature wear and reduced durability of your color restoration.
Even with careful preparation and application, issues can arise during leather dyeing. Based on my experience helping others fix common chair issues, here are the most common problems and their solutions.
Uneven color application is typically caused by insufficient preparation or applying dye too heavily. To fix this, allow the dye to dry completely, then sand lightly with fine-grit sandpaper and apply additional thin coats.
If the color appears too light or splotchy, additional coats of dye usually resolve the issue. Make sure each coat is fully dry before applying the next to avoid buildup and unevenness.
Dye rubbing off on clothing usually indicates insufficient sealing. Apply an additional coat of the Angelus finisher and allow proper curing time. In severe cases, you may need to remove the finish and reapply.
Cracking or peeling typically occurs when the dye is applied too heavily or when the leather isn't properly prepared. Unfortunately, this requires removing the failed dye and starting over with proper preparation.
For persistent issues or particularly valuable furniture, I recommend consulting a professional leather restoration specialist. Some problems are best addressed by experienced hands with specialized equipment.
Yes, you can change the color of leather chairs at home with the right products and preparation. The process takes 4-6 hours plus drying time and costs $100-200 for supplies. It works best on absorbent leather types like full-grain and top-grain leather.
Properly applied leather dye can last 5-10 years with appropriate care and maintenance. The durability depends on leather type, preparation quality, application technique, and the protective finisher used. Regular conditioning and avoiding direct sunlight exposure significantly extends the life of the color restoration.
Dyeing leather from dark to light is challenging and often requires professional expertise. While it's technically possible with specialized products and techniques, the results can be unpredictable. Most DIY enthusiasts have better success when dyeing to a similar or darker shade than the original color.
Leather dye shouldn't rub off on clothes when properly applied and sealed with a protective finisher. The key is thorough preparation, applying dye in thin coats, and using a quality acrylic finisher. Allow adequate curing time (24-48 hours minimum) before regular use to prevent color transfer.
Changing the color of your leather chair is a rewarding project that can save you hundreds of dollars while restoring beloved furniture to its former glory. With the right products and techniques, you can achieve professional results that extend the life of your furniture by 5-10 years.
Remember that patience and proper preparation are the keys to success. Don't rush the process, especially the drying and curing times. The investment in quality products like the ones I've recommended will pay dividends in the durability and appearance of your finished project.
If you're feeling uncertain about any step of the process, I recommend testing on a small, inconspicuous area first. This practice run will build your confidence and help you understand how your specific leather responds to the products.
With this comprehensive guide and the right tools, you're well-equipped to transform your leather chair from tired and faded to vibrant and renewed. The satisfaction of completing this project yourself, combined with the significant cost savings, makes it one of the most rewarding furniture restoration projects you can undertake.