Do you ever gaze upon a lackluster wall and instantly envision a stunning transformation? Peel and stick wallpaper emerges as the ultimate solution. Celebrated for its user-friendliness, cost-effectiveness, and suitability for individuals seeking rapid aesthetic enhancements, it bypasses the complexities associated with conventional wallpaper or paint applications, offering a seamless and mess-free experience.
Earlier this year, I decided to tackle a home refresh project. My living room wall, previously a blank canvas, was starting to feel monotonous. The thought of painting seemed daunting, but then I discovered the magic of peel and stick wallpaper – a truly revolutionary solution! It promised a clean, glue-free, and hassle-free application. In a mere two hours, I transformed my wall from drab to fab, instantly boosting the room's aesthetic and making me feel like a true DIY champion.
Contents
What fuels the enduring popularity of peel-and-stick wallpaper? A key factor is its appeal to renters; application and removal are effortless, leaving walls pristine. Furthermore, the sheer variety of designs available caters to diverse tastes, ensuring a perfect match for every aesthetic preference, from vibrant, eye-catching motifs to understated, elegant textures.
The absolute best thing about it? It's incredibly straightforward. If you possess the ability to peel and align a simple adhesive, you're already equipped to succeed. Let's embark on this journey and transform your living spaces into visually captivating environments that you'll cherish with each passing day!
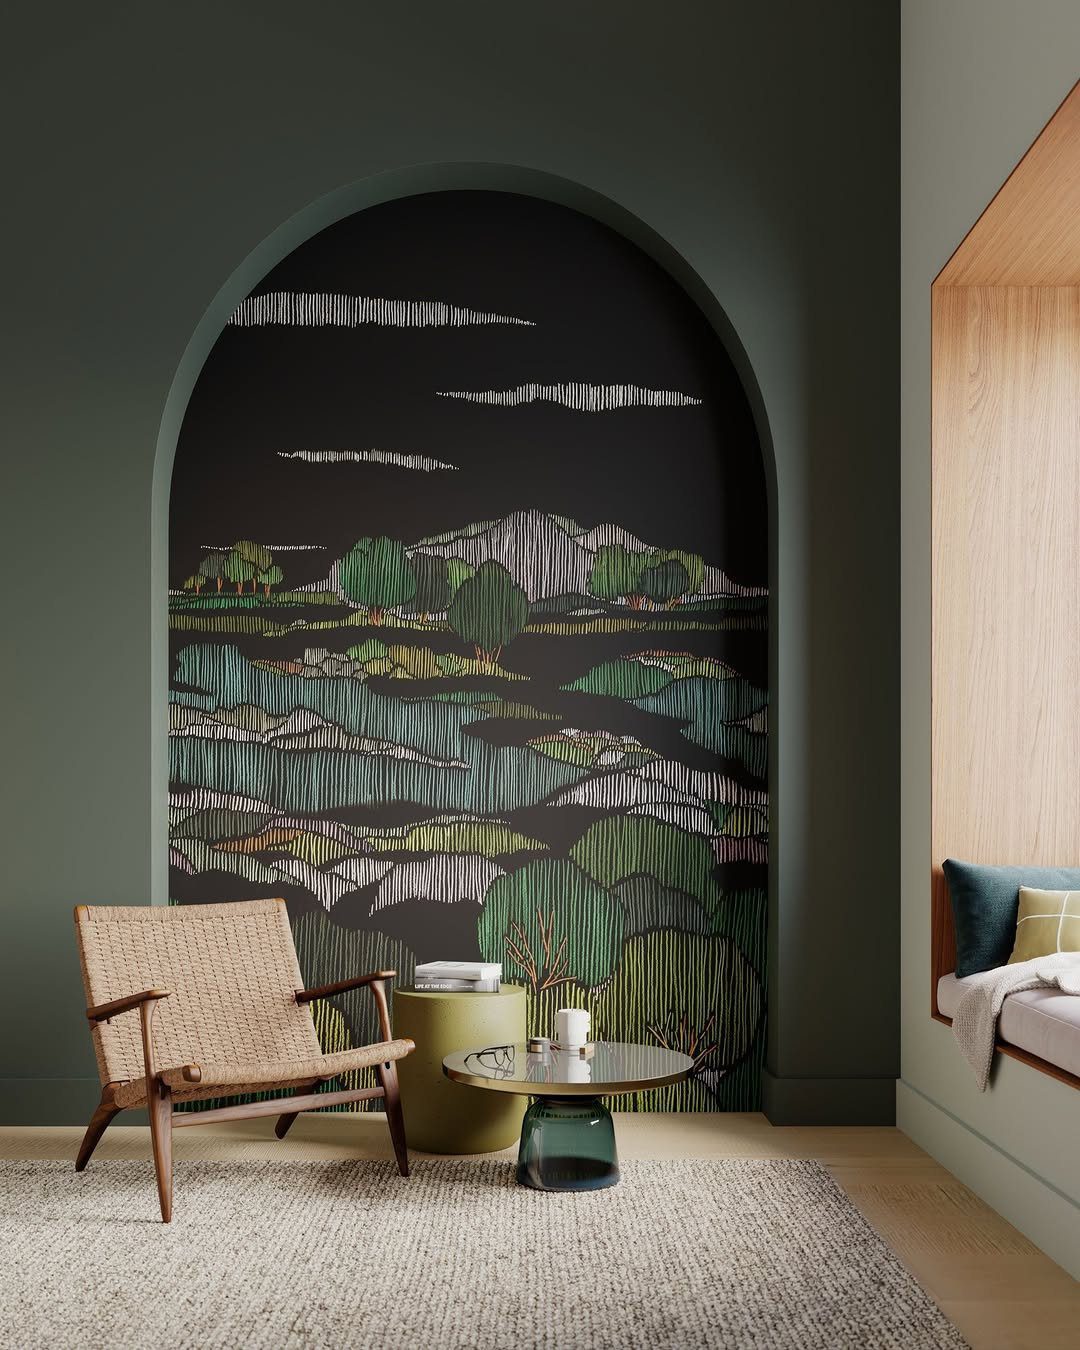
Image courtesy of casadeco_official
Explore these related articles for further insights and information.
Ready to transform your space? Here's your comprehensive checklist for a flawless peel and stick wallpaper application:
With these essential tools in hand, you're now fully equipped to prepare your wall for its transformation!
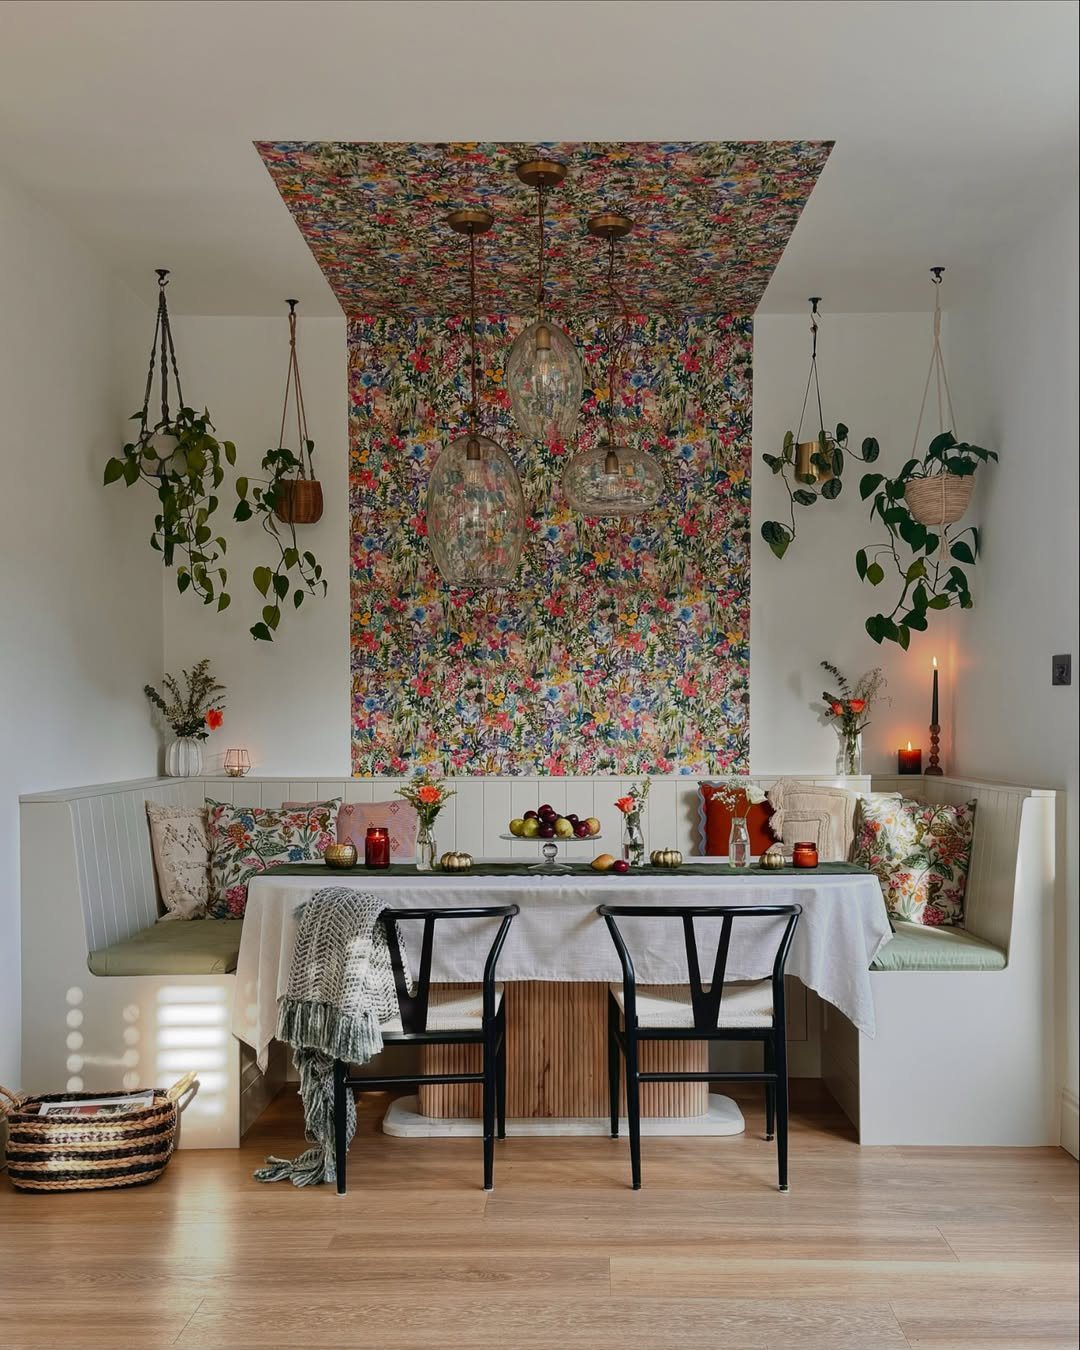
Photography courtesy of the_interior_lens
Before you begin, ensure your walls are impeccably clean, perfectly smooth, and entirely free of dust and debris. Gently wipe down the surfaces with a slightly damp cloth. A pristine surface is crucial for optimal wallpaper adhesion, guaranteeing a more durable and visually appealing finish that will stand the test of time.
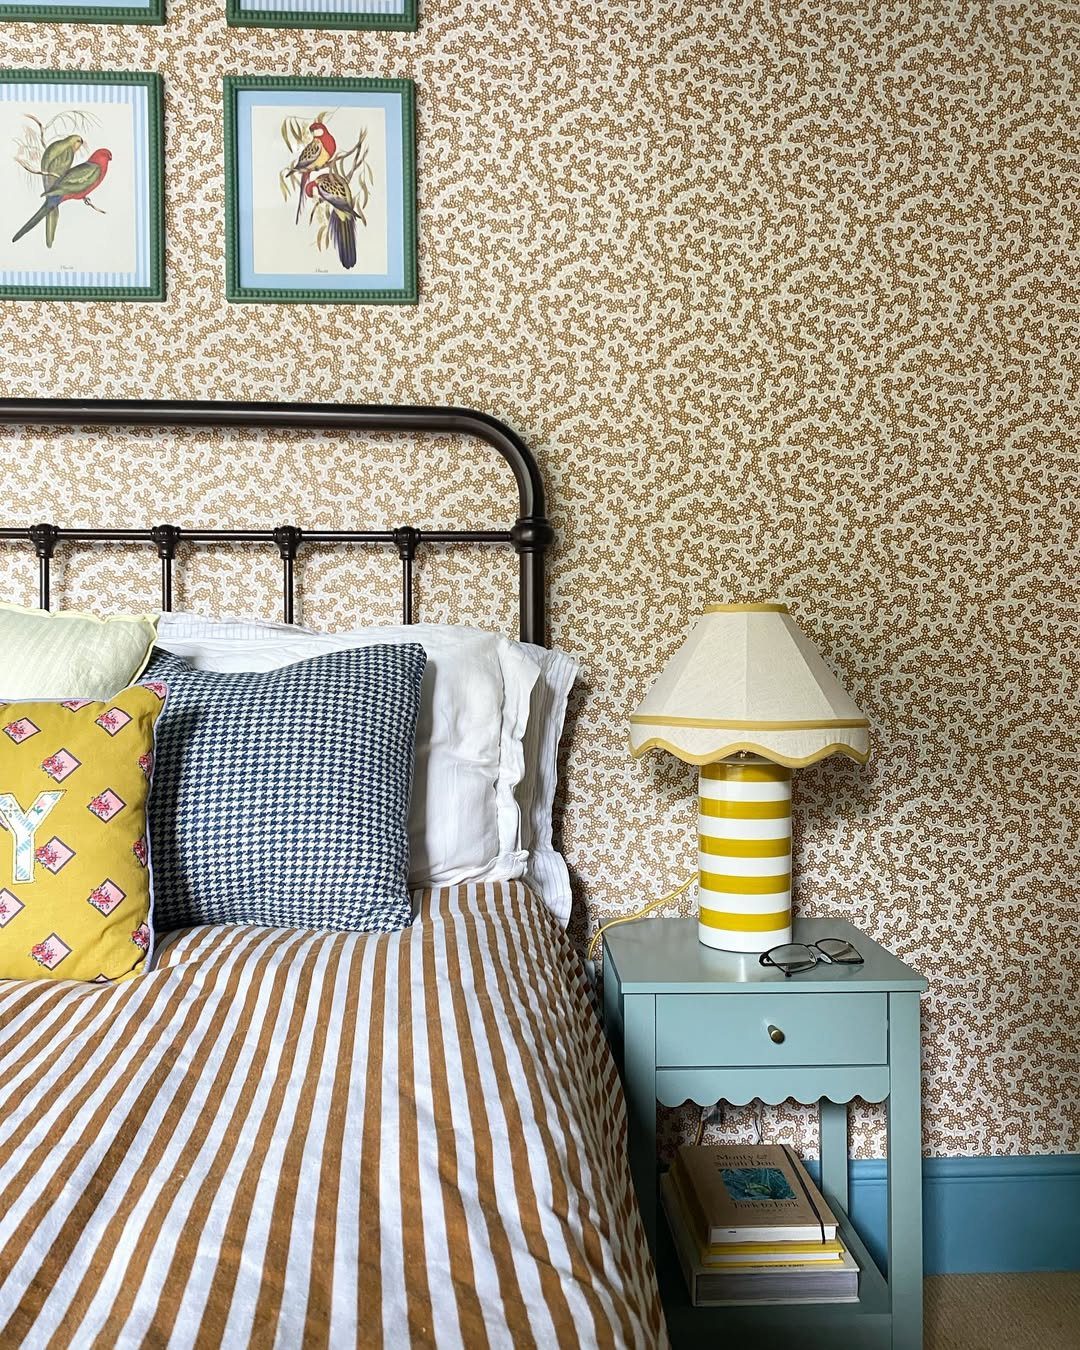
Photo courtesy of endofthegrove
Accurately measure your wall's height and width using a measuring tape to determine the precise amount of wallpaper required for your project. After that, use a pencil to clearly mark your initial starting position, and then employ a level to draw a perfectly straight, vertical line that will serve as a guide for applying your first strip of wallpaper, ensuring a professional and even application.
Investing a few moments in precise measurements and thoughtful planning now will prevent costly errors down the line. With that preparation complete, you'll be well-equipped to begin the exciting process of installing your chosen wallpaper!
Megan Duesterhaus, Founder of The Homes I Have Made, advises: "Prior to tackling a stairwell wallpaper project, it's crucial to master the fundamentals. Practice cutting wallpaper accurately, aligning intricate patterns seamlessly, and successfully applying panels on a less challenging, smaller surface first."
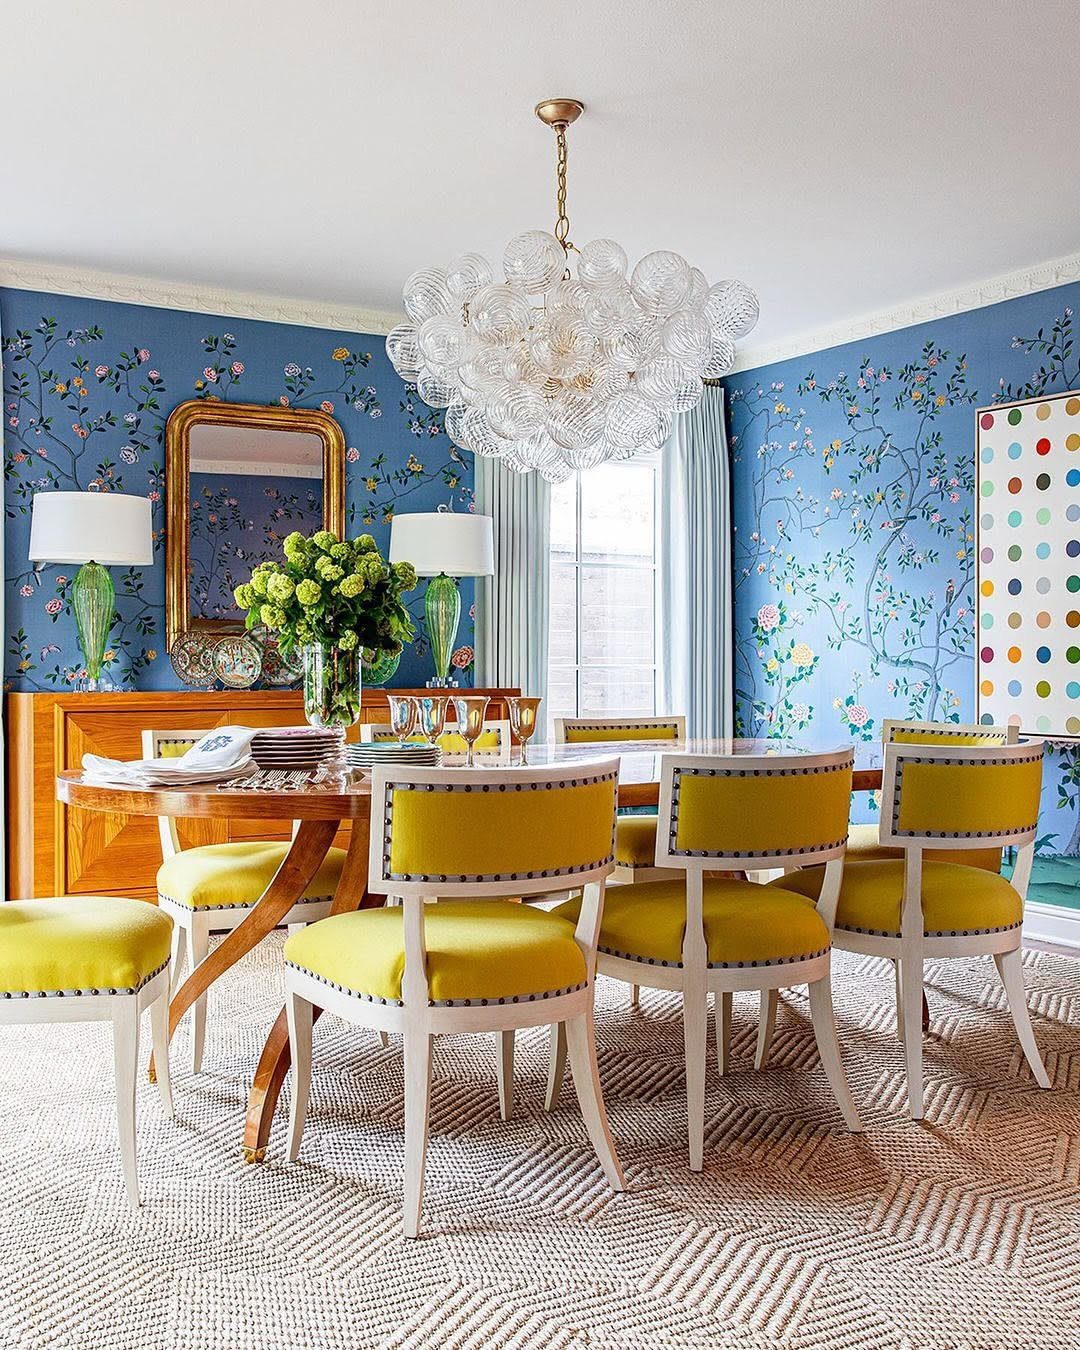
Image courtesy of julieneilldesigns, showcasing their creative work.
Installing self-adhesive wallpaper is akin to assembling a jigsaw puzzle—a rewarding experience once you master the technique! Here's a comprehensive, step-by-step guide to ensure a flawless application:
Begin by carefully peeling back a small portion of the wallpaper's protective backing, then meticulously align the exposed edge with your pre-determined starting mark. Precision is key at this stage; ensuring the initial strip is perfectly aligned sets the foundation for a flawless finish. My personal experience taught me the importance of patience – a hasty application resulted in a noticeably skewed strip. Remember, a deliberate and measured approach guarantees the best outcome!
Megan Duesterhaus, the creative mind behind The Homes I Have Made, advises: “For seamless peel-and-stick wallpaper application, begin by carefully removing only a small section of the backing—just a few inches—and firmly attach the top edge of the roll to the upper portion of your wall. This technique provides enhanced precision and ensures perfect alignment as you gradually smooth the wallpaper downwards.”
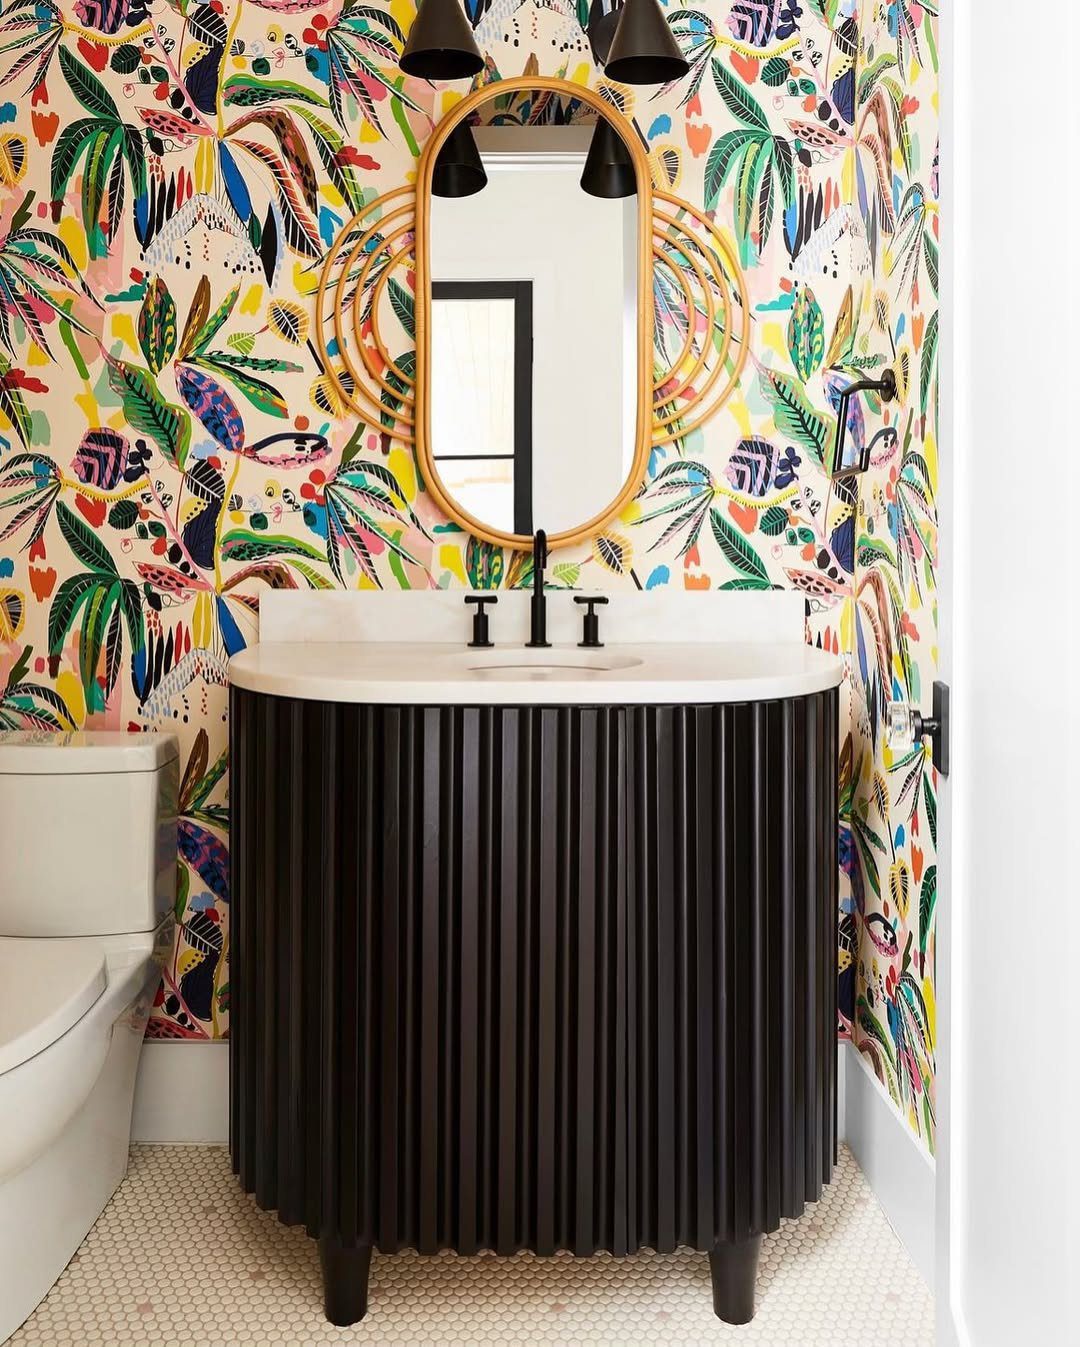
Photo courtesy of kittymccall
Progressing with the application, gently remove more of the protective backing and adhere the wallpaper to the prepared wall surface. Employ a smoothing tool, such as a specialized wallpaper squeegee or even a repurposed credit card, to ensure a seamless bond. This process offers a unique sense of accomplishment, akin to the reverse of popping bubble wrap. Apply consistent pressure to eliminate any trapped air and maintain a perfectly flat finish. Should you discover an air pocket after application, don't worry – simply lift the wallpaper slightly and smooth the area again.
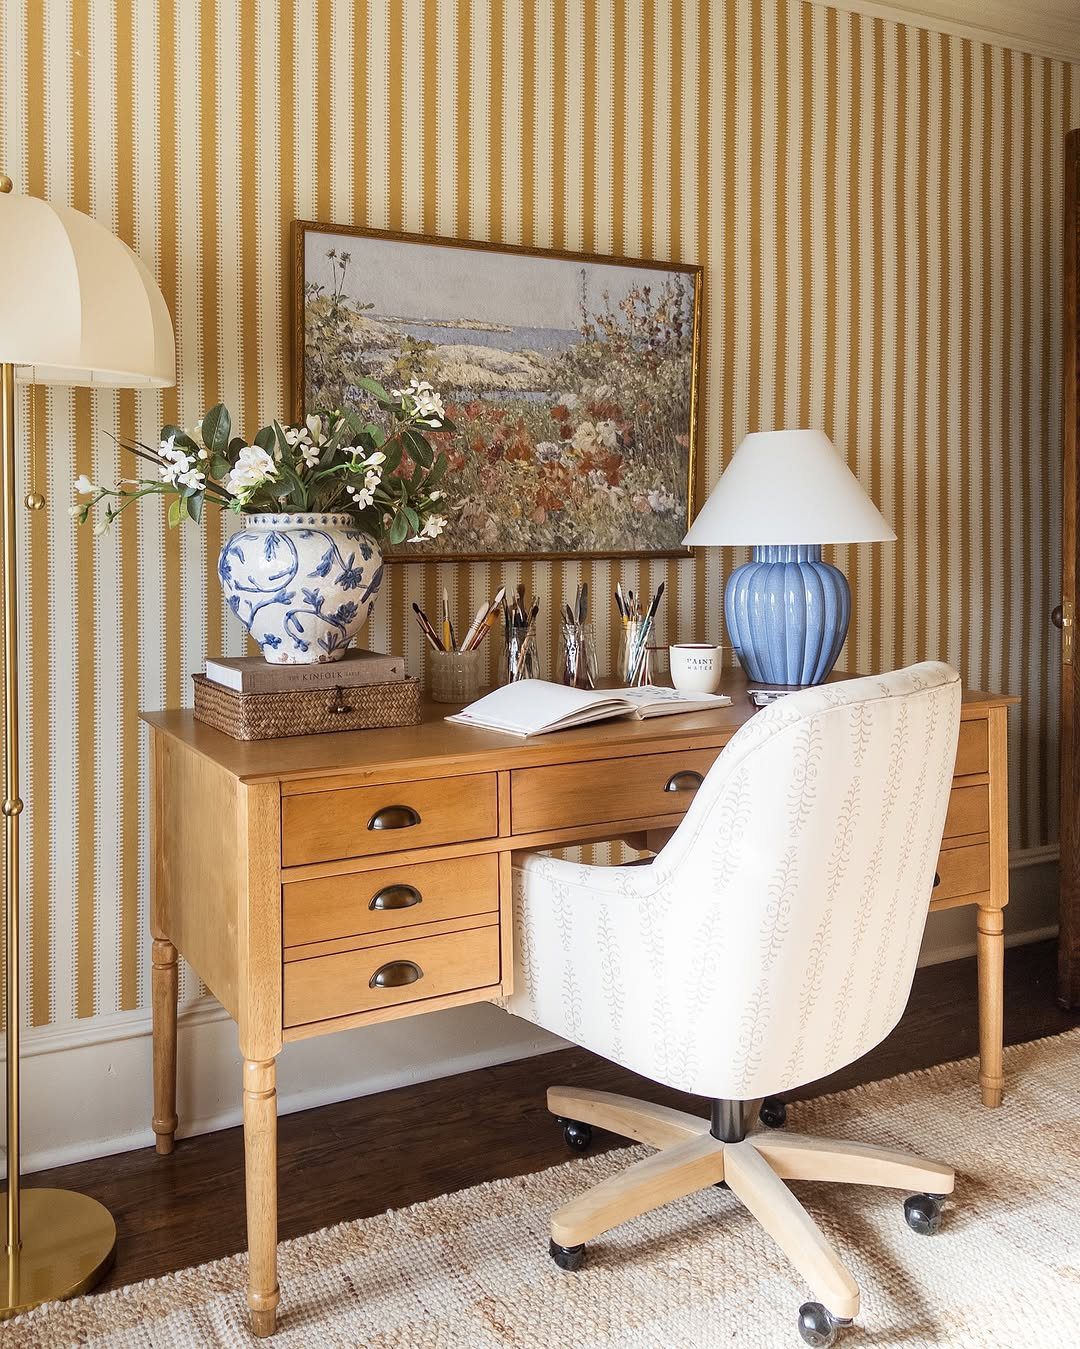
Photo courtesy of styleitprettyhome
Abby Lawson, the innovative mind behind Just a Girl and Her Blog, shares her updated perspective: "Having experimented extensively with both self-adhesive and pre-pasted wallpapers, I unequivocally favor pre-pasted options. The self-adhesive variety proved excessively sticky, significantly complicating the application and adjustment process."
When your wallpaper showcases intricate designs, such as floral motifs or geometric patterns, achieving a flawless pattern match between adjacent strips is crucial. Think of it as assembling a complex puzzle where precision is paramount. While this step demands meticulous attention and a degree of perseverance, the resulting seamless aesthetic will undoubtedly justify the investment of time and energy.
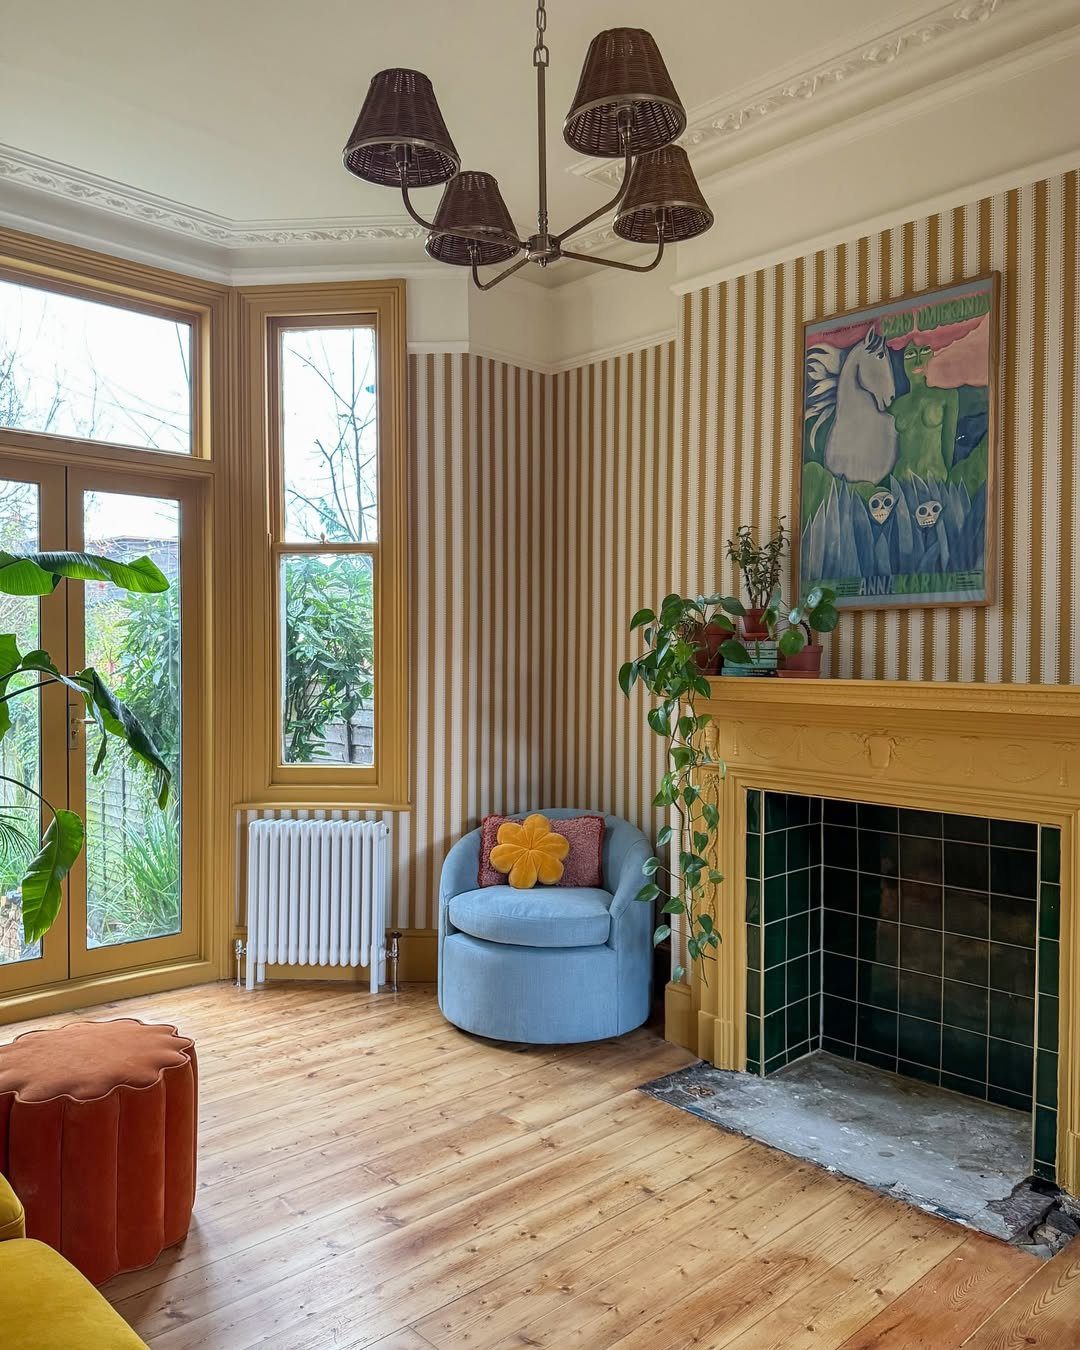
Photography courtesy of thistimeincolour
To finalize the process, carefully employ a precision knife to neatly trim any excess wallpaper around the borders, electrical sockets, or window frames. Exercise caution and accuracy, as this step is crucial for achieving a polished, professional appearance. I recall a time when I hurried this stage and inadvertently damaged the wallpaper. The takeaway: double-check your measurements before making any cuts!

Photo courtesy of lifestylem_interiordesign
Despite our best efforts, errors can occur. Here are some frequently encountered pitfalls to be mindful of in 2025:
Megan Duesterhaus, the creative mind behind The Homes I Have Made, advises: “For a smoother wallpaper application to your bookcase's back panel, removing the shelves is highly recommended. While it might involve tackling stubborn shelf supports or tricky fasteners, the effort of emptying the bookcase beforehand will ultimately simplify the process and yield a cleaner, more professional finish.”
Even the most seasoned DIYers stumble sometimes, but thankfully, most errors are easily corrected. Embrace a relaxed pace, savor the creative journey, and keep in mind that you're working with peel and stick wallpaper – a forgiving medium. Should you encounter a snag, simply detach the section and begin anew! Remember, in 2025, even the latest advancements in wallpaper technology still allow for easy adjustments.
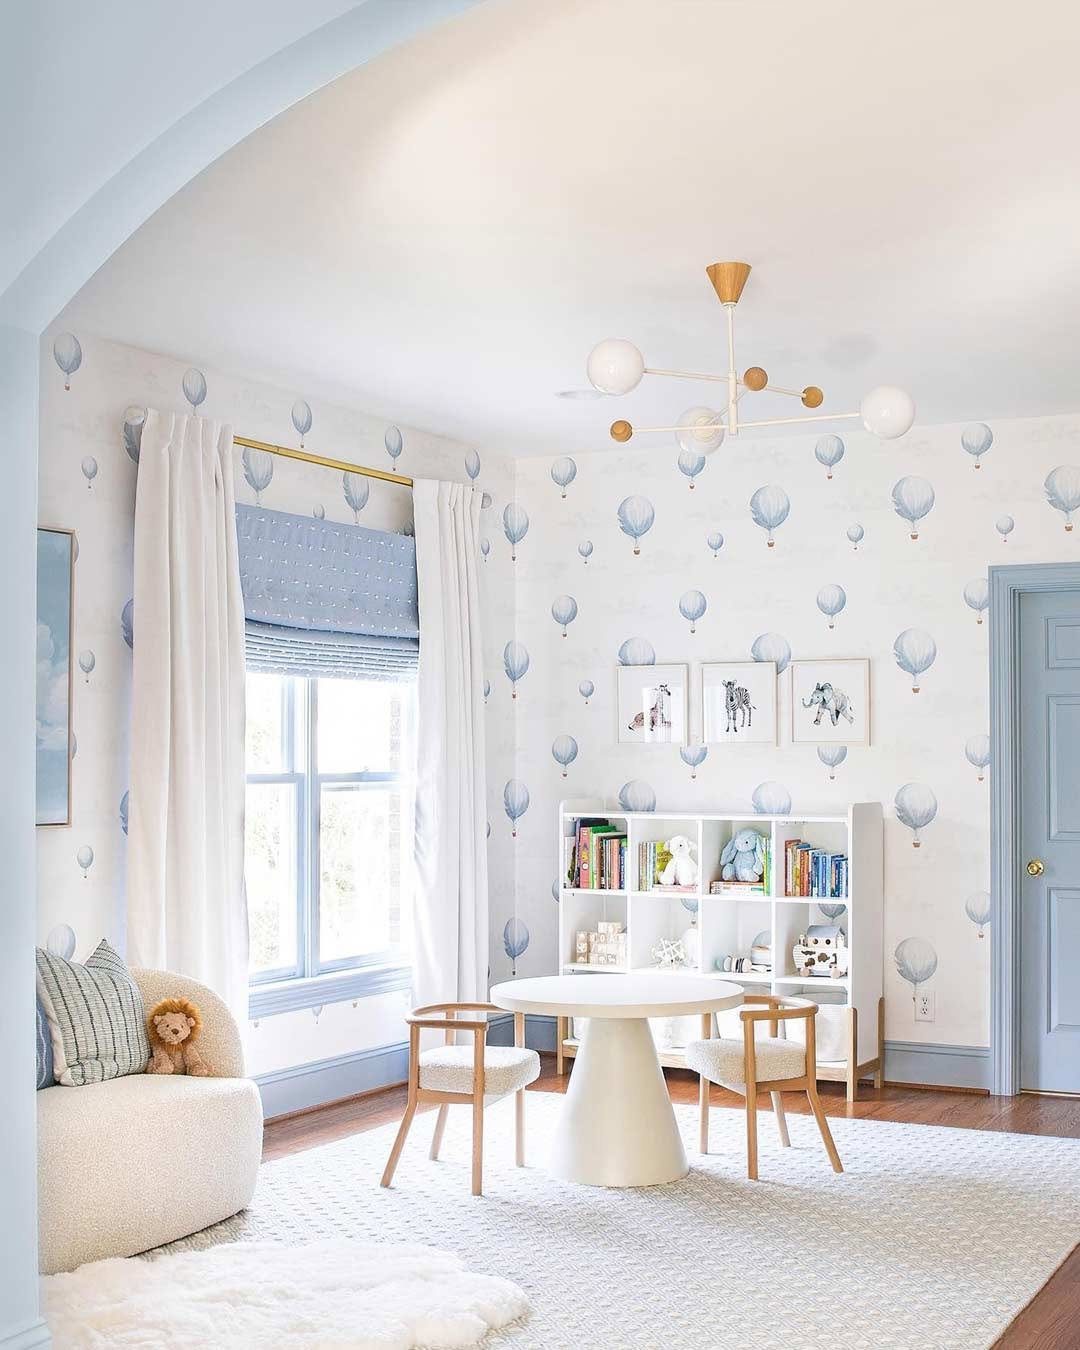
Photo courtesy of livetteswallpaper
Revamping your space? Removing self-adhesive wallpaper is a breeze in 2025! Just lift a corner and gently peel it away. Take your time; a slow, steady pace safeguards the wall beneath from any potential damage.
Should the wallpaper prove stubborn, employ a hairdryer on a low setting to carefully warm the surface. The gentle heat will soften the adhesive bonds, facilitating a smoother and more effortless removal process in 2025.
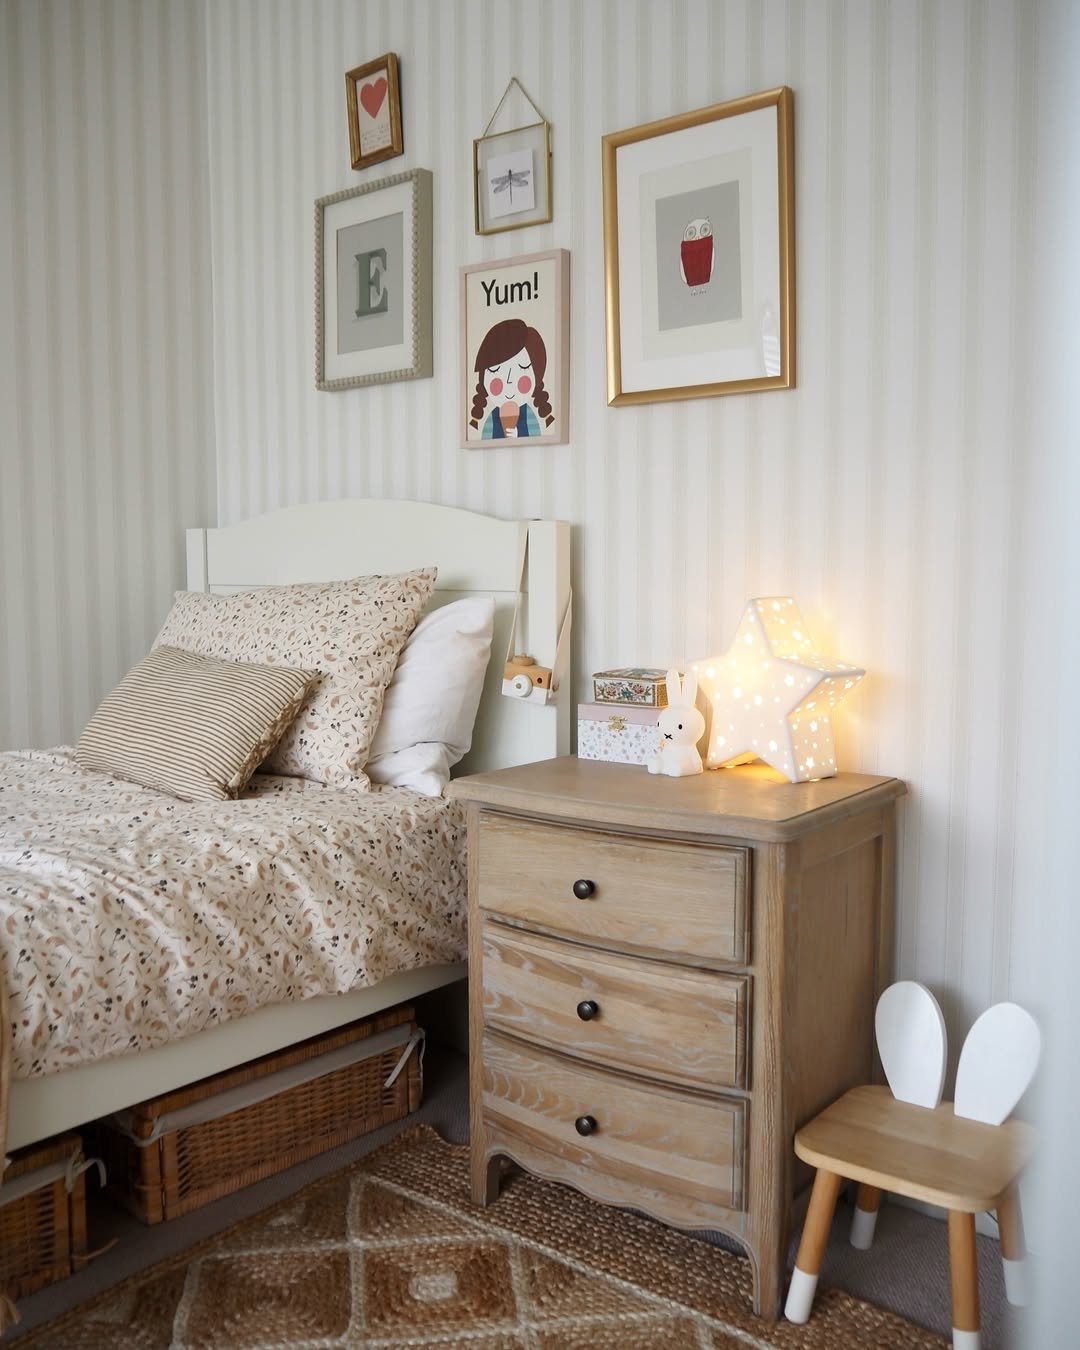
Photo courtesy of ourhebehome
Maintaining your wallpaper's pristine appearance in 2025 is simple: gently cleanse it with a moistened cloth. Refrain from using aggressive cleaning agents, as they may compromise the integrity of the surface. For optimal results, opt for pure water or a diluted, gentle soap solution.
If these concepts resonate with you, remember to save the image above to your "Home and Garden" inspiration board for future reference.