That rust stain spreading around your bathtub overflow drain isn't just ugly—it's a warning sign of water damage that could be compromising the structure beneath your tub. I've seen this problem countless times in older homes, and the good news is that you can fix it yourself for a fraction of the professional cost.
Bathtub overflow rust repair is the process of fixing corrosion damage around the overflow drain opening, typically caused by leaking gaskets that allow water to seep behind the tub and rust the metal. Unaddressed overflow leaks can lead to serious water damage and expensive structural repairs.
Contents
After helping homeowners tackle this repair for over 15 years, I've learned that the right products and proper technique make all the difference between a temporary fix and a lasting solution. This comprehensive guide will walk you through every step of the repair process, help you select the best products for your specific situation, and provide the knowledge you need to prevent future rust formation.
Why is my bathtub rusting around the overflow? The primary culprit is almost always a failed or deteriorated overflow gasket—the rubber seal that prevents water from escaping behind your tub when the drain is blocked. Over time, this gasket becomes brittle, cracks, or compresses, allowing small amounts of water to seep behind the tub with every use.
Different tub materials require different repair approaches. Acrylic vs fiberglass tubs have different susceptibility levels to rust, though only metal components actually rust. The rust typically forms on the overflow drain assembly itself, which is often made of steel or brass with a chrome finish.
Look for these warning signs that indicate your overflow needs attention: rust-colored staining around the overflow opening, water stains on the ceiling below the bathroom, a musty odor coming from the overflow area, or visible gaps between the overflow plate and tub wall. The most serious indicator is actual holes or perforations in the metal around the overflow opening, which requires immediate repair to prevent structural damage.
Before starting your bathtub overflow rust repair, gather these essential tools and materials. Having everything ready will streamline the process and ensure better results.
The success of your repair depends heavily on using quality materials appropriate for your specific situation. For surface rust treatment, you'll need a rust converter product that chemically stabilizes remaining rust. For holes or significant corrosion, an epoxy putty or fiberglass patch system will be necessary. A new overflow gasket is essential—don't reuse the old one regardless of its condition. Finally, waterproof silicone caulk ensures a lasting seal against future water intrusion.
Proper plumbing repair techniques start with having the right tools and materials on hand before beginning work.
The repair process involves removing the overflow plate, cleaning away rust, treating the metal, filling holes with epoxy or fiberglass, replacing the gasket, and sealing the area to prevent future water intrusion. This systematic approach ensures lasting results.
Start by protecting the work area. Lay down drop cloths to protect your tub and floor. Open windows for ventilation—many rust treatment products produce fumes. Put on safety glasses and chemical-resistant gloves. If you're working with strong chemical rust converters or epoxy products, wear a respirator mask rated for organic vapors.
Before beginning, take photos of the overflow area from multiple angles. These will be invaluable references during reassembly and can help you remember the exact positioning of components.
Using the appropriate screwdriver, carefully remove the screws securing the overflow plate. If screws are rusted or corroded, apply penetrating oil and let it sit for 15-20 minutes before attempting removal. Be patient—stripped screws will make the job much more difficult.
Once the screws are removed, gently pry the overflow plate away from the tub wall. You may need to work a utility knife carefully around the edges to break the seal of old caulk. Set the plate aside for inspection or replacement.
The old gasket will likely be brittle, deteriorated, and possibly fused to the tub. Use needle-nose pliers and a utility knife to carefully remove all traces of the old gasket material. This is critical—any remaining pieces will compromise the new gasket's seal.
Thoroughly clean the overflow opening and surrounding area with a wire brush to remove loose rust and scale. Follow up with medium-grit sandpaper (around 120-150 grit) to remove remaining surface rust and create a good mechanical bond for your repair materials. The area should be clean, dry, and free of any loose particles before proceeding.
Apply a quality rust converter to any remaining rust in the overflow opening. Rust converters chemically transform remaining iron oxide into a stable, paintable surface. Using a small brush, apply the product according to manufacturer instructions—typically you'll want to work it into all crevices and ensure complete coverage.
Let the rust converter dry completely. Most products require 1-4 hours of drying time, with some requiring 24 hours to fully cure. Rushing this step will compromise the entire repair, so be patient and follow the product's specific curing times.
If you have holes or significant metal loss around the overflow opening, you'll need to rebuild the area. For small holes (less than 1/4 inch), epoxy putty provides an effective solution. Knead the epoxy according to package directions—usually this involves mixing two components together until you achieve a uniform color.
Press the epoxy firmly into the holes, slightly overfilling them to allow for sanding. Smooth the surface as much as possible with a putty knife or wet finger. For larger areas of damage, consider using a fiberglass patch kit for added structural strength.
Allow the epoxy or fiberglass repair to cure completely. Most epoxy putties set in 25-60 minutes but require 24 hours for full strength. Check the manufacturer's instructions for specific curing times.
Once your repairs are fully cured, sand the area smooth. Start with medium grit sandpaper (around 220 grit) and progress to finer grits (320-400) for a smooth finish. The goal is to create a surface that's flush with the surrounding tub material and free of any high spots or rough edges.
Clean the sanded area thoroughly with rubbing alcohol to remove all dust and oils. Apply a metal primer compatible with your repair materials and tub surface. This step is crucial for paint adhesion and long-term durability.
Install the new overflow gasket according to manufacturer instructions. Most gaskets fit into a groove on the overflow pipe or attach to the back of the overflow plate. Ensure proper positioning and that the gasket isn't twisted or compressed unevenly.
Reinstall the overflow plate, taking care not to overtighten the screws, which could crack the tub or damage the new gasket. The plate should be snug against the tub wall with the gasket slightly compressed to create a seal.
Apply a thin bead of waterproof silicone caulk around the perimeter of the overflow plate where it meets the tub wall. Smooth the caulk with a wet finger or caulk smoothing tool for a clean, professional finish. The caulk provides an additional barrier against water intrusion.
If needed, touch up the repaired area with paint appropriate for your tub material. For porcelain or enamel tubs, use a specialty tub and tile paint. Allow all materials to cure completely before using the tub—typically 24-48 hours for silicone caulk and up to 7 days for some paints.
Once all materials are fully cured, test your repair by plugging the drain and filling the tub with water above the overflow level. Monitor the overflow area for any signs of leaks. Let the water sit for at least 30 minutes to ensure the repair holds under pressure.
Check the ceiling below the bathroom for any signs of water leakage. If everything stays dry, your repair was successful! If you notice any dripping, you may need to disassemble and re-seal certain areas.
After testing dozens of products over the years, I've identified several that consistently deliver excellent results for bathtub overflow rust repairs. Here are my top recommendations based on performance, ease of use, and value:
![Bathtub Overflow Rust Repair ([nmf] [cy]) Complete DIY Guide 1 Corroseal-82320 Water-Based Rust Converter Metal Primer,...](https://m.media-amazon.com/images/I/41llhye0f3L._SL160_.jpg)
Coverage: 200-250 sq ft per gallon
Water-based formula
Non-flammable
Durable finish
Check PriceThis water-based rust converter is my top choice for treating remaining rust in overflow openings. The proprietary formula chemically converts rust into a stable, paintable surface, eliminating the need for aggressive sanding or media blasting.
What sets Corroseal apart is its ease of use and excellent coverage. One quart treats up to 250 square feet—more than enough for multiple overflow repairs. The water-based formula means easy cleanup with soap and water, and it produces no harsh fumes during application.
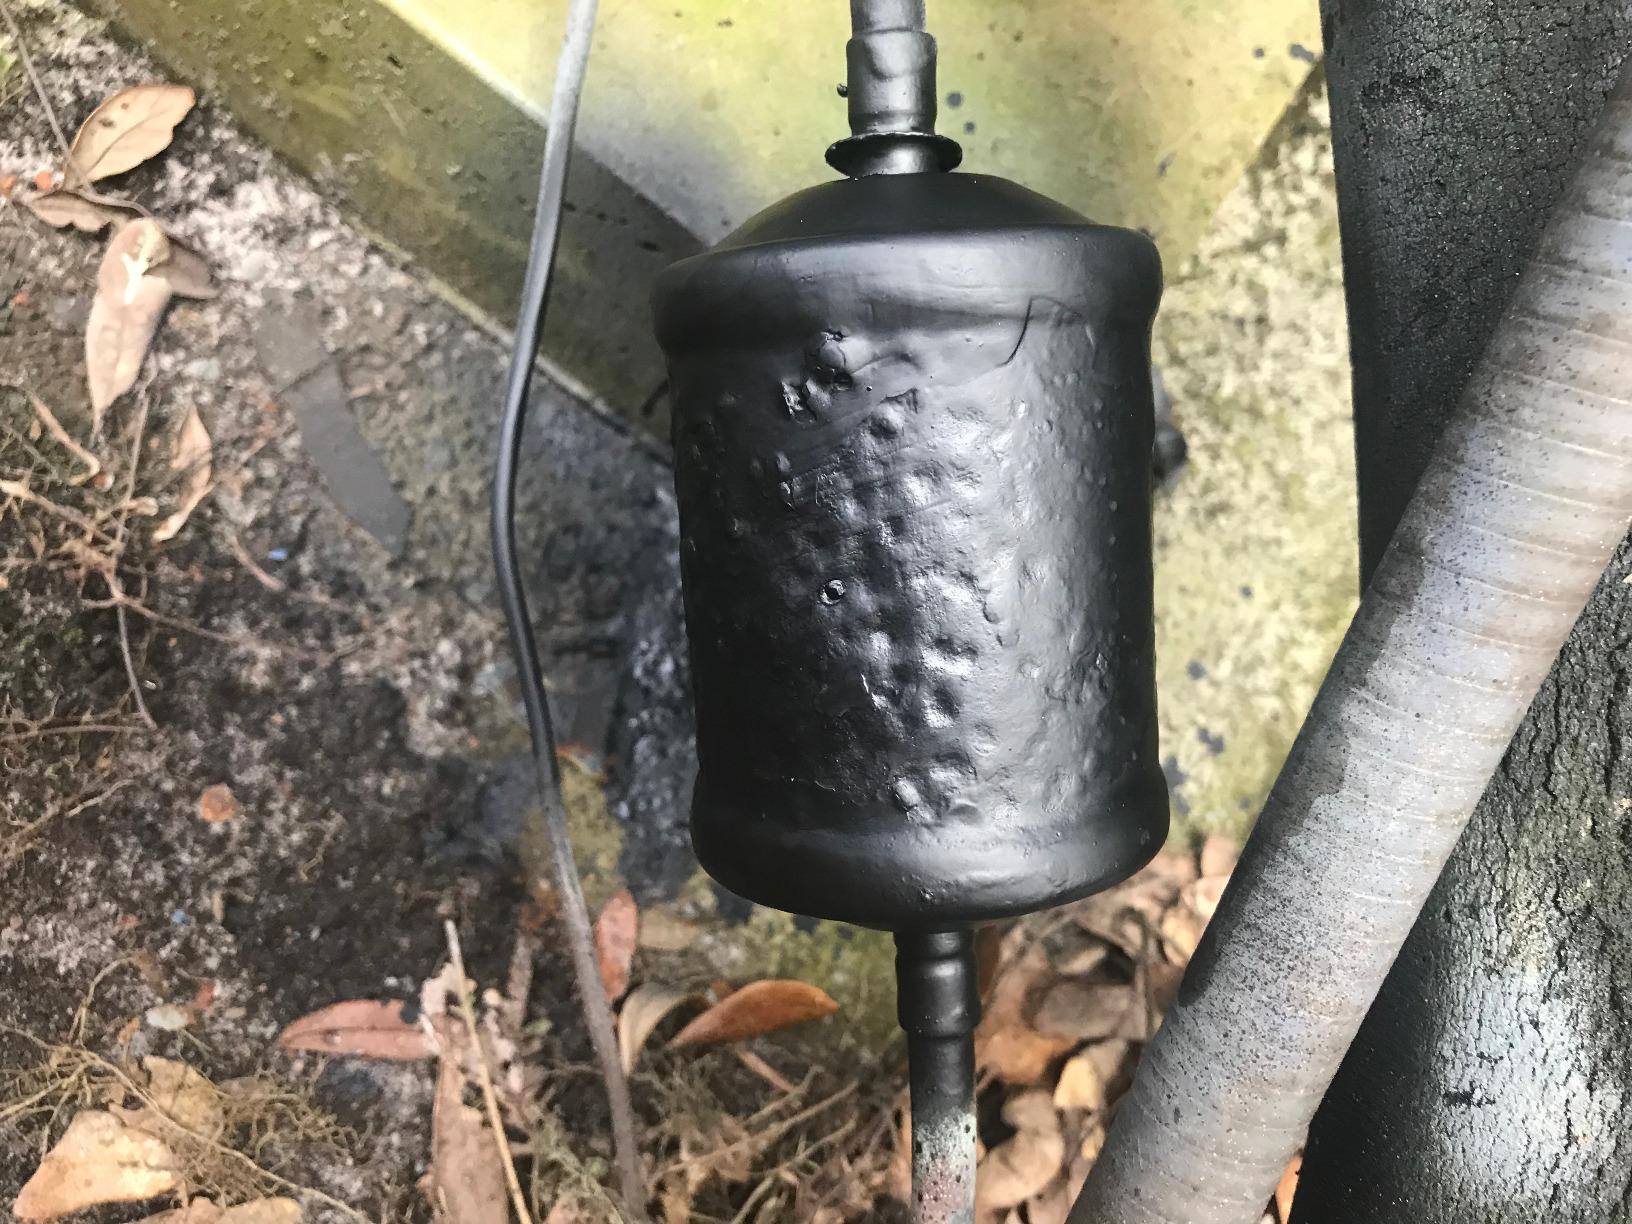
Customer photos show impressive results on various metal surfaces, including automotive parts and household fixtures. Users particularly appreciate how well it accepts paint afterward, creating a durable finish that lasts for years.
The product creates a surface that's ready for priming or painting within 24 hours of application. For best results, apply two thin coats rather than one thick coat, allowing proper drying time between applications.
Water-based formula makes cleanup simple and doesn't require harsh solvents. Converts rust to a stable surface that accepts paint well. Covers large areas with just a small amount of product.
Can be somewhat runny and may drip if applied too thickly. Requires thorough surface preparation for optimal results.
![Bathtub Overflow Rust Repair ([nmf] [cy]) Complete DIY Guide 2 J-B Weld 8277 WaterWeld Epoxy Putty Stick - 2 oz., Off White](https://m.media-amazon.com/images/I/51KlqfGCNgL._SL160_.jpg)
Cure time: 1 hour
Waterproof when cured
Withstands 300°F
NSF certified for potable water
Check PriceFor filling holes and rebuilding damaged areas around bathtub overflows, J-B Weld WaterWeld is my go-to product. This hand-mixable epoxy putty creates incredibly strong, waterproof repairs that actually cure underwater—making it perfect for bathroom applications.
What makes WaterWeld exceptional is its versatility and strength. Once cured, it withstands temperatures up to 300°F and resists chemicals including petroleum products. The NSF certification for potable water contact gives you peace of mind about safety in bathroom applications.
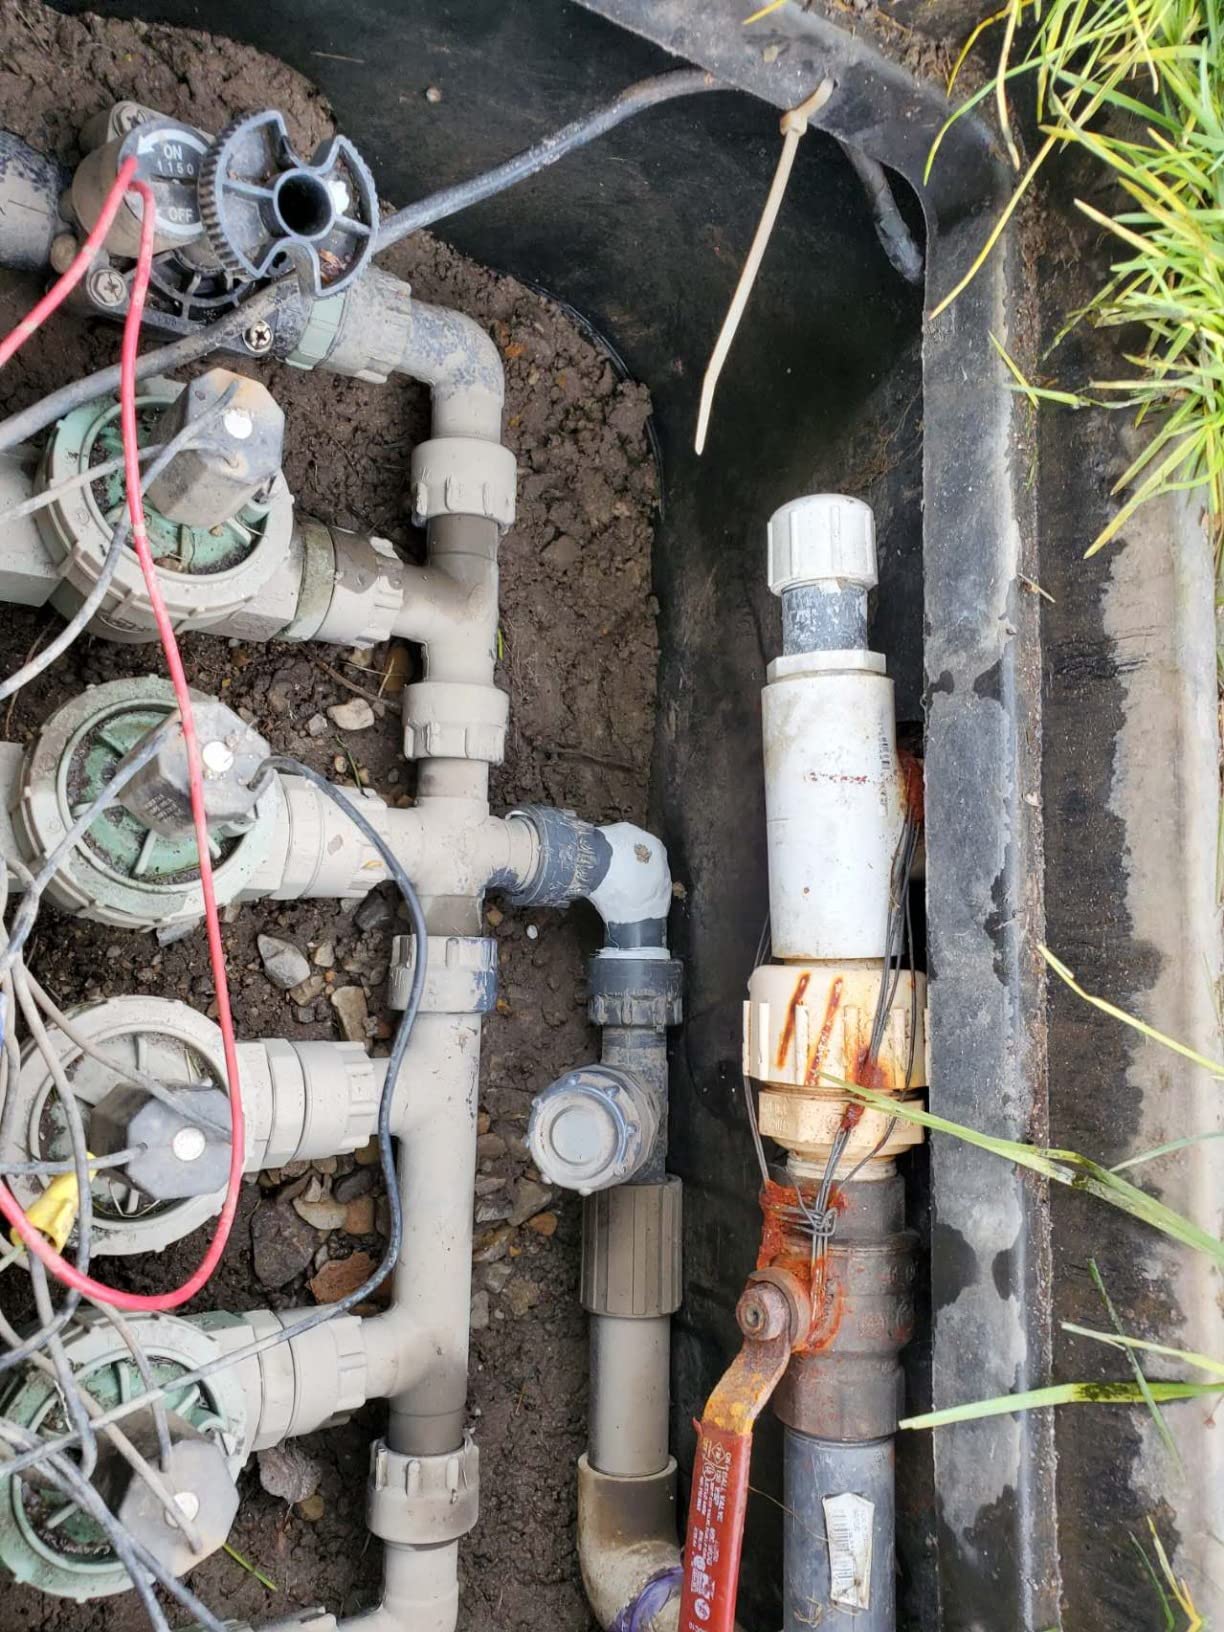
I've used this product for everything from small pinholes to larger reconstruction projects around overflow openings. Customer photos demonstrate its effectiveness on various repairs, including plumbing fixes and metal reconstructions.
Mixing is simple—just cut off the amount needed and knead it with your fingers until the color is uniform. You'll have about 25 minutes of working time before it begins to set, so plan accordingly. The putty fully cures in one hour, creating a rock-hard, waterproof repair.
Can be applied to wet surfaces and even cures underwater. Creates incredibly strong, long-lasting repairs. Resistant to chemicals and temperature extremes.
Requires gloves during application as it can be quite sticky. Working time is limited once mixed—plan your repair carefully.
![Bathtub Overflow Rust Repair ([nmf] [cy]) Complete DIY Guide 3 Sand Paper, 48 PCS Sandpaper, 120 to 5000 Assorted Grit...](https://m.media-amazon.com/images/I/41gypvFjcpL._SL160_.jpg)
48 sheets in 16 grits
Waterproof design
Premium silicon carbide
9x3.6 inch sheets
Check PriceProper surface preparation is critical for successful bathtub overflow repairs, and this 48-piece sandpaper assortment provides everything you need from initial rust removal to final finishing. The range from 120 to 5000 grit covers all stages of the repair process.
What impresses me most about this set is the inclusion of ultra-fine grits up to 5000, which allows for mirror-smooth finishes on repaired areas. The waterproof design means you can use these sheets for wet sanding, which produces better results and less dust.
The silicon carbide abrasive cuts efficiently and lasts longer than conventional aluminum oxide sandpaper. Customer photos show excellent results on various materials including metal, wood, and automotive surfaces.
At just pennies per sheet, this set represents exceptional value. The grit numbers are clearly printed on the back of each sheet, making it easy to identify the right abrasive for each stage of your repair. With 3 sheets of each grit, you have plenty for multiple projects.
Incredible variety with 16 different grits in one set. Waterproof design works well for wet sanding applications. Excellent value with 48 sheets total.
May not be as durable as premium professional-grade sandpaper. Quality can vary between different grit levels.
![Bathtub Overflow Rust Repair ([nmf] [cy]) Complete DIY Guide 4 LXLOTUS Chrome Bathtub Drain Kit, Lift and Turn - Polished...](https://m.media-amazon.com/images/I/41EoNCHae+L._SL160_.jpg)
Solid brass construction
Polished chrome finish
Universal fit design
Complete kit included
Check PriceSometimes the best solution is to replace the entire overflow assembly rather than repair it. This complete chrome bathtub drain kit from LXLOTUS includes everything you need for a fresh start, including the overflow plate, drain assembly, and gasket.
The solid brass construction ensures long-term durability, while the polished chrome finish provides a classic look that matches most bathroom fixtures. The universal design fits both 1-3/8 inch and 1-1/2 inch drain openings, making it compatible with most standard bathtubs.
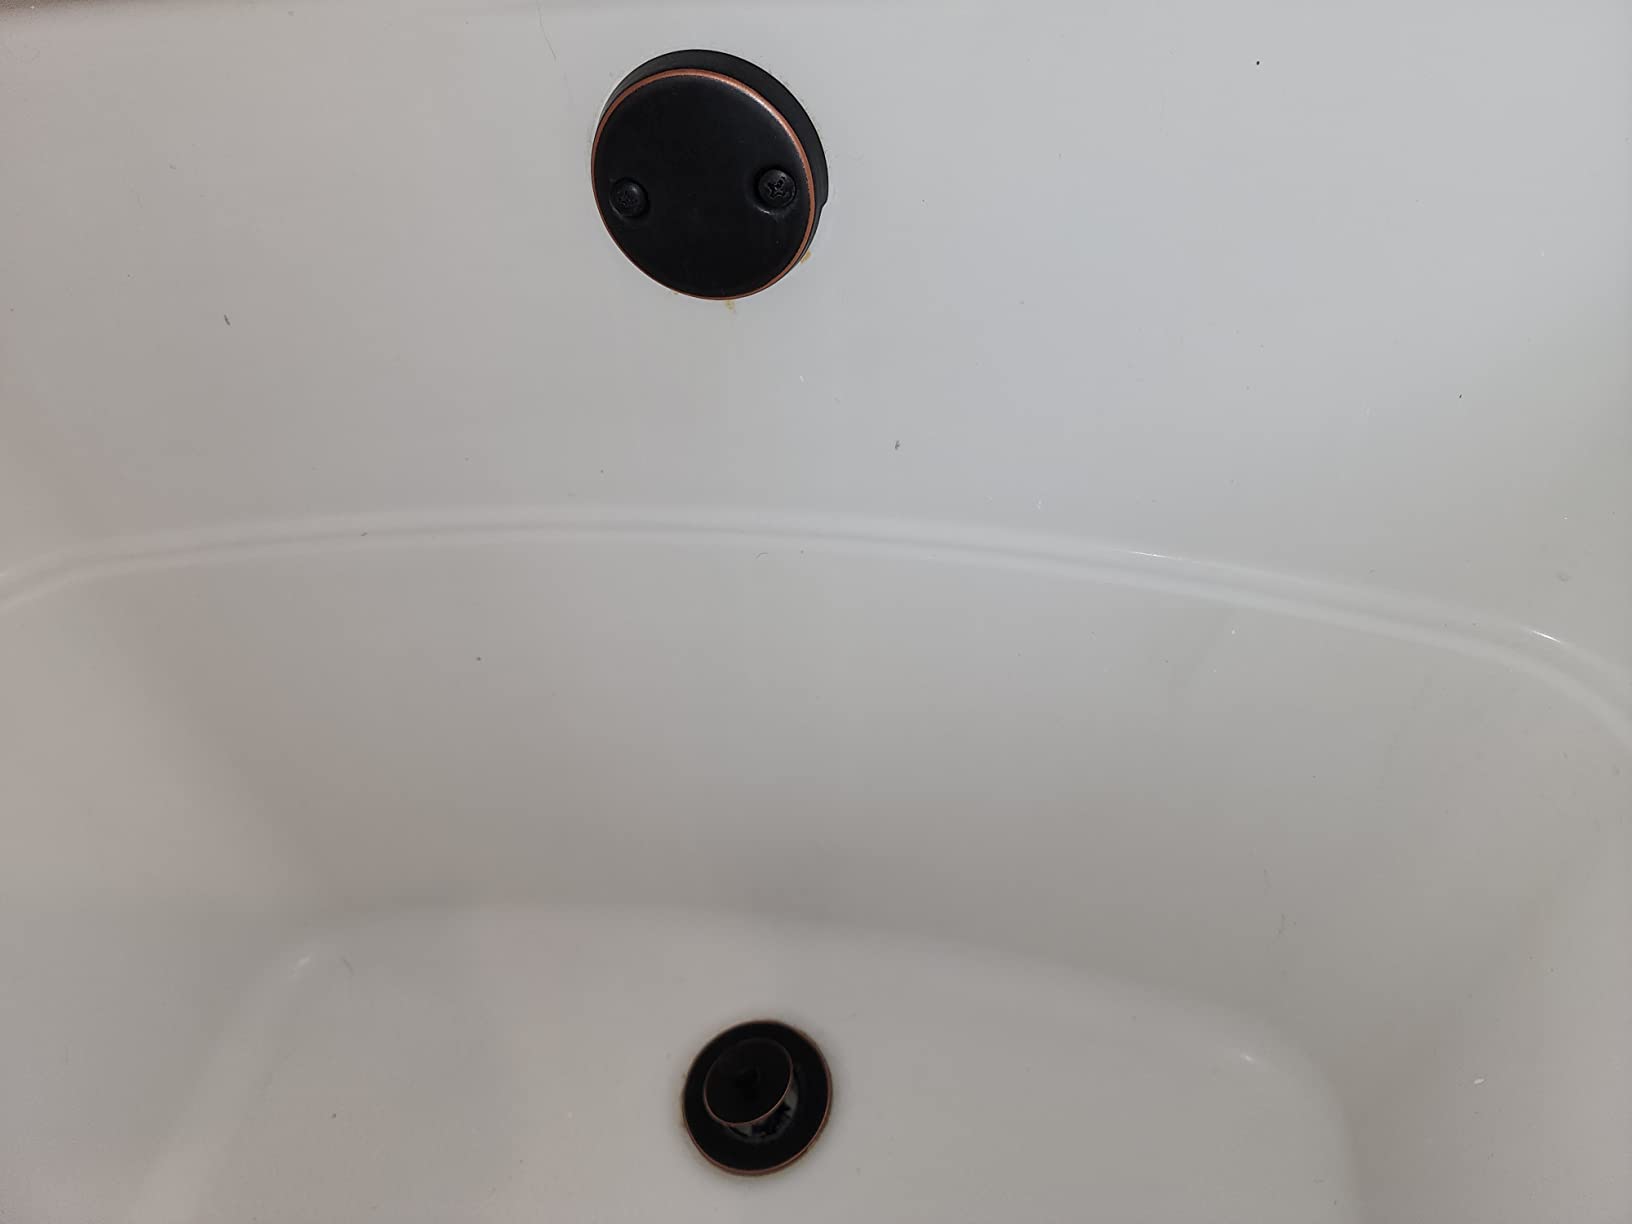
Installation is straightforward with the included instructions and all necessary hardware. Customer photos show how this kit can make an old bathtub look brand new with minimal effort.
While replacement costs more than repair, it provides peace of mind knowing you have entirely new components that should last for many years. The complete kit eliminates the need to source individual parts separately.
Solid brass construction ensures excellent durability. Universal fit works with most standard bathtubs. Complete kit includes everything needed for installation.
Currently experiencing low stock availability. Some users report the stopper mechanism feels a bit loose.
![Bathtub Overflow Rust Repair ([nmf] [cy]) Complete DIY Guide 5 Gorilla Waterproof Caulk & Seal Silicone Sealant, 10oz...](https://m.media-amazon.com/images/I/31tvwmxqzUL._SL160_.jpg)
Ready for water in 30 minutes
100% silicone formula
Mold and mildew resistant
10oz cartridge
Check PriceAfter completing your overflow repair, you need a sealant that provides exceptional waterproof protection. Gorilla's silicone caulk offers excellent performance with the advantage of being ready for water exposure in just 30 minutes—much faster than traditional silicones that require 24-48 hours.
The 100% silicone formula won't yellow, shrink, or crack over time, maintaining a clean appearance and reliable seal. It's also mold and mildew resistant, which is crucial in damp bathroom environments.
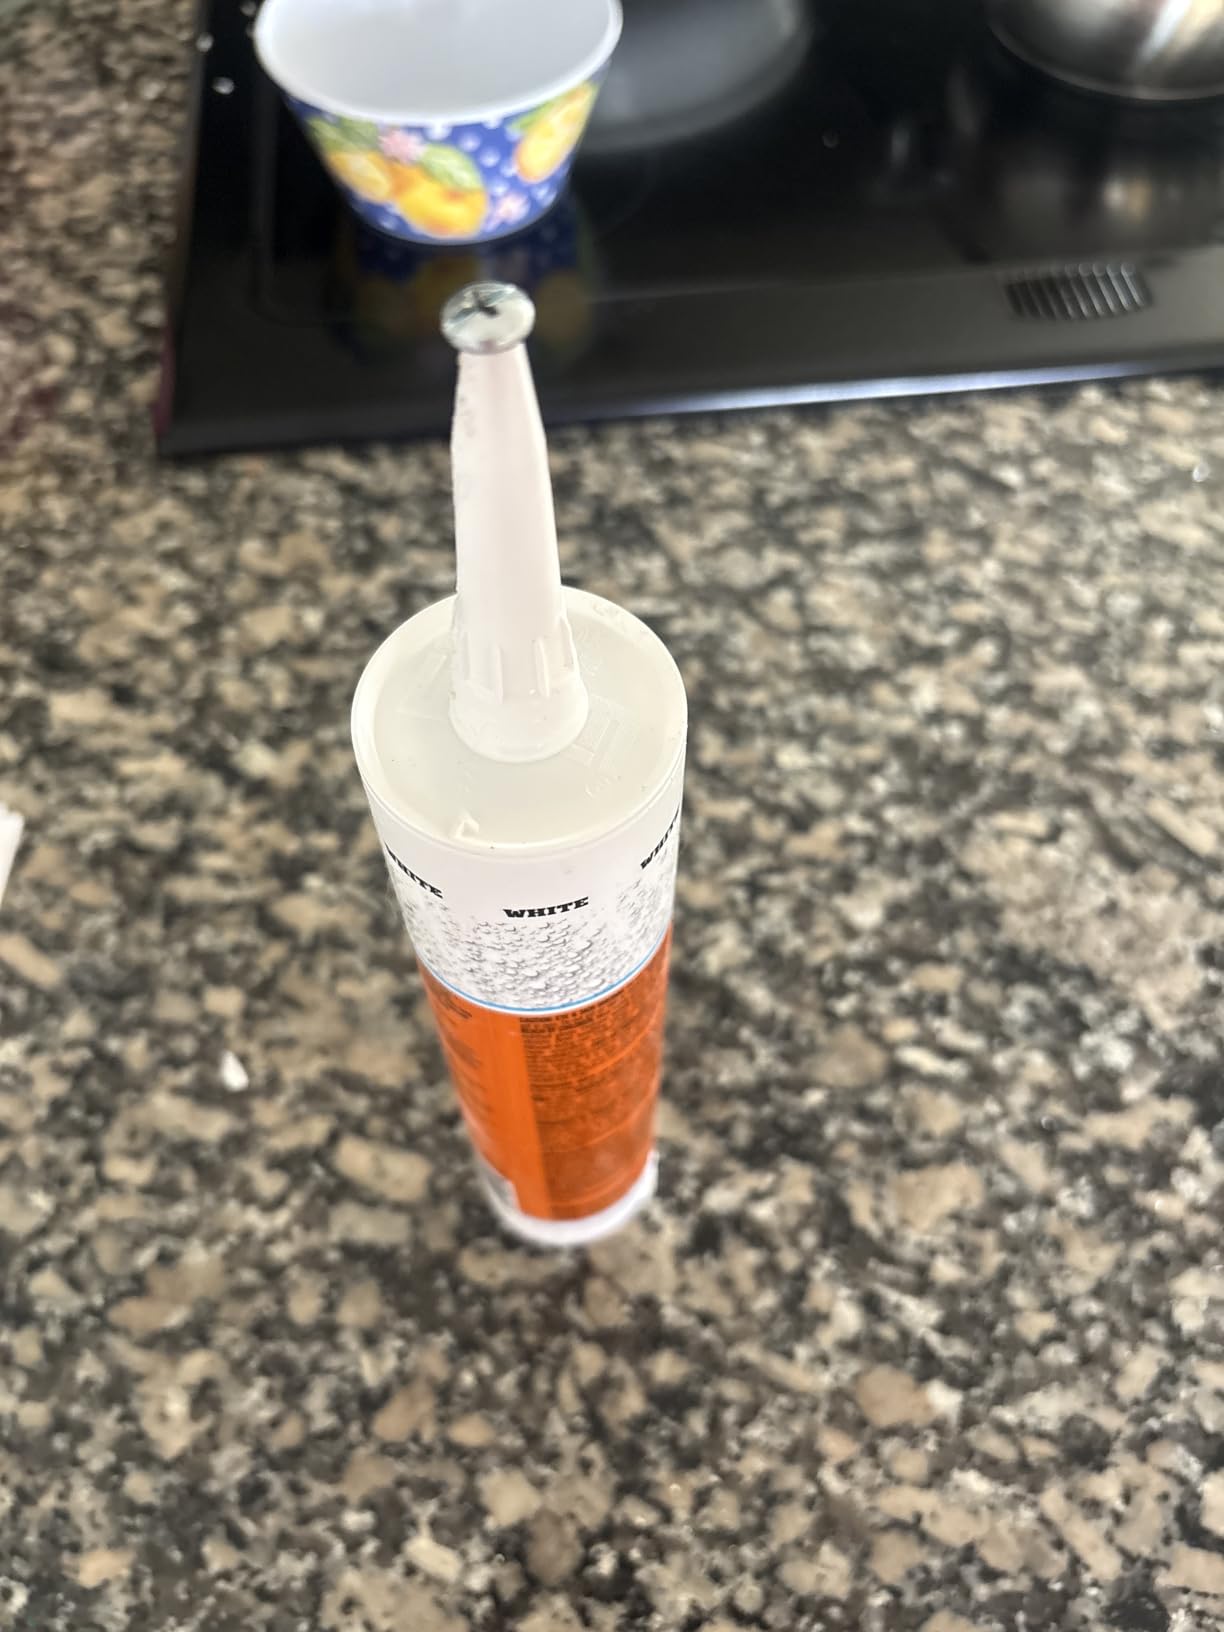
This caulk creates a flexible, durable seal that accommodates slight movements without failing. Customer photos demonstrate its effectiveness on various sealing applications around the home, particularly in bathrooms and kitchens.
The formula adheres well to most bathroom surfaces including porcelain, ceramic, metal, and plastic. While it has a strong vinegar-like smell during curing, this dissipates after 24-48 hours. The 10oz cartridge provides plenty for multiple overflow repairs and other bathroom sealing projects.
Ready for water exposure in just 30 minutes. Won't yellow, shrink, or crack over time. Creates a strong, flexible waterproof seal.
Has a strong vinegar smell during curing process. Can be difficult to clean up once fully dried.
![Bathtub Overflow Rust Repair ([nmf] [cy]) Complete DIY Guide 6 Rust-Oleum 385279 Tub And Tile Refinishing 2-Part Kit, Satin...](https://m.media-amazon.com/images/I/51JELHkLqPL._SL160_.jpg)
Covers 70-110 sq ft
Epoxy acrylic formula
Satin white finish
2-part system
Check PriceFor a completely refreshed look after your overflow repair, this tub and tile refinishing kit from Rust-Oleum provides a professional-quality finish at a fraction of replacement cost. The 2-part epoxy acrylic formula creates a durable, moisture-resistant surface that stands up to regular use.
Each kit covers up to 110 square feet—enough for complete bathtub refinishing or multiple repair projects. The satin white finish provides a fresh, clean look that brightens the entire bathroom.
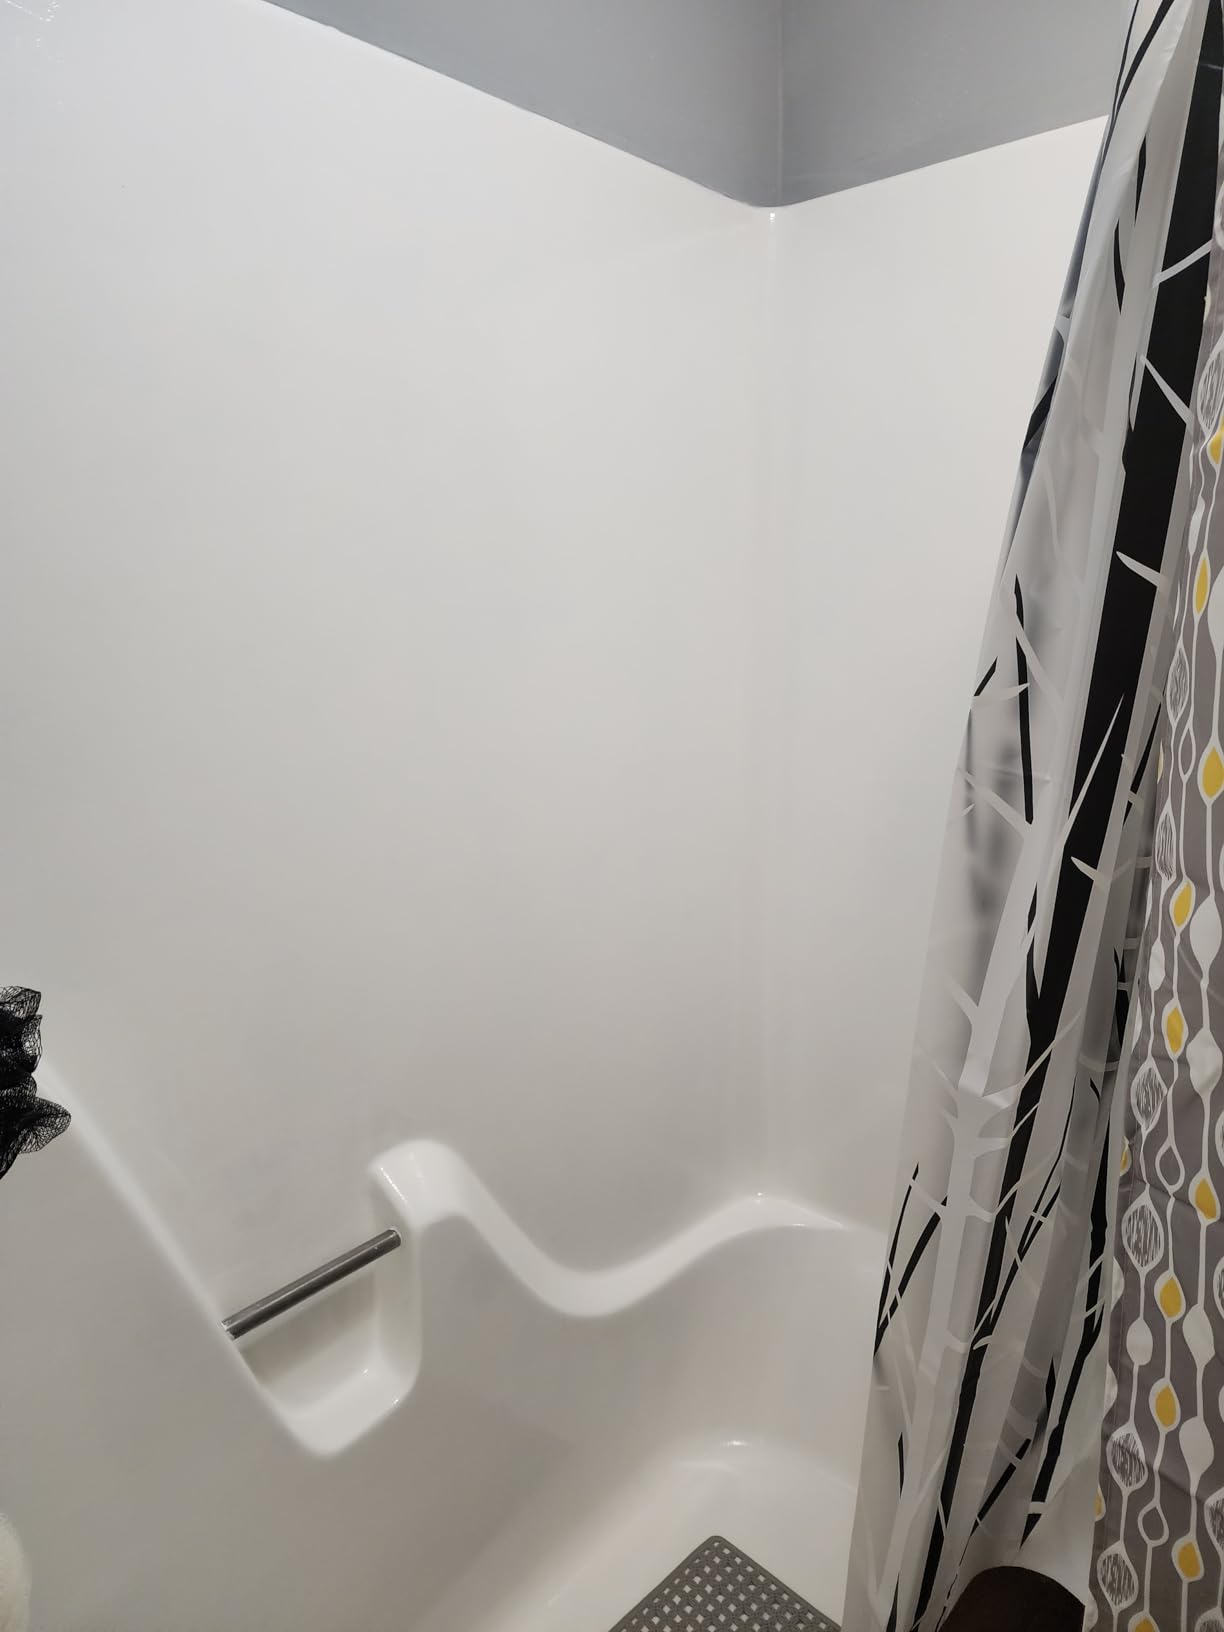
The application process requires careful preparation and good ventilation due to strong fumes, but the results are impressive. Customer photos show dramatic transformations of tired, worn tubs into fixtures that look nearly new.
While the process involves multiple steps and careful timing, the savings compared to professional refinishing or tub replacement are substantial. For the best results, follow the preparation instructions precisely and don't rush the drying times between coats.
Creates a professional-looking satin white finish. Durable formula withstands moisture and regular cleaning. Much more affordable than tub replacement.
Produces very strong fumes requiring excellent ventilation. Limited working time once the two parts are mixed. Requires extensive surface preparation.
Even with careful work, you might encounter some issues during or after your bathtub overflow rust repair. Here are solutions to the most common problems:
If rust reappears within months of your repair, the underlying cause wasn't properly addressed. This usually means water is still reaching the metal through a compromised seal or the rust treatment wasn't complete. To fix this, you'll need to disassemble the overflow again and look for gaps in the gasket seal or areas where water might be intruding.
When epoxy putty or filler materials fail to adhere, surface contamination is usually the culprit. The metal must be completely clean and dry before applying repair materials. Even oils from your fingers can prevent proper adhesion. Clean the area thoroughly with rubbing alcohol and allow it to dry completely before reapplying repair materials.
If your touch-up paint doesn't match the surrounding tub, test color samples in an inconspicuous area before applying to the repaired section. Porcelain and enamel finishes can be difficult to match exactly. Consider using a slightly lighter shade and applying multiple thin coats rather than one thick coat, which often looks more natural.
Leaks after reassembly typically indicate an improperly positioned or compressed gasket. The overflow plate might also be uneven against the tub wall. Disassemble the overflow and check that the gasket is seated properly and not twisted. Reinstall the plate, ensuring even pressure all around when tightening screws.
While most overflow rust repairs are manageable DIY projects, certain situations require professional help. Call a plumber if you encounter extensive structural damage to the tub itself, if the overflow assembly is seized or corroded beyond removal, or if you're uncomfortable working with the chemical products involved. Also consider professional help if previous repair attempts have failed multiple times.
Prevention is always better than repair when it comes to bathtub overflow rust. With proper maintenance and care, you can extend the life of your repair and prevent future rust formation.
Check your bathtub overflow area every 3-4 months for early signs of trouble. Look for moisture around the overflow plate, any new discoloration, or deterioration of the caulk seal. Catching problems early makes them much easier and less expensive to address.
When cleaning plastic bathtubs or other tub materials, avoid harsh abrasive cleaners around the overflow area. These can damage the protective finish and accelerate rust formation. Instead, use mild, pH-neutral cleaners and soft cloths for regular maintenance.
Keep your bathroom well-ventilated to reduce humidity levels. Run exhaust fans during and for at least 15 minutes after showers. Wipe down the overflow area after use to remove standing water. Consider using a dehumidifier in particularly damp bathrooms to reduce overall moisture levels.
Proper acrylic bathtub installation includes quality gaskets, but these components wear out over time. Once a year, carefully inspect the overflow gasket for signs of deterioration, compression, or brittleness. Proactive replacement is much easier than dealing with water damage.
The silicone caulk around your overflow plate provides an important secondary barrier against water intrusion. Inspect this seal monthly and reapply as needed—typically every 1-2 years depending on use and cleaning habits. Remove old caulk completely before applying new sealant for the best results.
DIY repairs typically cost $50-200 for materials, while professional replacement ranges from $230-1,170 depending on damage extent and location. Your actual cost will vary based on the severity of rust damage and whether you need to replace components or just treat surface rust.
Yes, most rust holes can be repaired successfully using epoxy putty or fiberglass patch kits. Small holes (under 1/4 inch) respond well to epoxy putty fillers, while larger damage may require fiberglass reinforcement for structural strength. The key is proper surface preparation and complete rust treatment before applying repair materials.
Rust itself isn't typically dangerous, but the underlying water leak that causes rust can lead to mold growth and structural damage. The water seepage that causes rust can also damage subflooring and ceiling materials below. For this reason, it's important to address rust issues promptly to prevent more serious problems.
Most DIY repairs can be completed in 2-4 hours spread over 2-3 days to allow for proper curing between steps. The actual work time is minimal, but rust converters need 24 hours to cure, epoxy repairs require 24 hours for full strength, and silicone caulk needs 24-48 hours before water exposure. Plan accordingly to avoid using the tub during curing periods.
For bathtub overflow rust, chemical rust converters like Corroseal work better than mechanical removal methods. These products chemically stabilize remaining rust and create a paintable surface. For heavy rust, start with a wire brush to remove loose scale, then apply a rust converter according to manufacturer directions for the most durable results.
Bathtub overflow rust repair is a manageable DIY project that can save you hundreds of dollars compared with professional replacement. Based on my experience helping homeowners tackle this repair, the key to success lies in proper preparation, quality materials, and patience during curing times.
For most situations, I recommend starting with the Corroseal rust converter to treat remaining rust, followed by J-B Weld WaterWeld for any holes or significant damage. Finish with Gorilla silicone caulk for a waterproof seal that protects against future water intrusion. This combination provides excellent results at a reasonable price point.
Remember that the underlying cause—almost always a failed overflow gasket—must be addressed to prevent recurrence. Don't shortcut the gasket replacement step, even if the old one looks acceptable. The small cost of a new gasket is insignificant compared with potential water damage from a leaking overflow.
With the right approach, your repair can last for many years, protecting your home from water damage and extending the life of your bathtub. Take your time, follow the steps carefully, and don't hesitate to call a professional if you encounter situations beyond your comfort level or skill set.