A leaking bathtub drain elbow can cause extensive water damage to your floors and ceiling below. When you notice water stains, slow drainage, or musty smells around your tub, the drain elbow often needs replacement.
Replacing a bathtub drain elbow is a manageable DIY project that saves $500-700 in professional plumbing costs. With the right tools and our step-by-step guide, you can complete this repair in 2-4 hours, even with limited access to the plumbing.
Contents
I've replaced dozens of drain elbows in various rental properties over the years. The most common issue I encounter is corroded connections that seem impossible to remove. With the techniques I'll share, you'll avoid the mistakes that lead to stripped threads or damaged tub finishes.
This comprehensive guide covers everything from identifying your drain type to testing for leaks after installation. We'll also review the best replacement parts available, so you can choose the right materials for your specific situation.
A bathtub drain elbow is a curved pipe fitting that connects the drain flange to the main drain pipe, allowing water to flow from the tub into the plumbing system while accommodating the angle needed for proper drainage.
The drain system consists of several key components working together. The visible drain flange sits in the tub opening, connected to the drain elbow beneath the tub. This elbow connects to the overflow tube and eventually to the P-trap that prevents sewer gases from entering your home.
Common failure points include corroded connections between the elbow and drain flange, cracked elbow joints from age, and improper sealing that leads to leaks. Most residential tubs use either 1-1/2 inch ABS or PVC drain systems, with Schedule 40 being the standard thickness rating for adequate durability.
Schedule 40: Standard thickness rating for PVC pipes, indicating wall thickness suitable for most residential plumbing applications.
Having the right tools prevents frustration and damage to your tub. I learned this the hard way when I stripped a drain fitting using channel-lock pliers instead of a proper drain wrench.
Match your existing material - ABS with ABS, PVC with PVC. Mixing materials can cause connection failures. ABS is black and more impact-resistant, while PVC is white/gray and offers better sound dampening.
⏰ Time Saver: Apply penetrating oil to corroded connections the night before. This simple step can save hours of frustration during removal.
The removal process varies depending on your drain type and access. Follow these steps carefully to avoid damage.
If you have access from below, remove the ceiling panel or access door. For limited access situations, you'll work entirely from above.
Use a drain wrench if crossbars are present. Turn counterclockwise with steady pressure. If the flange has no crossbars or they're broken, use a tub drain extractor.
Loosen the slip nut connecting the elbow to the drain pipe. If corroded, apply heat with a hair dryer or use penetrating oil. Work patiently to avoid breaking connections.
✅ Pro Tip: If the elbow falls beneath the tub during removal, use a flexible retrieval tool or coat hanger with a hook to fish it out.
Proper installation ensures leak-free operation. I always test-fit new components before applying sealant to ensure proper alignment.
Clean all connection surfaces thoroughly. Apply fresh plumber's putty to the drain flange underside if recommended by the manufacturer.
Position the new elbow in place, ensuring proper alignment with both the drain opening and the horizontal pipe. Hand-tighten all connections first.
Apply pipe thread sealant to threaded connections. For slip joints, ensure rubber gaskets are properly positioned and in good condition.
Tighten all connections with wrenches, being careful not to overtighten. Reinstall the drain flange, ensuring it sits flush with the tub surface.
After testing dozens of options in various properties, here are my top recommendations for different situations:
![Complete DIY Guide to Replace a Bathtub Drain Elbow ([nmf] [cy]) 1 Bathtub Drain Waste and Overflow Shoe Pipe Repair Kit, 1-1/2...](https://m.media-amazon.com/images/I/31jzR4G9j+L._SL160_.jpg)
Material: ABS
Size: 1-1/2 inch
Includes: Repair kit
Features: Anti-corrosive
Check PriceThis affordable repair kit works well for standard ABS drain systems. The anti-corrosive material withstands temperature changes and pressure fluctuations. I've used these in multiple rental units with good success, though you may need to cut the pipe to fit specific configurations.
![Complete DIY Guide to Replace a Bathtub Drain Elbow ([nmf] [cy]) 2 Westbrass 792BR Bathtub Drain Assembly Top Elbow Converter...](https://m.media-amazon.com/images/I/41Mgi5eqfCL._SL160_.jpg)
Material: Steel
Type: Converter bracket
Features: Adapts fittings
Finish: Unfinished
Check PriceThis converter bracket solves the common problem of mismatched drain configurations. It adapts two-hole top elbows to fit one-hole faceplates, a situation I frequently encounter in older homes. The heavy-duty metal construction ensures durability, though you may need to trim the ends for certain drain sizes.
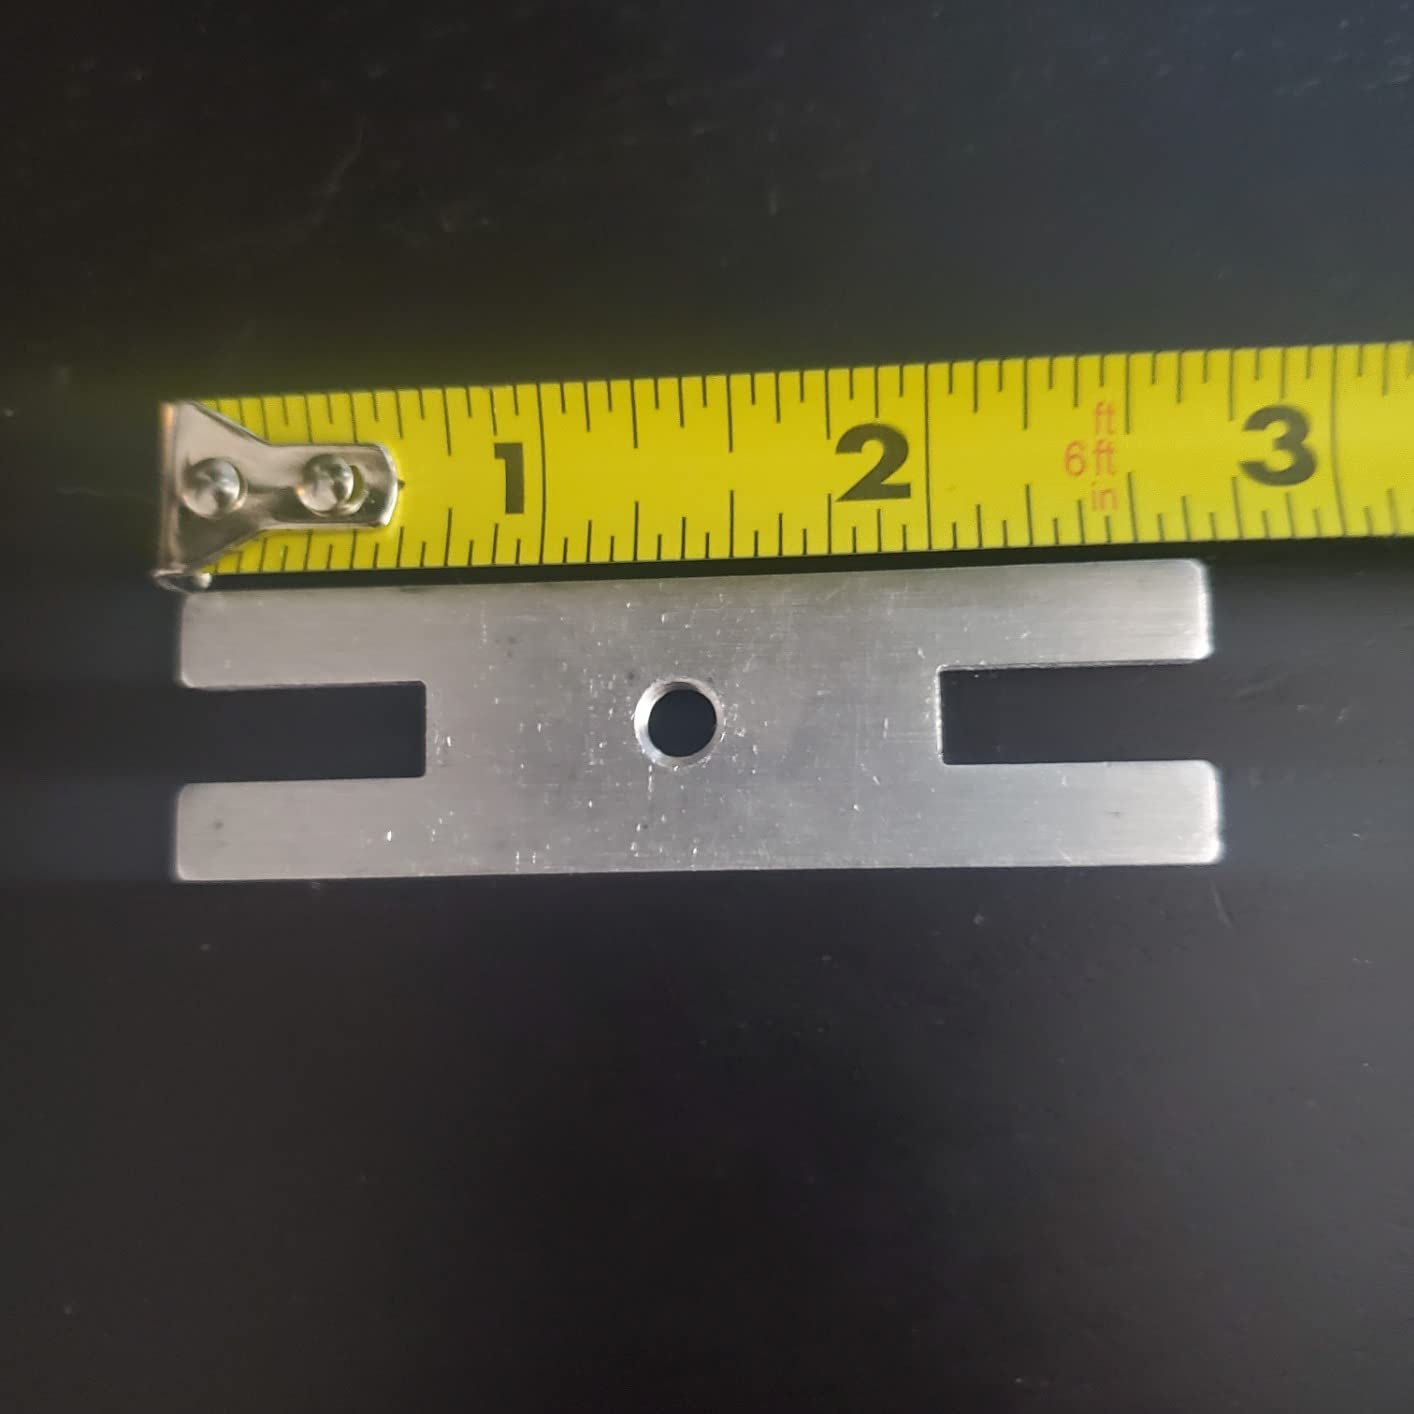
Customer photos confirm the sturdy build quality of this adapter. The steel construction provides the strength needed for reliable operation in various drain configurations.
![Complete DIY Guide to Replace a Bathtub Drain Elbow ([nmf] [cy]) 3 LASCO 03-4950 Bathtub Drain Elbow with Tiptoe Style Stopper...](https://m.media-amazon.com/images/I/41Y-rJK8KcL._SL160_.jpg)
Material: ABS with Chrome
Size: 1-1/2 inch
Style: Tip-toe
Features: Code compliant
Check PriceThis ABS elbow with chrome trim is ideal when local codes require ABS plumbing. Many areas don't allow PVC in certain applications, making this the perfect solution. The tip-toe drain operation is user-friendly, though I recommend replacing the included stopper with a higher quality option.
![Complete DIY Guide to Replace a Bathtub Drain Elbow ([nmf] [cy]) 4 Westbrass Tip-Toe Sch. 40 ABS Bath Waste with Two-Hole...](https://m.media-amazon.com/images/I/31ReXkFalkL._SL160_.jpg)
Material: ABS/Brass
Size: 1-1/2 inch
Style: Tip-Toe
Features: Complete kit
Check PriceThis complete assembly includes everything needed for a full drain replacement. The Schedule 40 ABS construction provides excellent durability, while the matte black finish offers a modern aesthetic. I've installed dozens of these in rental properties, and they hold up well to frequent use.

Customer images show the actual size and finish of this complete assembly. The matte black coating provides a contemporary look that works well with modern bathroom fixtures.
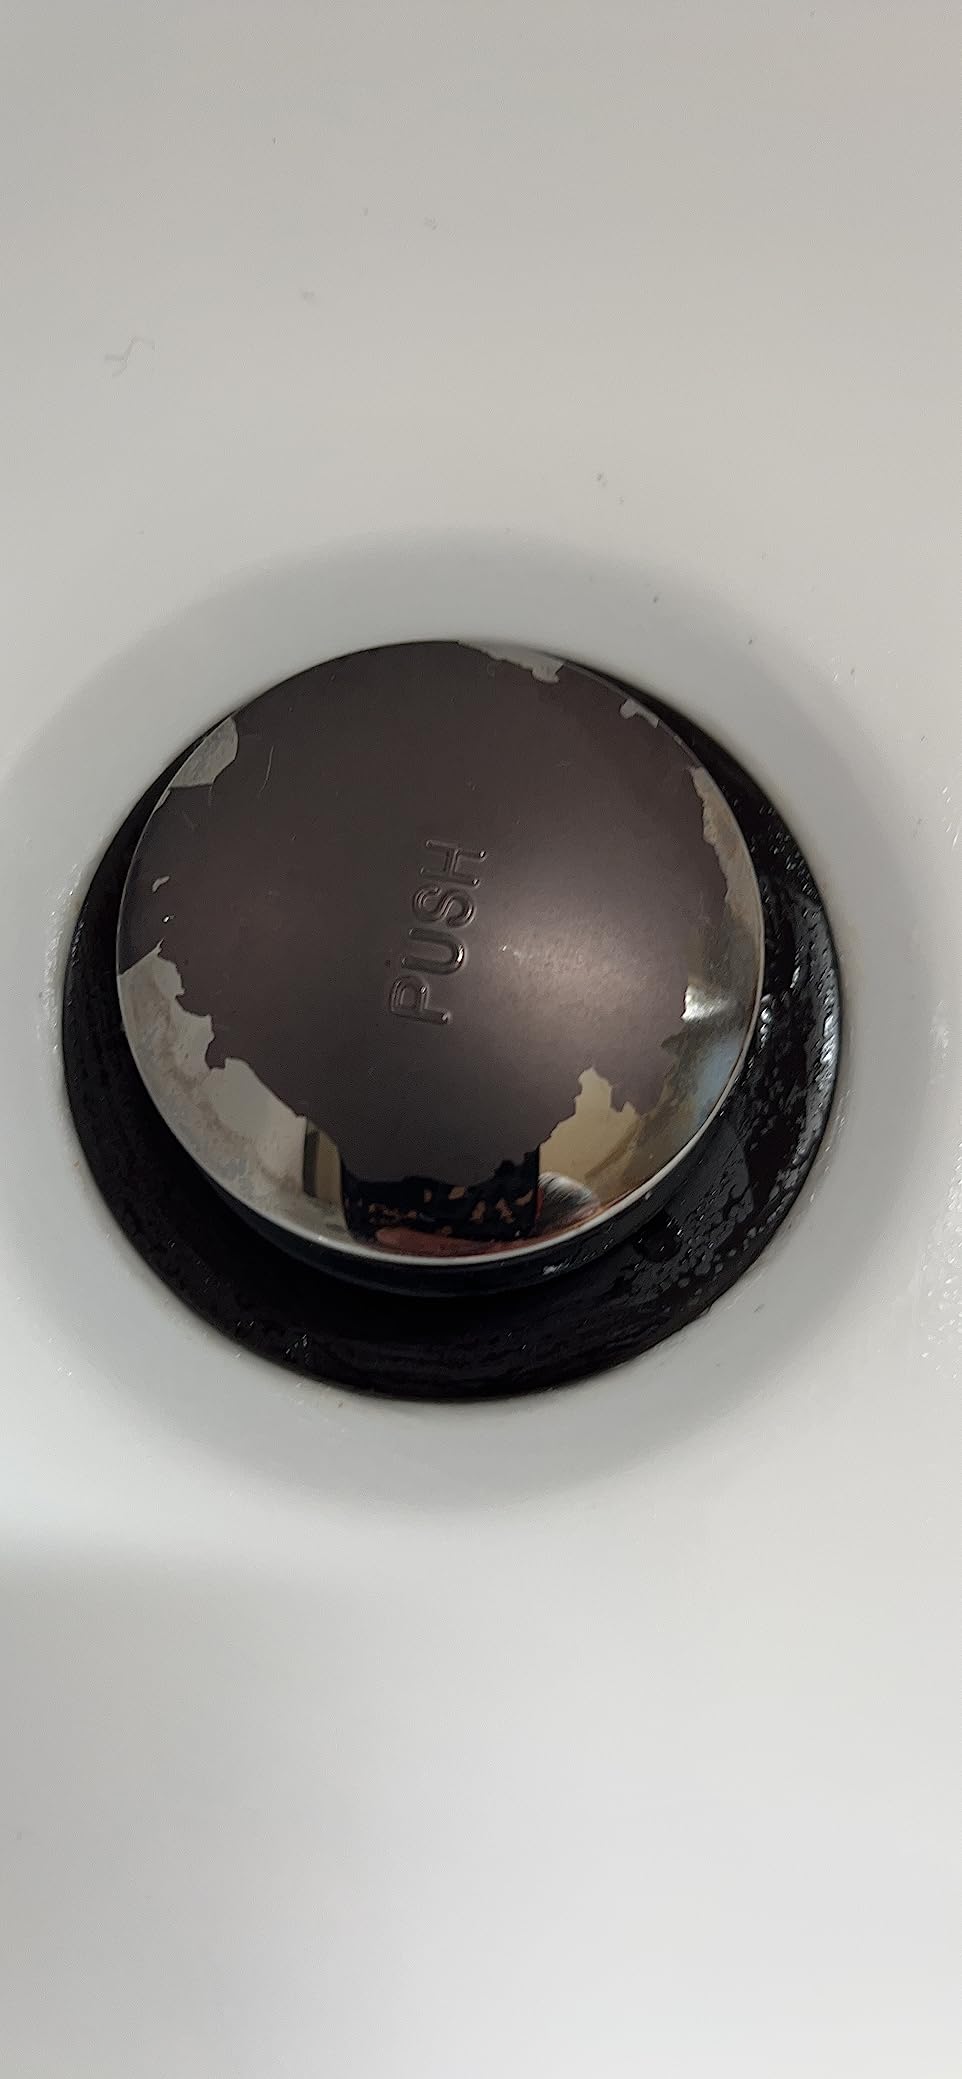
The real-world photos from buyers reveal the true appearance of the components. This complete kit eliminates the guesswork of piecing together individual parts.
![Complete DIY Guide to Replace a Bathtub Drain Elbow ([nmf] [cy]) 5 Westbrass Pull & Drain Sch. 40 PVC Bath Waste with One-Hole...](https://m.media-amazon.com/images/I/3175FYefpfL._SL160_.jpg)
Material: PVC/Brass
Type: Pull & drain
Size: Complete kit
Features: Single-screw faceplate
Check PriceThis complete PVC kit earns its 4.6-star rating for good reason. The pull & drain mechanism is reliable and user-friendly, while the single-screw faceplate provides a clean aesthetic. The glue-in connections create watertight seals when installed properly with PVC cement.
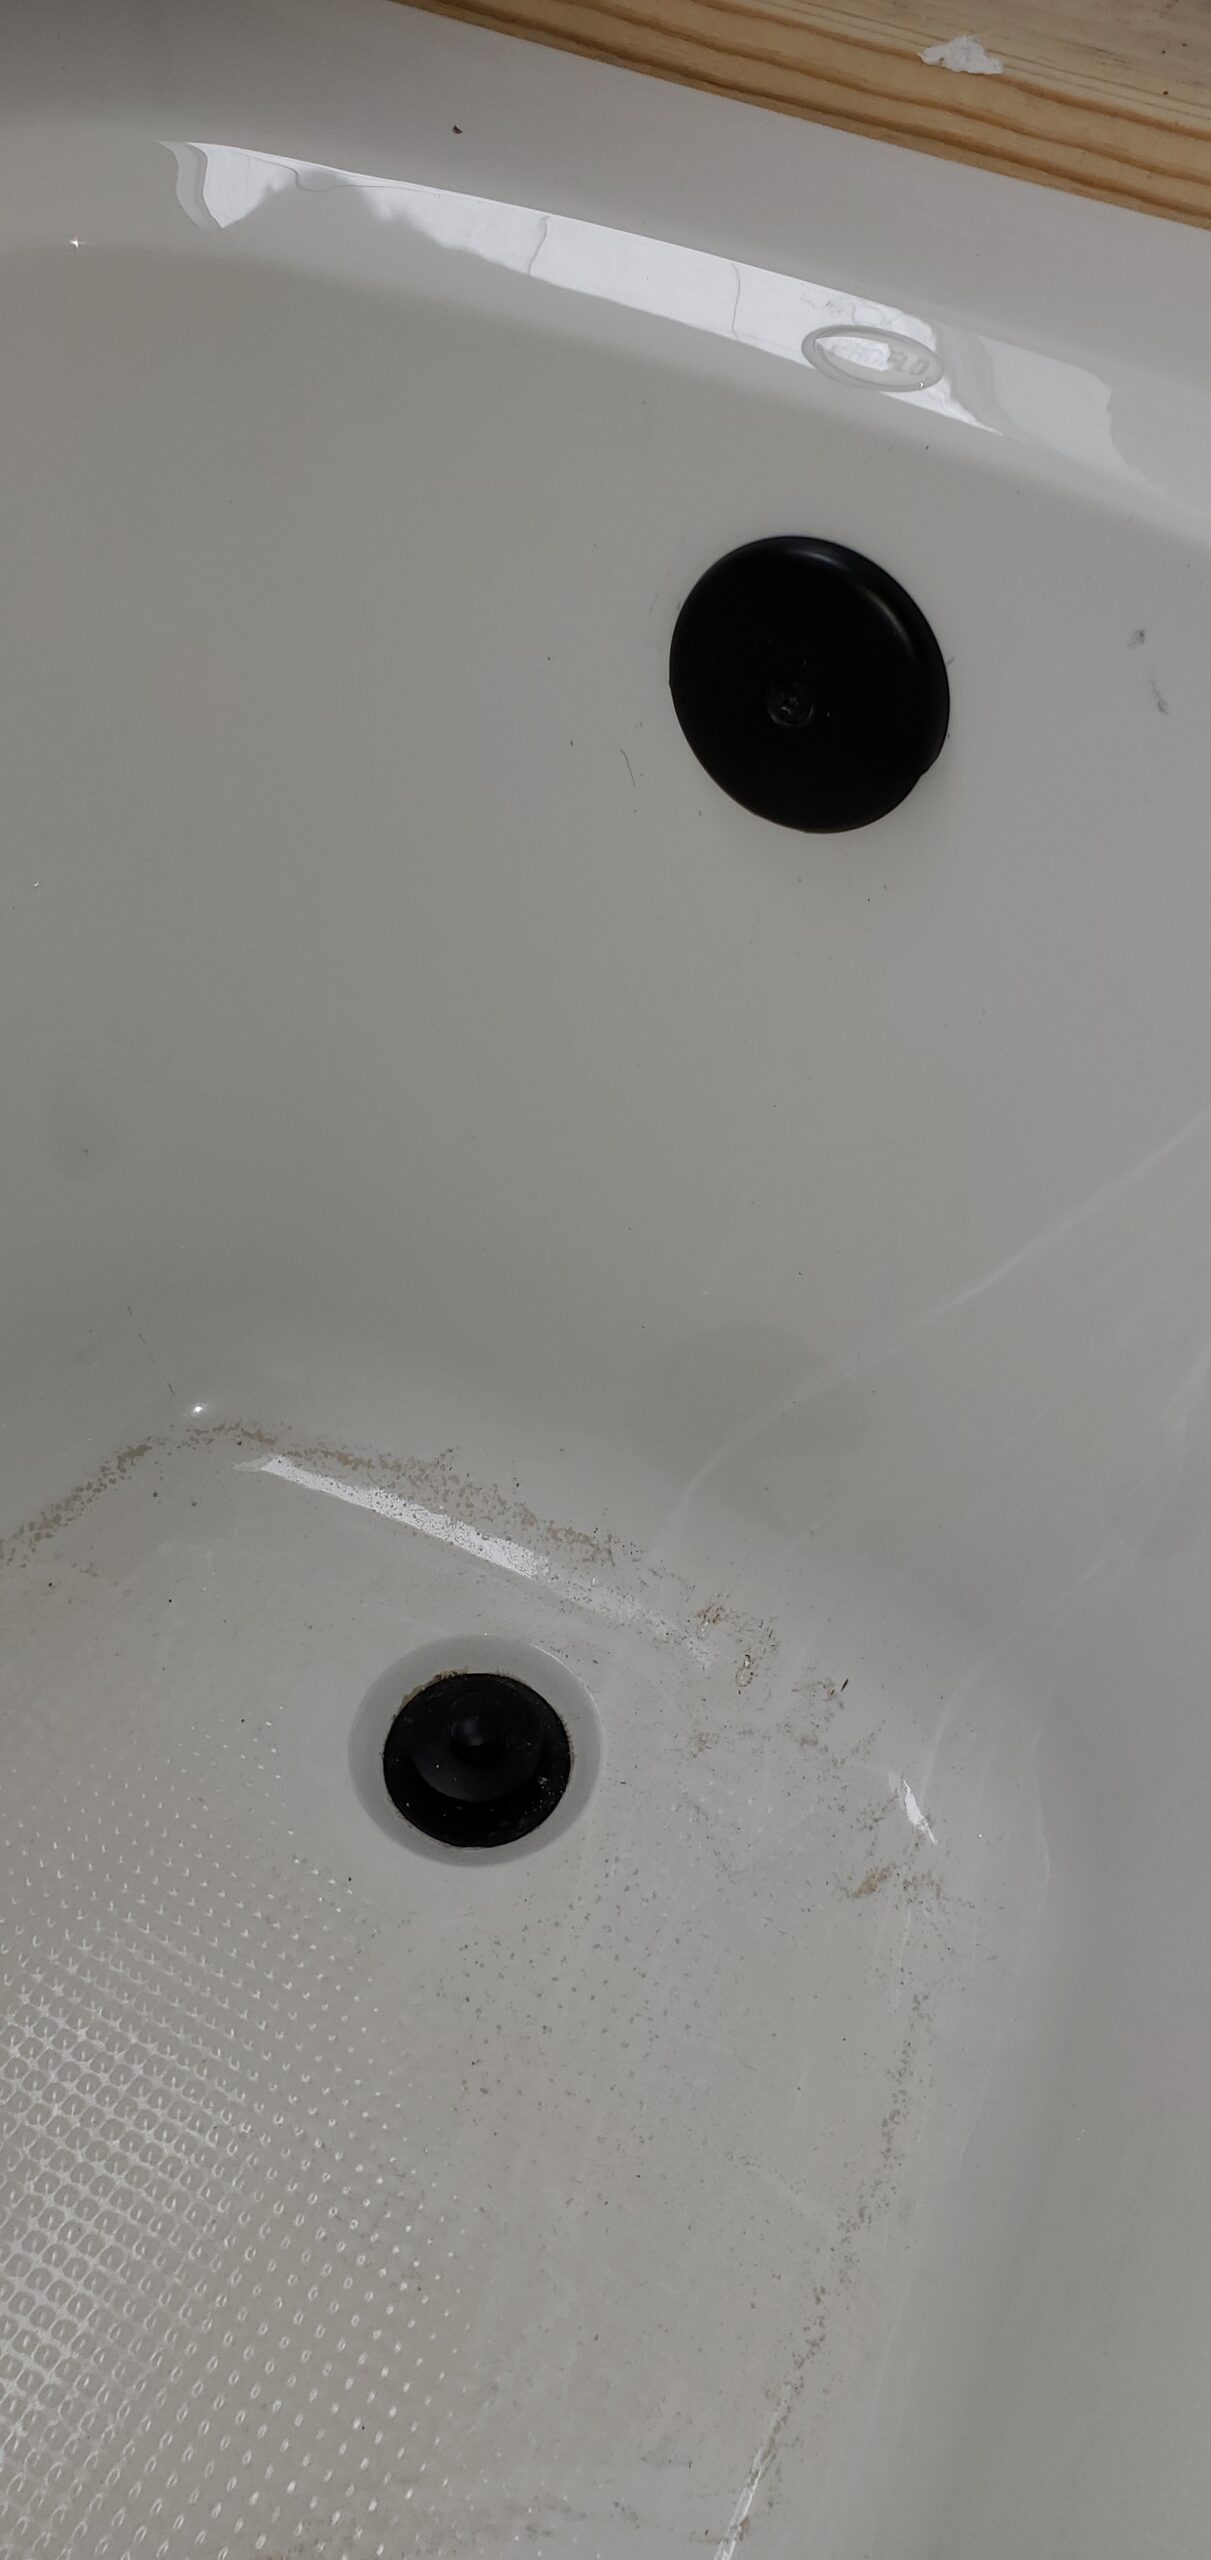
Customer photos validate the quality of the PVC construction. The material resists corrosion and wear, making it ideal for long-term use in residential and commercial applications.
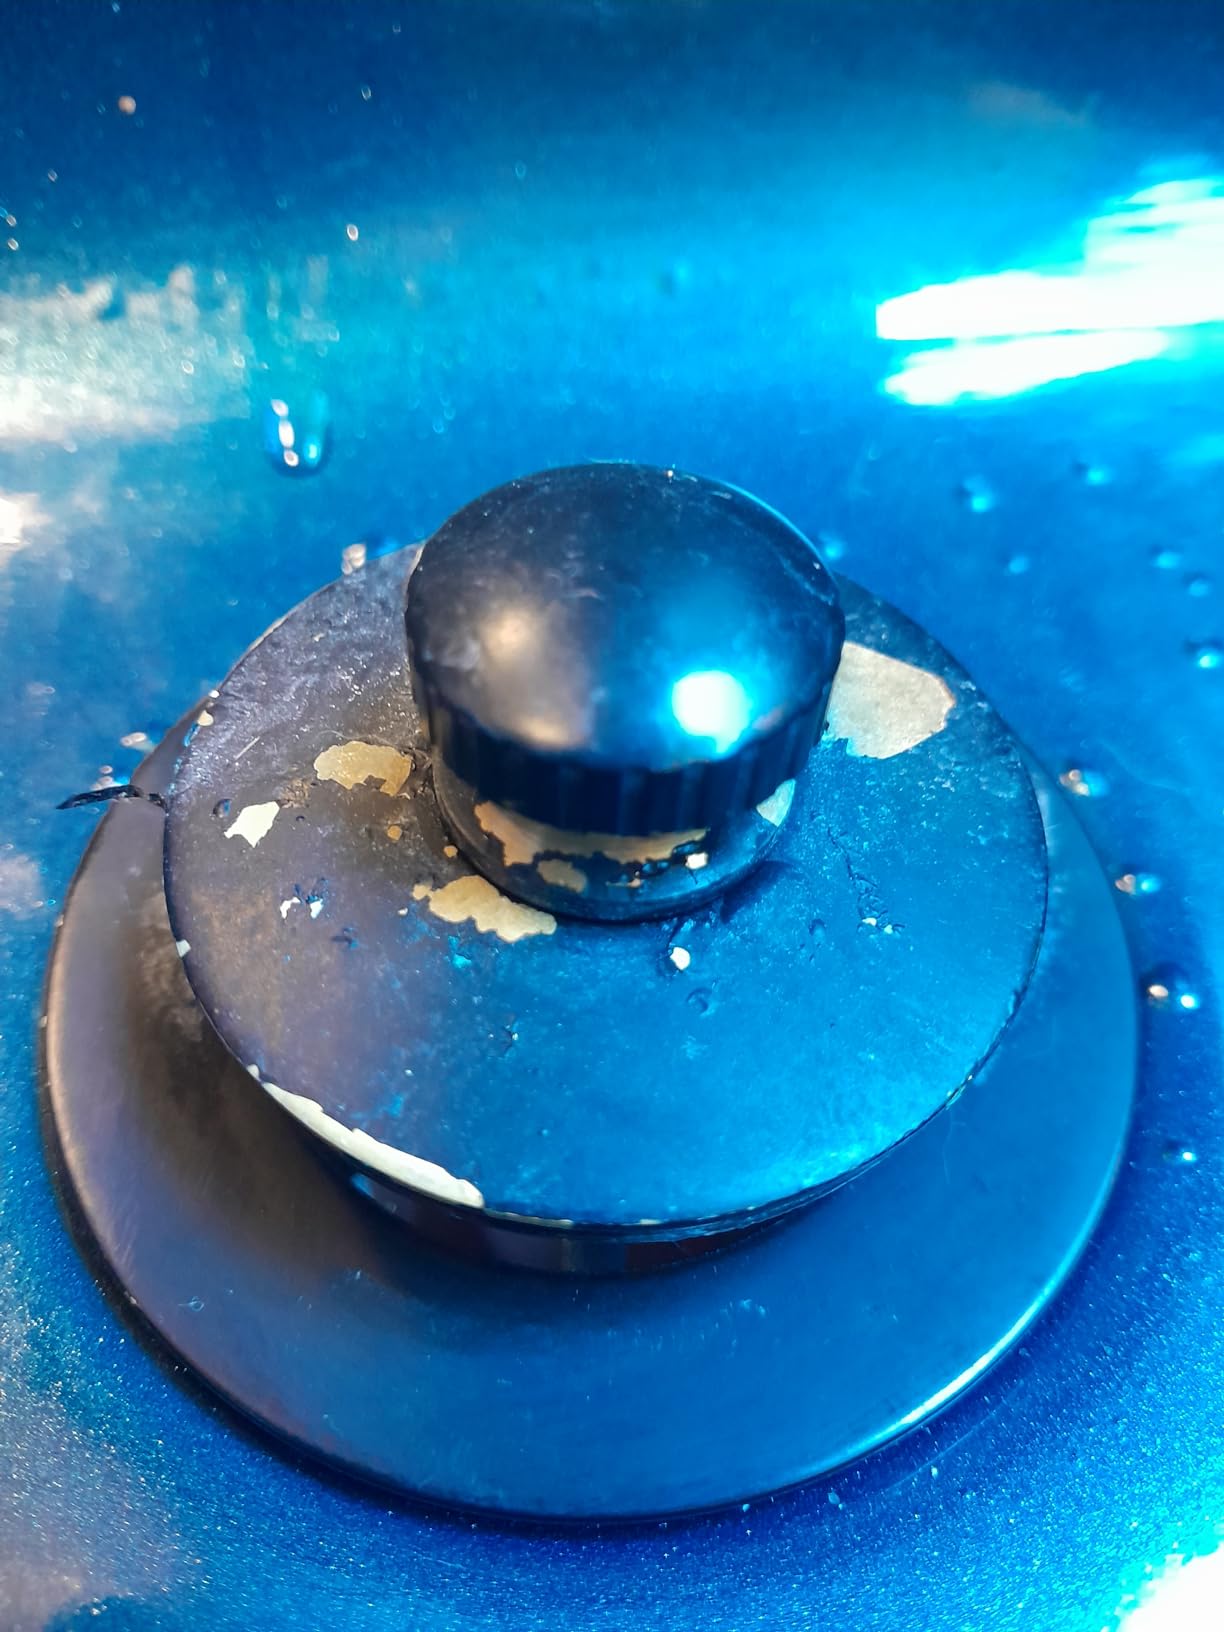
User-submitted photos confirm the actual appearance of the pull & drain mechanism. The operation is smooth and reliable, as evidenced by the numerous positive reviews.
![Complete DIY Guide to Replace a Bathtub Drain Elbow ([nmf] [cy]) 6 Eastman Tip-Toe Bath Drain Assembly Kit with Flange and...](https://m.media-amazon.com/images/I/4175aTaGd+L._SL160_.jpg)
Material: Zinc
Finish: Chrome plated
Size: 1-1/2 inch
Features: Complete kit
Check PriceWith nearly 1,000 reviews and a 4.5-star rating, this drain assembly offers exceptional value. The zinc body provides sturdy construction, while the chrome finish offers corrosion resistance. Installation typically takes less than 30 minutes with basic tools.
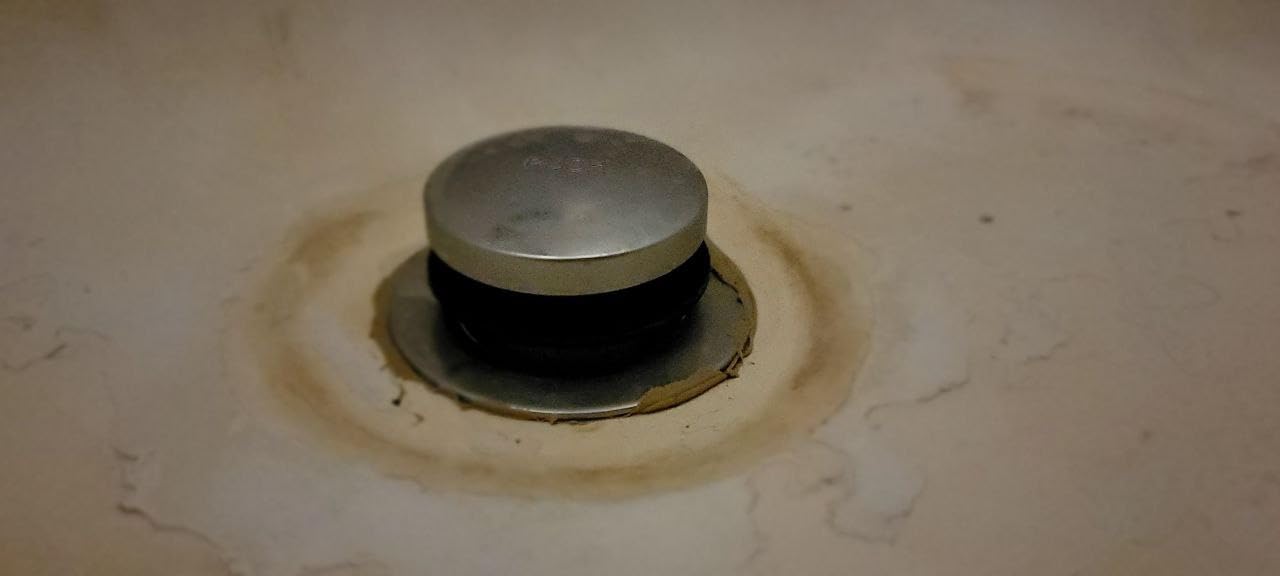
Customer photos show the sturdy construction of this drain assembly. The zinc body feels solid and durable, justifying its high customer satisfaction ratings.

The real-world images from buyers demonstrate the quality of the chrome finish. When properly maintained, this assembly provides years of reliable service.
After installation, test your work thoroughly:
⚠️ Important: Even small drips can cause significant damage over time. Address any leaks immediately by tightening connections or resealing joints.
| Problem | Cause | Solution |
|---|---|---|
| Persistent leak at drain flange | Improper sealant application | Remove flange, apply fresh plumber's putty |
| Stripped threads | Overtightening or corrosion | Use thread repair kit or replace damaged parts |
| Slow drainage | Improper alignment or blockage | Check for kinks or debris in drain line |
| Rocking drain flange | Improper installation or damaged tub surface | Use appropriate sealant or reinforcement |
Replacing a bathtub drain elbow yourself typically costs $15-75 for materials, while professional installation ranges from $230-1,170 depending on your location and the complexity of the job.
DIY makes sense when:
Call a professional when:
Use a tub drain extractor tool that grips the inside of the drain flange. Alternatively, use a hammer and chisel to carefully create notches for a wrench to grip. In extreme cases, you may need to cut the drain flange with a Dremel tool and replace the entire assembly.
The main components are: drain flange (visible part in tub), drain elbow (curved pipe beneath), overflow tube (prevents overflows), trip lever assembly (operates stopper), P-trap (prevents sewer gases), and various washers, gaskets, and nuts that secure connections.
Professional replacement typically costs $230-1,170, with most homeowners paying around $700. Simple replacements with good access cost $230-450, while complex jobs requiring tub removal can exceed $1,000.
Yes, it matters significantly. ABS is black, more rigid, and better for underground applications. PVC is white/gray, more flexible, and better for noise reduction. Never mix materials - use ABS cement for ABS parts and PVC cement for PVC parts. Some local codes require specific materials.
Standard residential tub drains use 1-1/2 inch ABS pipe. This size provides adequate flow rate for typical bathtub usage while maintaining proper velocity to prevent clogs. Always verify your existing pipe size before purchasing replacement parts.
Check the color: ABS is black, PVC is white or gray. Look for markings on the pipe - ABS will be labeled as such, while PVC may say Schedule 40 PVC. If unmarked, ABS is typically used in older homes and underground applications, while PVC is more common in modern construction.
Replacing a bathtub drain elbow is within reach for most DIY enthusiasts. The key is patience and having the right tools before starting. I recommend the Westbrass Pull & Drain for most PVC systems due to its complete kit and reliable operation, while the LASCO Tip-Toe is ideal when ABS is required by local codes.
Remember to take photos before disassembly, test all connections before final tightening, and perform thorough leak testing. With proper attention to detail, your replacement will last for years without issues.
For more complex situations or if you encounter unexpected problems, don't hesitate to consult a professional plumber. The cost of expert help is minimal compared to repairing water damage from improper installation.