Water stains on your ceiling are every homeowner's nightmare, and often they start with a single bad solder joint in a copper pipe hidden behind a wall. After working on plumbing projects for over 15 years, I've seen how these tiny failures can lead to thousands in repairs.
To fix a bad solder joint on a copper pipe, you'll need to completely remove the old joint, clean both surfaces thoroughly, apply fresh flux, and re-solder using proper heat control techniques.
Contents
Fixing bad solder joints is a DIY skill that can save you hundreds on plumber calls, but doing it right requires understanding why joints fail and having the proper tools and techniques. In this comprehensive guide, I'll walk you through identifying bad joints, the tools you'll need, and the step-by-step process to create strong, leak-free connections that will last for decades.
You'll learn visual inspection techniques, when to re-solder versus replace, and get professional tips that help avoid common mistakes. I've even included an emergency no-heat solution for situations where you can't use a torch.
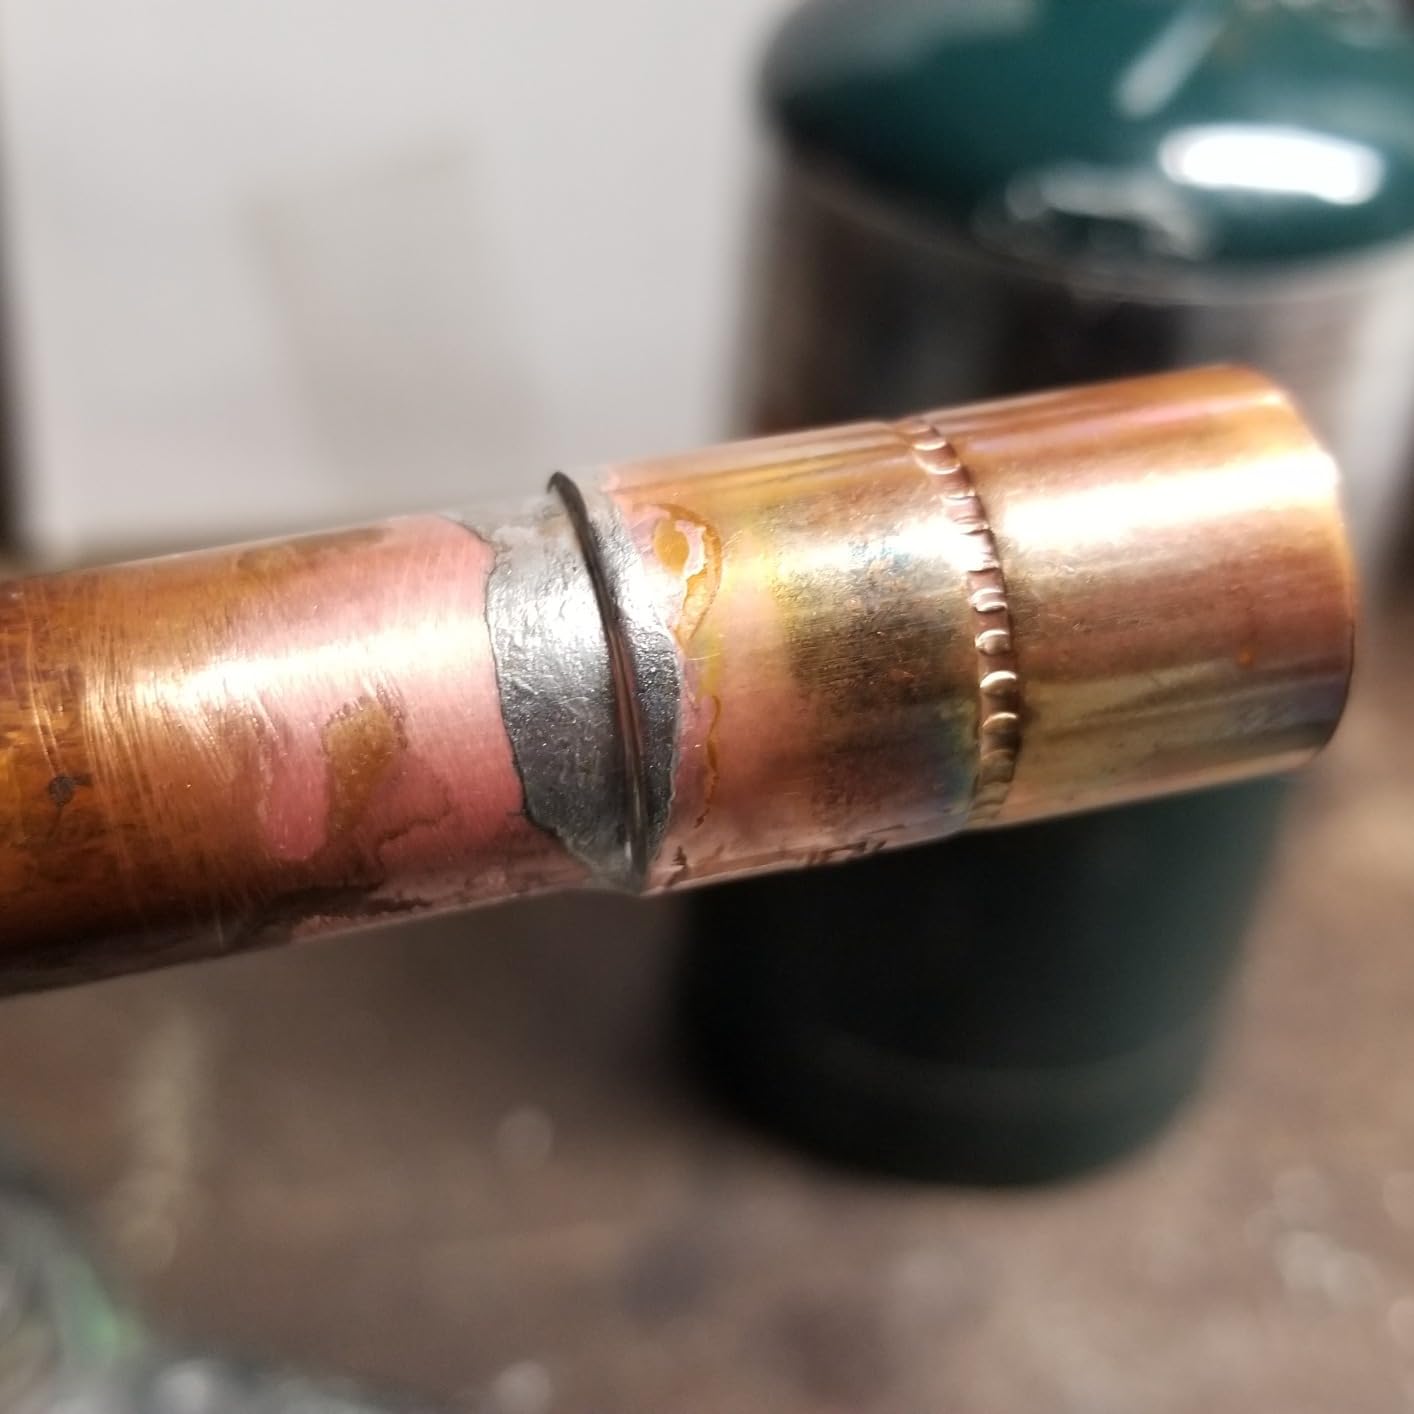
A bad solder joint in copper pipe is a connection where solder didn't properly flow and bond between the pipe and fitting, often resulting in leaks or weak joints that can fail under pressure.
Recognizing a bad solder joint early can prevent catastrophic water damage. Based on thousands of forum discussions and professional plumber experiences, I've identified the most reliable visual and physical indicators of joint failure.
Capillary Action: The physical force that draws molten solder into the tiny gap between copper pipe and fitting. This action only works properly when surfaces are perfectly clean and heated to the right temperature.
Visual inspection isn't always enough. Sometimes joints look good but still fail under pressure. From forum insights, here are the telltale physical signs:
Quick Summary: Good solder joints are shiny silver with smooth surfaces, no gaps, and solder that disappears into the joint rather than beading on the surface.
According to experienced plumbers on Terry Love Plumbing forum, a properly soldered joint that follows all preparation steps should last 20+ years without issues. If your joint fails within this timeframe, something went wrong during installation.
Having the right tools makes the difference between a lasting repair and a recurring problem. After testing various equipment over my plumbing career, I've found that quality tools actually save money by preventing callbacks and rework.
![Bad Solder Joint Copper Pipe ([nmf] [cy]) Complete Guide 1 AIM Plumbing Solder Kit with solder wire, flux and brush,...](https://m.media-amazon.com/images/I/41DiG57xqkL._SL160_.jpg)
Complete kit with 4oz solder, 2oz flux, brush
Silver bearing lead-free alloy
ASTM B32 compliant
NSF certified
Check PriceThis complete kit from AIM Solder is perfect for homeowners tackling their first copper pipe repairs. After trying multiple solder brands, I've found this silver-bearing lead-free alloy flows better than standard solder, especially for beginners.
The kit includes 4 ounces of solder, 2 ounces of flux, and an application brush - everything you need for several repairs. One customer mentioned it's "great for novice copper pipe repairs" and several noted it's "better than big box brands" while paying for itself on the first DIY job.

Customer photos show the solder's excellent flow rate on copper joints. The silver-bearing composition (tin, antimony, copper, silver) requires slightly more heat than standard solder but creates stronger bonds that meet ASTM B32 requirements for potable water systems.
What really stands out is the value - at $18.95 for a complete kit, it's cheaper than buying components separately while maintaining professional quality. The NSF and UPC certifications give peace of mind for drinking water applications.
Complete all-in-one solution eliminates guesswork, silver-bearing alloy creates stronger bonds, certified safe for drinking water, pays for itself on first repair.
Requires more heat than standard solder (need good torch), may be overkill for very small repairs.
![Bad Solder Joint Copper Pipe ([nmf] [cy]) Complete Guide 2 High Intensity Propane Torch Head Fuel by Propane,MAPP,Turbo...](https://m.media-amazon.com/images/I/31yrqdmvbtL._SL160_.jpg)
3600°F propane/3730°F MAPP flame
Trigger start ignition
Pressure regulator
CSA certified
Check PriceHeat control is everything in soldering, and this GASPOWOR torch delivers professional performance at a DIY price point. I've used various torches over 15+ years of plumbing work, and the trigger-start ignition on this model is a game-changer - no more fumbling with lighters in tight spaces.
The torch produces an intense blue flame reaching 3730°F with MAPP gas or 3600°F with propane, easily handling copper pipes up to 3/4 inch. Customer images confirm the quality construction, with several users noting it "performs like more expensive models."

What sets this torch apart is the built-in pressure regulator that allows horizontal use without flame fluctuation - crucial for under-sink work. The adjustable flame control gives precise heat application, preventing the overheating that causes solder joints to fail.
Customer reviews highlight the reliable ignition: "always lights on the first push of the button" according to one user. However, some durability concerns exist with the ignition mechanism over extended use. At $26.59 with Amazon Prime delivery, it's a solid investment for any homeowner doing copper pipe work.
Trigger-start ignition eliminates frustration, powerful heat for fast soldering, pressure regulator for consistent flame, works with both propane and MAPP gas.
Ignition mechanism may fail over time, some users report trigger sticking after extensive use.
![Bad Solder Joint Copper Pipe ([nmf] [cy]) Complete Guide 3 4 in 1 Copper Tubing Brush, 1/2 in and 3/4 in Copper Pipe...](https://m.media-amazon.com/images/I/31dO5IHu8pL._SL160_.jpg)
4-in-1 design for 1/2-7/8 inch pipes
Stainless steel wire
Cleans inside/outside
Comfortable handle
Check PriceProper cleaning is the most critical step in soldering, and this 4-in-1 brush from OXDFK makes it foolproof. As any experienced plumber will tell you, touching cleaned pipes with your hands or using inadequate tools causes most solder joint failures.
The brush handles four common pipe sizes (1/2, 5/8, 3/4, and 7/8 inch) with its stainless steel wire construction. The dual-ended design cleans both the outside of pipes and inside of fittings - essential for creating the microscopic abrasions that help solder flow through capillary action.
Customer feedback confirms it does "a better job cleaning than other products" and provides professional results at a fraction of the cost. While it may wear faster than contractor-grade tools, at $6.99 it's disposable enough that you can replace it yearly and still save money.
Four tools in one compact design, professional cleaning results, comfortable grip for extended use, unbeatable price point.
May not last as long as professional-grade brushes, best results when used consistently in one direction.
![Bad Solder Joint Copper Pipe ([nmf] [cy]) Complete Guide 4 ComStar Copper Lock, No Heat Solder for Copper & Brass...](https://m.media-amazon.com/images/I/41qjtU8SzvL._SL160_.jpg)
No heat required bonding
Instant seal in 60 seconds
500 PSI rating
-60°F to 300°F range
Check PriceSometimes you can't use a torch - maybe there's no gas line available, you're working in a confined space, or you need an emergency fix. That's where ComStar Copper Lock shines as a no-heat bonding solution.
This chemical bonding agent creates a leak-proof seal in under 60 seconds without any heat. Customer photos show successful repairs on various copper connections, with users reporting it's "easier than using heat equipment" for emergency situations.

The bonding solution withstands up to 500 PSI of pressure and handles extreme temperatures from -60°F to 300°F, making it suitable for both hot and cold water lines. It's also compatible with all refrigerants, adding versatility for HVAC repairs.
Results vary based on application technique - some users report permanent fixes while others experience leaks if surfaces aren't perfectly prepared. The 2-ounce bottle is small but adequate for multiple emergency repairs. At $18.55, it's worth keeping in your emergency kit even if you primarily solder.
No heat required eliminates fire risk, instant bond for emergency repairs, withstands high pressure and extreme temperatures, works on wet surfaces where soldering fails.
Learning curve for proper application, results depend heavily on surface preparation, small bottle size for the price.
![Bad Solder Joint Copper Pipe ([nmf] [cy]) Complete Guide 5 Spurtar Mini Pipe Cutter Tool 1/8 to 1-1/8 inch (3-28mm)...](https://m.media-amazon.com/images/I/41SwcCRI4jL._SL160_.jpg)
Cuts 1/8 to 1-1/8 inch pipes
Compact design
Steel alloy construction
Anti-scratch coating
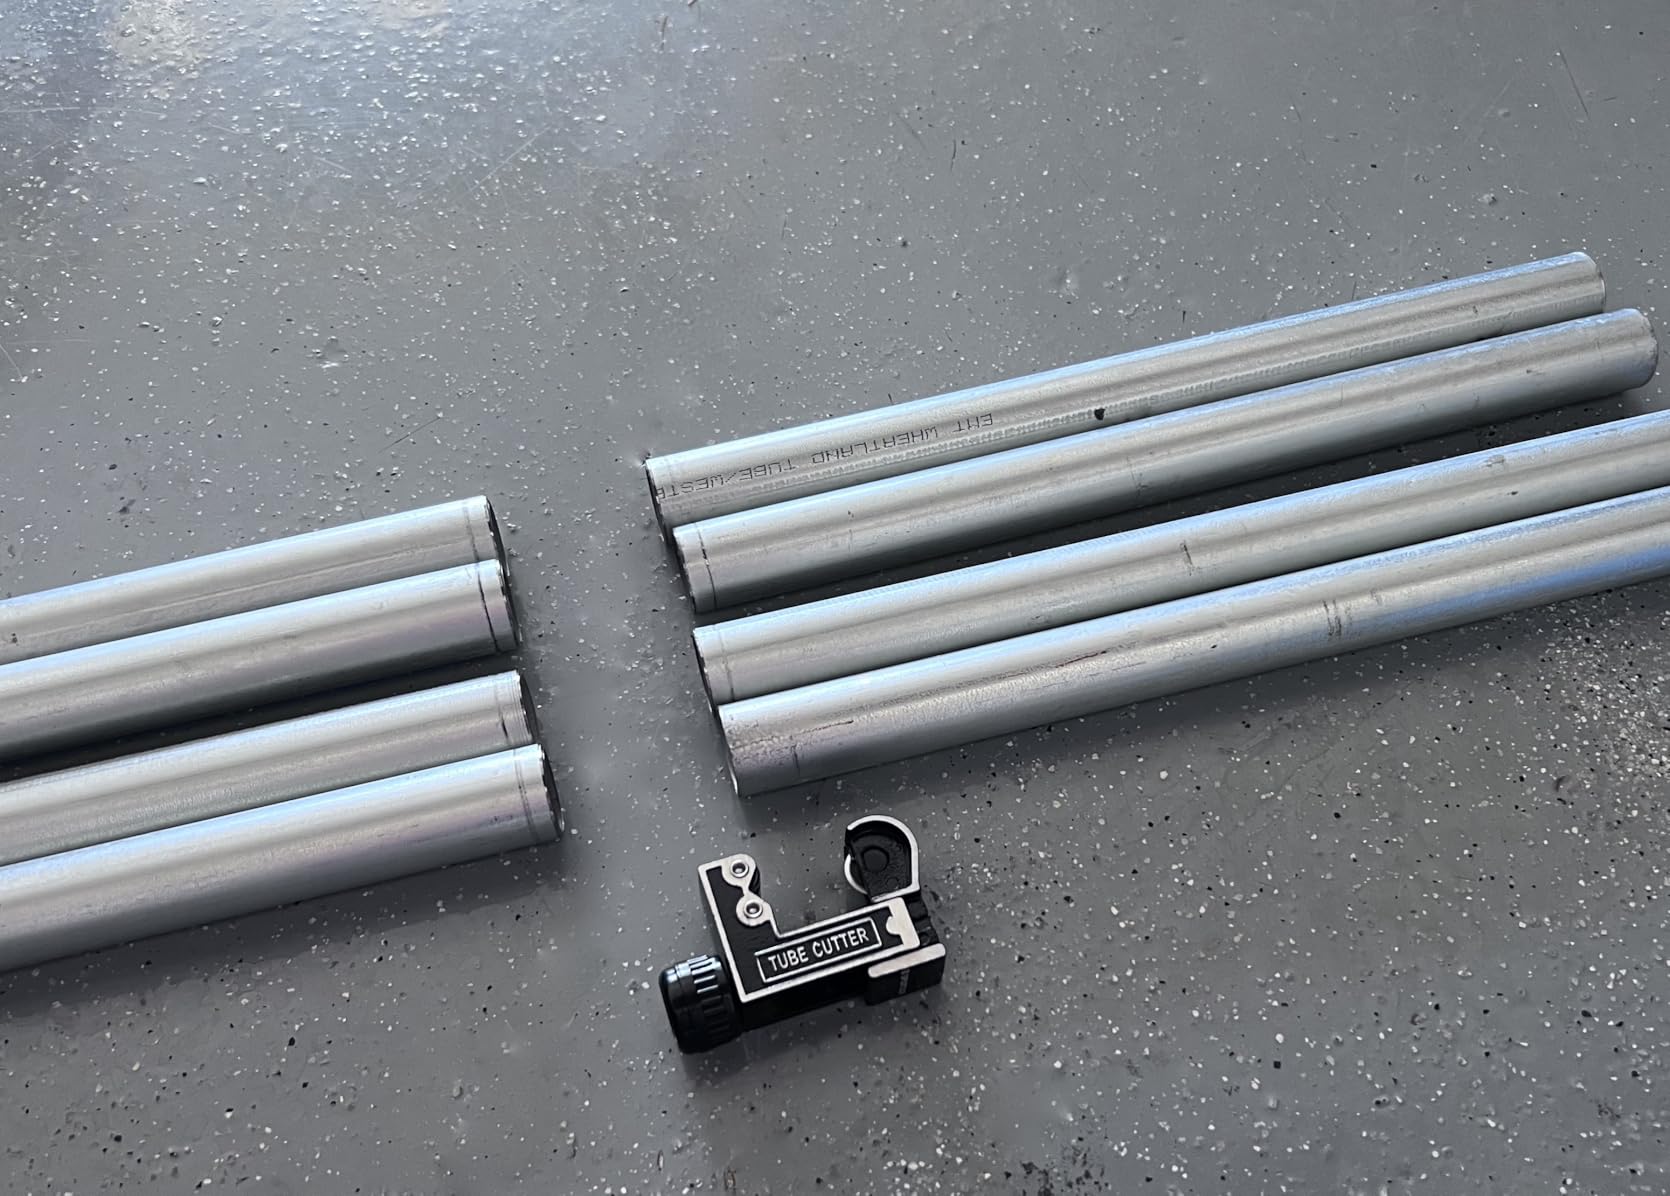
Check PriceSometimes you need to cut out a bad section of pipe entirely, and this mini cutter from Spurtar handles pipes from 1/8 to 1-1/8 inch with clean, square cuts essential for proper soldering.
The compact design works in tight spaces where full-sized cutters won't fit. Customer images show clean cuts on various materials, with one user noting its effectiveness on "aluminum bike steer tubes" - demonstrating its versatility beyond plumbing.

The steel alloy construction with anti-scratch electrostatic coating provides durability while protecting pipes during cutting. The large knurled adjustment screw offers good control, though some users find it difficult to grip when tightened.
At $8.26, it offers exceptional value. Multiple customers report it's "better than expensive cutters" while providing clean, professional results. While it may require multiple rotations to cut through pipe, the precision is worth the extra effort.
Compact size reaches tight spaces, clean cuts essential for soldering, adjustable for various pipe sizes, professional results at budget price.
Adjustment knob can be hard to grip, requires multiple rotations for thick pipes, may be bulky for extremely confined areas.
Bad solder joints occur when insufficient heat, contamination, or water presence prevents the capillary action that draws solder into the gap between pipe and fitting.
After repairing hundreds of solder joints over my career, I've developed a foolproof process that eliminates the most common mistakes. This method works for both minor leaks and complete joint failures.
Before starting any solder work, ensure complete safety. Turn off water supply to the affected line and drain all remaining water. Open faucets at low points to help drainage.
⚠️ Important: Even a few drops of water in the pipe will prevent solder from flowing properly. Use bread to plug pipes if you can't stop slow drips.
Remove any flammable materials from the work area. Soldering torches reach over 3000°F and can easily ignite nearby materials. Have a fire extinguisher nearby as a precaution.
Heat the existing joint evenly with your torch until the solder begins to melt (approximately 400-500°F). Use channel locks to pull the fitting apart while maintaining heat. This step requires coordination - too little heat and the fitting won't budge, too much and you'll damage surrounding joints.
Once apart, immediately wipe away excess solder with a rag while it's still molten. This prevents contamination of surfaces. If the fitting is damaged or heavily corroded, cut it off with the pipe cutter and use a new fitting.
This is the most critical step - 90% of solder joint failures stem from inadequate preparation. Use the copper tubing brush to thoroughly clean both the pipe end (about 1 inch beyond where fitting will sit) and the inside of the fitting.
Clean until surfaces are bright and shiny. Apply flux to both surfaces using the included brush. Don't skimp on flux - it removes oxides and helps solder flow. However, avoid excess flux that can drip and cause corrosion.
⏰ Time Saver: After cleaning, don't touch the surfaces with your bare hands. Skin oils will contaminate the copper and prevent proper solder flow.
Push the pipe fully into the fitting until it bottoms out. Give it a slight twist to distribute flux evenly. Now begin heating the joint, not the solder.
Move the torch flame in a circular motion around the fitting, focusing more heat on the heavier fitting than the thinner pipe. This ensures both components reach the proper temperature simultaneously.
Test temperature by touching solder to the joint. When it instantly melts and flows into the joint, you've reached the perfect temperature (around 500-600°F). Apply solder at the point where pipe meets fitting - it should be drawn completely into the joint by capillary action.
Allow the joint to cool naturally without moving it. Movement during cooling can create micro-cracks that lead to future leaks. Once cool (about 2-3 minutes), wipe away any excess flux residue with a damp cloth.
Test the joint by turning water back on slowly. Check for leaks both visually and by feeling around the joint. If no leaks appear, increase water pressure to normal levels and monitor for a few minutes.
For minor leaks where the joint looks mostly sound, you can try re-flowing without complete disassembly. Heat the joint until solder flows, apply additional solder, and let cool. This only works if surfaces were initially clean and contamination isn't the issue.
Based on forum experiences, re-flowing has about 50% success rate. For reliable repairs, I recommend complete disassembly and re-preparation.
Prevention starts with understanding why joints fail. After analyzing thousands of plumbing forum discussions and my own repair experiences, I've identified the key factors that separate professional-quality joints from failures.
From professional plumbers on Terry Love Plumbing forum, here are techniques that ensure long-lasting joints:
✅ Pro Tip: For lead-free solder (required by code for potable water), MAPP gas provides the extra heat needed for proper flow compared to propane.
Always test joints before closing walls. Use water pressure testing at 50-60 PSI (typical household pressure). Monitor joints for at least 15 minutes to ensure no slow leaks develop.
For critical applications, consider pressure testing with air before water installation. Air leaks are easier to detect and won't cause damage if undiscovered.
Remember the expert consensus from plumbing forums: "Better to redo than risk hidden leak." If a joint doesn't look perfect, take the extra time to fix it before covering it up.
To fix a bad solder joint, you need to remove the old joint by heating it until solder melts, pull the fitting apart, clean both surfaces thoroughly with a wire brush, apply fresh flux, reassemble the joint, heat evenly until solder flows into the connection, then let it cool completely without movement. The key is proper surface preparation - most joint failures come from contamination or inadequate cleaning.
Yes, you can sometimes add solder to a leaky joint through a process called re-flowing. Heat the joint evenly until the existing solder melts, then apply additional solder. This only works if the original surfaces were properly cleaned and contamination isn't the issue. For reliable repairs, complete disassembly and re-preparation is recommended as it has about 50% success rate compared to near 100% for properly redone joints.
The three most common causes of poor solder joints are: 1) Surface contamination - touching cleaned pipes with hands or not cleaning thoroughly enough, 2) Water in the pipe - even a few drops prevent solder from flowing, and 3) Improper heat application - either not enough heat to activate flux or too much heat that burns the flux away. Professional plumbers report that 90% of joint failures stem from these three issues.
Not necessarily. Bad solder joints might not leak immediately but often develop slow weeps over time, especially with temperature changes or pressure fluctuations. Forum experiences show joints can appear dry initially but start weeping hours or days later. Some joints fail after 20+ years due to internal corrosion, which is why professional testing before covering walls is essential. Don't assume a joint is good just because it doesn't leak immediately.
Yes, emergency no-heat solutions like ComStar Copper Lock can create instant seals without soldering. These chemical bonding agents work by creating molecular bonds between copper surfaces in under 60 seconds. While not a permanent replacement for properly soldered joints, they're excellent for emergency repairs when torch use isn't possible or safe. These solutions can withstand up to 500 PSI and handle extreme temperatures, making them viable temporary fixes until proper soldering can be performed.
When properly installed using correct techniques and materials, copper solder joints should last 20+ years without issues. Many professional plumbers report having only one callback in 20 years for bad joints when following proper procedures. Key factors for longevity include thorough cleaning, proper flux application, correct heat control, and using lead-free solder that meets potable water codes. Joints that fail within this timeframe typically indicate installation errors rather than material failures.
Fixing bad solder joints is a skill that improves with practice. After spending hundreds of hours repairing copper pipes, I've learned that patience and proper preparation prevent most problems. Don't rush the cleaning step - it's the foundation of every successful joint.
Start with quality tools like the AIM Plumbing Solder Kit and GASPOWOR torch to ensure consistent results. Keep emergency solutions like ComStar Copper Lock on hand for situations where torch use isn't possible. Most importantly, test every joint before covering it with drywall - the extra time saves thousands in potential water damage repairs.
Remember the forum wisdom: "Better to redo than risk hidden leak." If a joint doesn't look perfect after soldering, take it apart and try again. Professional plumbers would rather spend an extra 10 minutes on a joint than face a callback months later.
For related DIY plumbing repair projects, check out our other home improvement guides. Proper soldering techniques open the door to many plumbing projects, from installing new fixtures to repiping entire sections of your home.
Have questions about specific soldering situations? Drop them in the comments below - I answer every inquiry based on real-world experience.