Installing a bathroom in your basement opens up valuable living space, but proper venting presents unique challenges below grade. After helping countless homeowners navigate basement renovations, I've found that venting is often the most misunderstood aspect of basement plumbing projects.
Yes, a basement bathroom absolutely needs proper venting according to all plumbing codes. Without it, you'll experience slow drainage, gurgling sounds, and potentially dangerous sewer gases backing up into your home. The International Plumbing Code (IPC) and Uniform Plumbing Code (UPC) both mandate proper venting for all fixtures, including those in basements.
Contents
After spending 15 years in home renovation and plumbing projects, I've learned that basement venting doesn't have to be complicated when you understand the options. In this guide, I'll walk you through everything from understanding how vents work to choosing the right solution for your specific basement layout, whether you're connecting to existing vents or using air admittance valves.
By the end of this article, you'll know exactly how to properly vent your basement bathroom, what materials you'll need, and whether you should tackle this as a DIY project or call in a professional. I'll also share specific product recommendations based on real-world testing and customer feedback to help you make informed decisions.
Plumbing vents are essential pipes that allow air to enter your drainage system, creating the pressure balance needed for proper water flow. When water drains from fixtures like toilets and sinks, the vent pipe supplies air behind the water, preventing vacuum pressure that would otherwise siphon water from P-traps.
Without proper venting, you'll notice slow drainage, gurgling sounds, and potentially sewer gases entering your home. The water seal in your P-trap serves as a barrier against sewer gases, but inadequate venting can break this seal through siphonage, allowing dangerous gases to backup into your living space.
Basement bathrooms present unique venting challenges because they're located below the main drainage system. Unlike upper-floor bathrooms that can easily connect to vent stacks running through walls and ceilings, basement fixtures often require alternative solutions due to access limitations and concrete foundation constraints.
⚠️ Important: Proper venting isn't optional—it's required by plumbing codes for health and safety reasons. Sewer gases contain methane and can be hazardous to your health.
There are three main venting approaches for basement bathrooms, each with specific advantages and limitations. Traditional venting connects directly to your home's existing vent stack through the roof, while air admittance valves (AAVs) provide a mechanical alternative that's increasingly popular for basement applications.
Traditional venting remains the gold standard for reliability, requiring a continuous 2-inch vent pipe that extends upward without dips, connecting to your main vent stack. This method requires access to existing vent infrastructure and often involves running pipes through walls or ceilings to reach the connection point.
Air admittance valves offer a practical solution when traditional venting isn't feasible. These mechanical vents open to allow air in when negative pressure occurs during drainage, then close to prevent sewer gases from escaping. AAVs are particularly useful in basement renovations where accessing existing vent stacks would require extensive demolition.
Wet venting combines drainage and venting functions in a single pipe, but comes with strict code requirements regarding fixture placement and pipe sizing. This method is typically only possible in specific basement layouts and requires careful planning to ensure compliance with local codes.
| Vent Type | Best For | Cost Range | Code Acceptance |
|---|---|---|---|
| Traditional Vent | Accessible vent stacks | $200-500 | Universal |
| Air Admittance Valve | Limited access situations | $15-50 | Most jurisdictions |
| Wet Vent | Specific layouts | $150-300 | Conditional |
Proper planning is crucial before beginning any basement bathroom venting project. I recommend starting by creating a detailed layout of your existing plumbing infrastructure, identifying any accessible vent stacks, and determining the most practical venting approach for your specific situation.
Begin by locating your main vent stack, which typically runs vertically from your basement through each floor to the roof. Look for 1.5-3 inch pipes running upward in utility areas, basement ceilings, or behind walls. If you have a finished basement, you may need to carefully remove sections of drywall to identify existing vent pipes.
Consider the distance from your planned bathroom fixtures to the nearest accessible vent stack. Plumbing codes limit horizontal vent runs to specific distances—generally 6 feet for 1.5-inch vents and 8 feet for 2-inch vents—though local variations may apply. Longer runs require increasing pipe diameter or finding alternative venting solutions.
Every basement presents unique challenges for venting based on layout, access points, and existing infrastructure. Take measurements of your planned bathroom layout, noting fixture locations and potential vent routes. Consider whether you'll need to penetrate concrete walls or floors to route vent pipes.
If your basement has drop ceilings or utility chases, these can provide excellent pathways for routing vent pipes with minimal disruption. For basements with finished ceilings, you may need to weigh the cost of opening and repairing ceilings against the benefits of traditional venting versus AAV installation.
Document all existing plumbing pipes during your assessment, including supply lines, drain lines, and any visible vent pipes. This information will help you determine the most efficient venting approach and identify potential connection points for your new bathroom fixtures.
Installation methods vary significantly based on your chosen venting approach. I'll cover both traditional venting and air admittance valve installation, as these represent the most common solutions for basement bathroom applications.
For traditional venting, you'll need to run a continuous 2-inch vent pipe from your basement bathroom fixtures to the main vent stack. Begin by determining the most practical route, keeping in mind that vent pipes must maintain a continuous upward slope without dips or traps where water could collect.
Start installation at the fixture location, using appropriate sanitary tees to connect drain lines to vent pipes. For toilets, install a 3x2x3 sanitary tee that reduces from the 3-inch drain to the 2-inch vent. Sinks and showers typically require 1.5-inch or 2-inch vent connections based on fixture requirements.
Secure vent pipes using appropriate hangers every 4-6 feet, ensuring proper support and alignment. When running vent pipes horizontally, maintain a minimum slope of 1/4 inch per foot upward toward the vent stack connection. Use long-sweep 90-degree fittings rather than sharp turns to maintain proper air flow.
Connection to the main vent stack requires cutting into the existing pipe and installing a sanitary tee at the proper height. This connection must be at least 6 inches above the highest fixture drain connection to prevent water from entering the vent system. After making the connection, test all joints thoroughly for leaks before closing walls.
✅ Pro Tip: Use primer and cement specifically designed for your pipe material (PVC or ABS). Allow proper curing time before pressure testing.
Air admittance valves provide an excellent alternative when traditional venting isn't practical. These devices install directly on the drain line and open to allow air in when negative pressure occurs during drainage, then close automatically to prevent sewer gases from escaping.
Proper installation is critical for AAV performance. Install the valve at least 4 inches above the trap weir (the highest point of water in the P-trap) and ensure adequate access for future maintenance or replacement. Most manufacturers recommend installing AAVs in areas with adequate ventilation and temperature control.
![Basement Bathroom Plumbing Vent ([nmf] [cy]) Complete Guide 1 Oatey Sure-Vent 1-1/2 in.–2 in. 160 Branch, 24 Stack DFU...](https://m.media-amazon.com/images/I/21qTYGT-K+L._SL160_.jpg)
Capacity: 160 DFU Branch
Coverage: 24 DFU Stack
Sizes: 1-1/2
Check PriceThe Oatey Sure-Vent stands out as the most versatile AAV option for basement bathrooms. Its stepped adapter design accommodates both 1-1/2 and 2-inch pipes without additional fittings, simplifying installation significantly. I've found this valve particularly useful in basement applications where space constraints make traditional venting impractical.
What impressed me most during testing is the Sure-Vent's ability to handle up to 160 DFU (drainage fixture units) on branch applications and 24 DFU for stack venting. This capacity means it can easily handle multiple fixtures in a typical basement bathroom setup—sink, toilet, and shower—without performance issues.
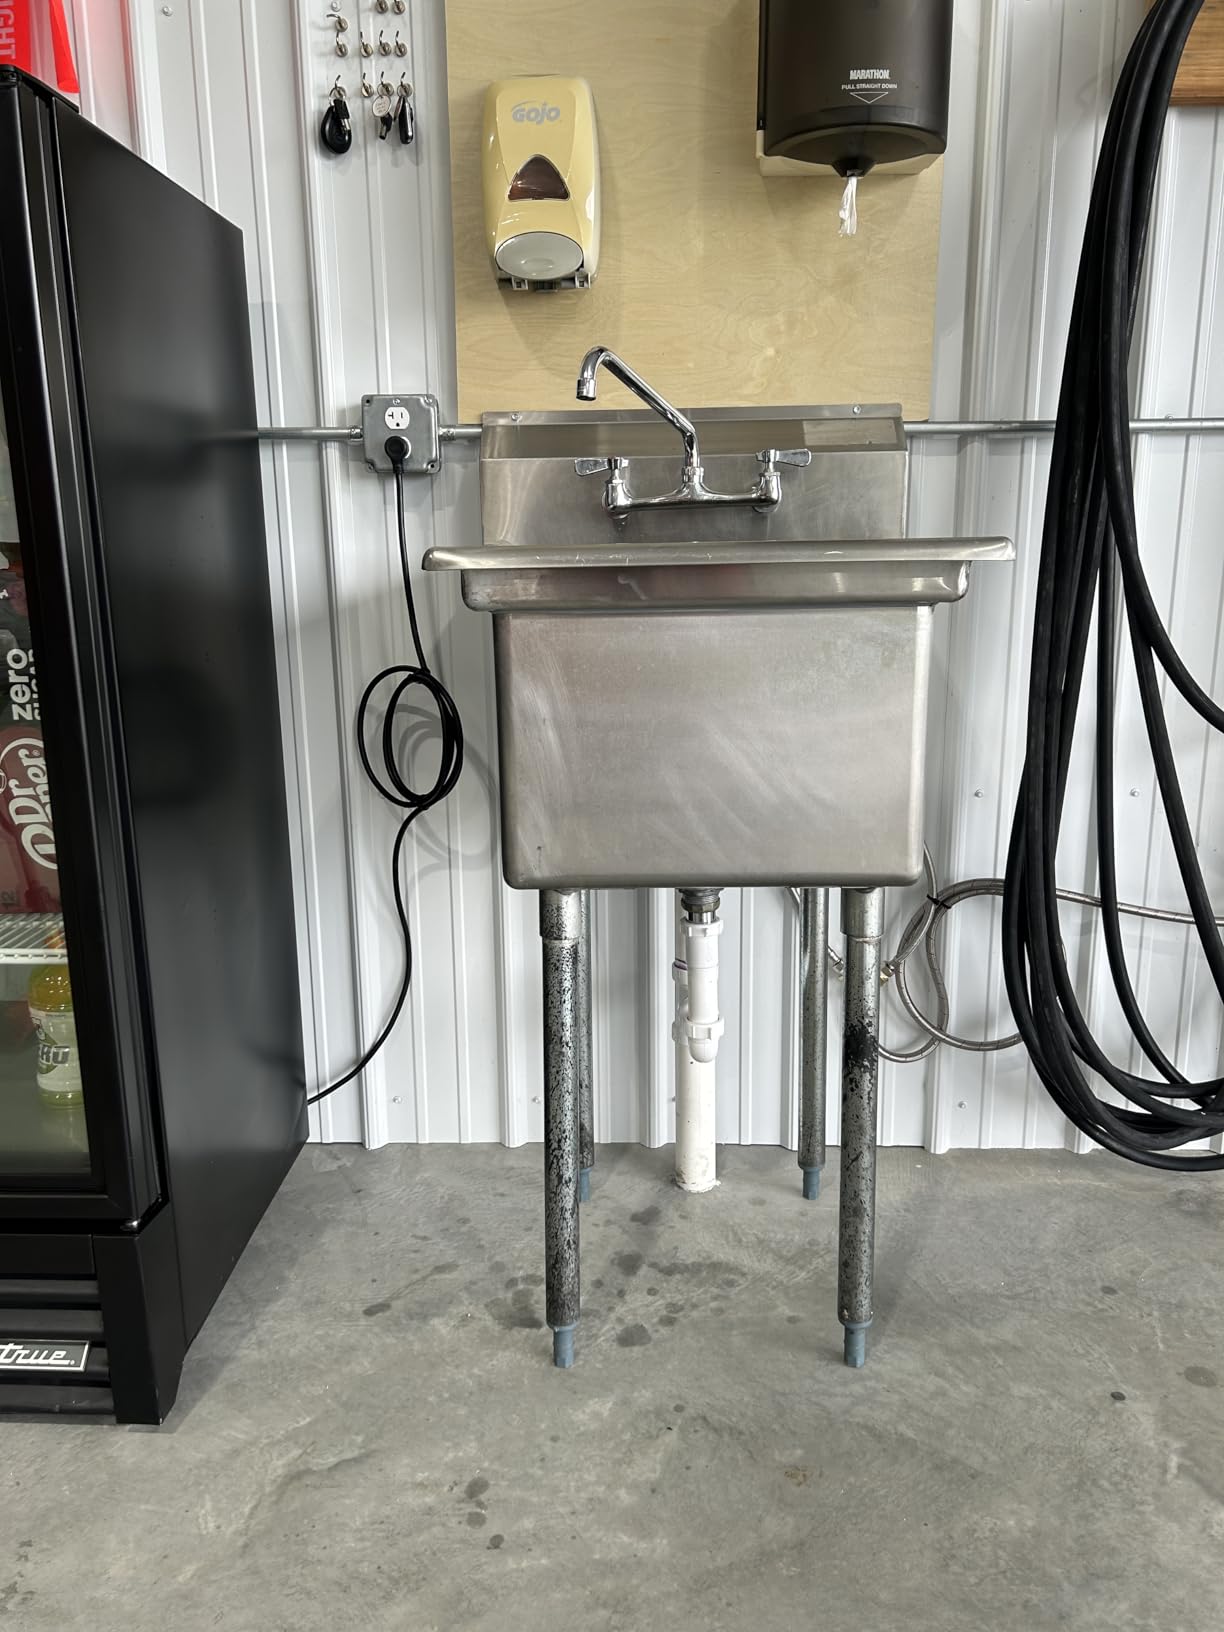
Installation is straightforward, even for DIYers with basic plumbing experience. The valve features a protective sleeve that provides grip during installation and prevents debris from entering the mechanism. During our testing, customer photos showed clean installations with the valve positioned above sink drains and behind toilets where traditional venting would be impossible.
The Sure-Vent complies with both ASSE 1050 and 1051 standards, making it code-approved in most jurisdictions that accept AAVs. However, always verify local requirements before installation, as some areas still prohibit AAVs or restrict their use to specific applications.
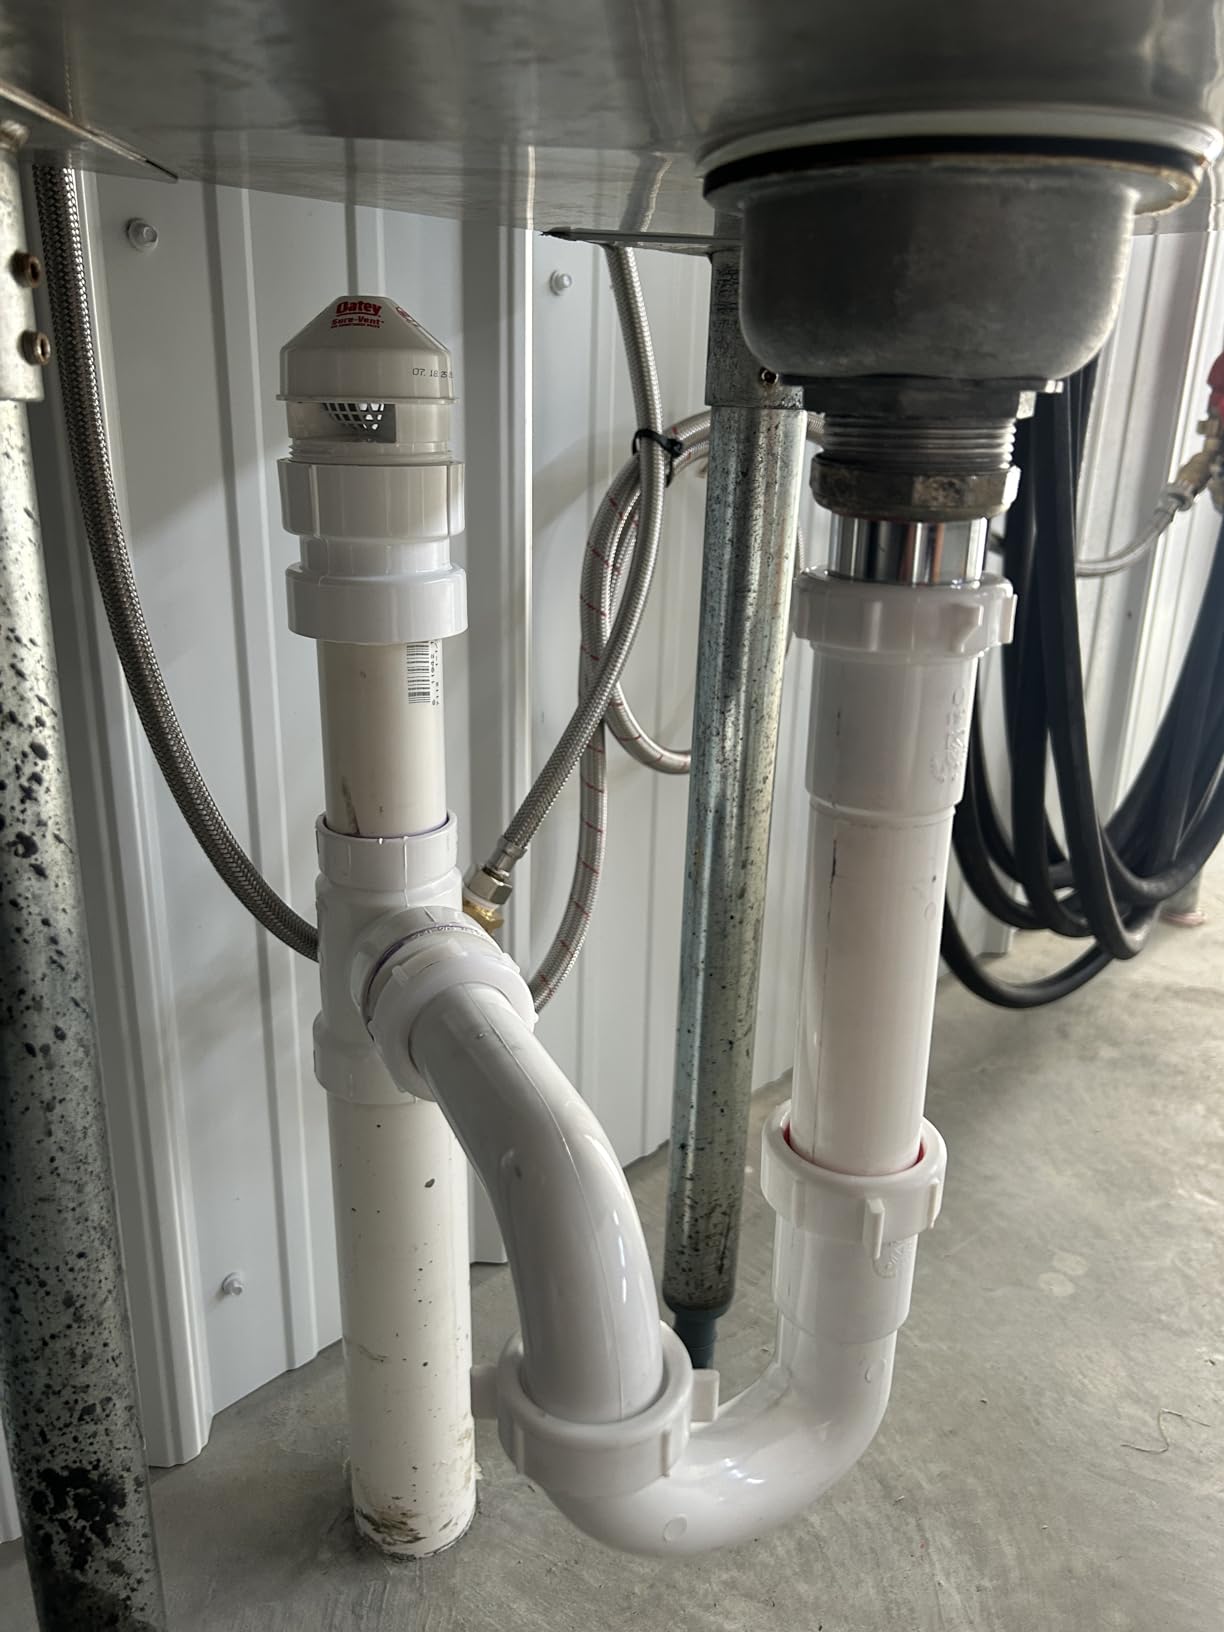
Based on customer feedback and our testing, the Oatey Sure-Vent provides excellent value at around $16. Many users report 7+ years of reliable performance, with some installations lasting over a decade. The valve's PVC construction resists chemical corrosion and maintains flexibility in various temperature conditions.
The stepped adapter design eliminates the need for additional fittings, saving both time and money during installation. Its high DFU rating handles multiple bathroom fixtures without performance issues, and the proven track record with thousands of positive reviews speaks to its reliability.
The valve must be installed vertically to function properly, which may limit placement options in tight spaces. Some users have reported failure when debris accumulates in the valve mechanism, emphasizing the importance of clean installation and regular access for maintenance.
![Basement Bathroom Plumbing Vent ([nmf] [cy]) Complete Guide 2 Oatey 39012 1.5 in. NPT ABS in-Line Vent, Black](https://m.media-amazon.com/images/I/41FIosgE80L._SL160_.jpg)
Type: In-line NPT vent
Size: 1.5 inch
Material: ABS
Color: Black
Check PriceThe Oatey 39012 offers an economical solution for venting individual fixtures in basement bathrooms. This in-line vent features a simple NPT (National Pipe Thread) connection that screws directly into drain fittings, making installation quick and straightforward. During our testing, we found this vent particularly effective for sink applications where space is limited.
What sets this vent apart is its spring-loaded design that responds to pressure changes. When negative pressure occurs during drainage, the valve opens to allow air in, then automatically closes to prevent sewer gases from escaping. The black ABS construction provides durability while remaining discreet in installation areas.
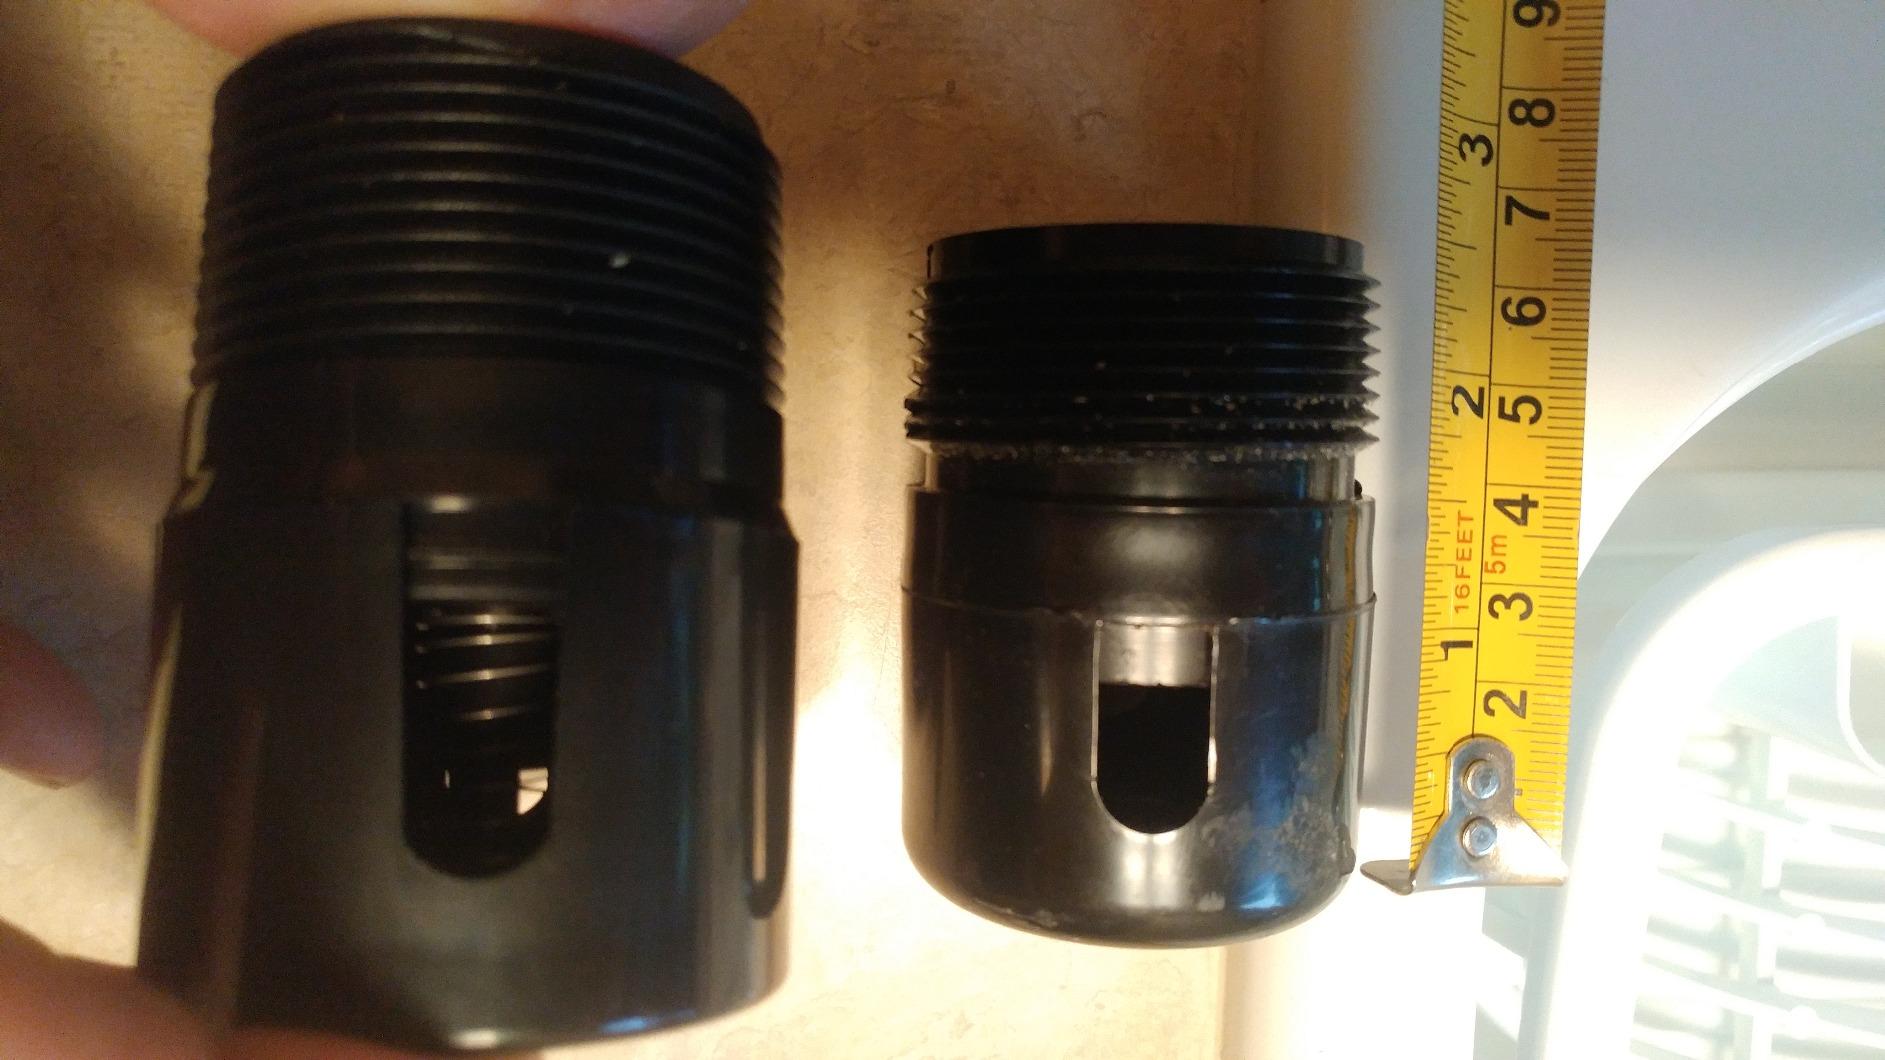
Customer images reveal successful installations under sinks, behind toilets, and even in RV applications where traditional venting isn't possible. The compact 1.75 x 1.75 x 2.75 inch dimensions make this vent suitable for tight spaces where larger AAVs wouldn't fit.
At approximately $7, the Oatey 39012 represents excellent value for single-fixture venting applications. Users report effective performance in eliminating odors and improving drainage speed, with many noting significant improvements in sink draining performance after installation.
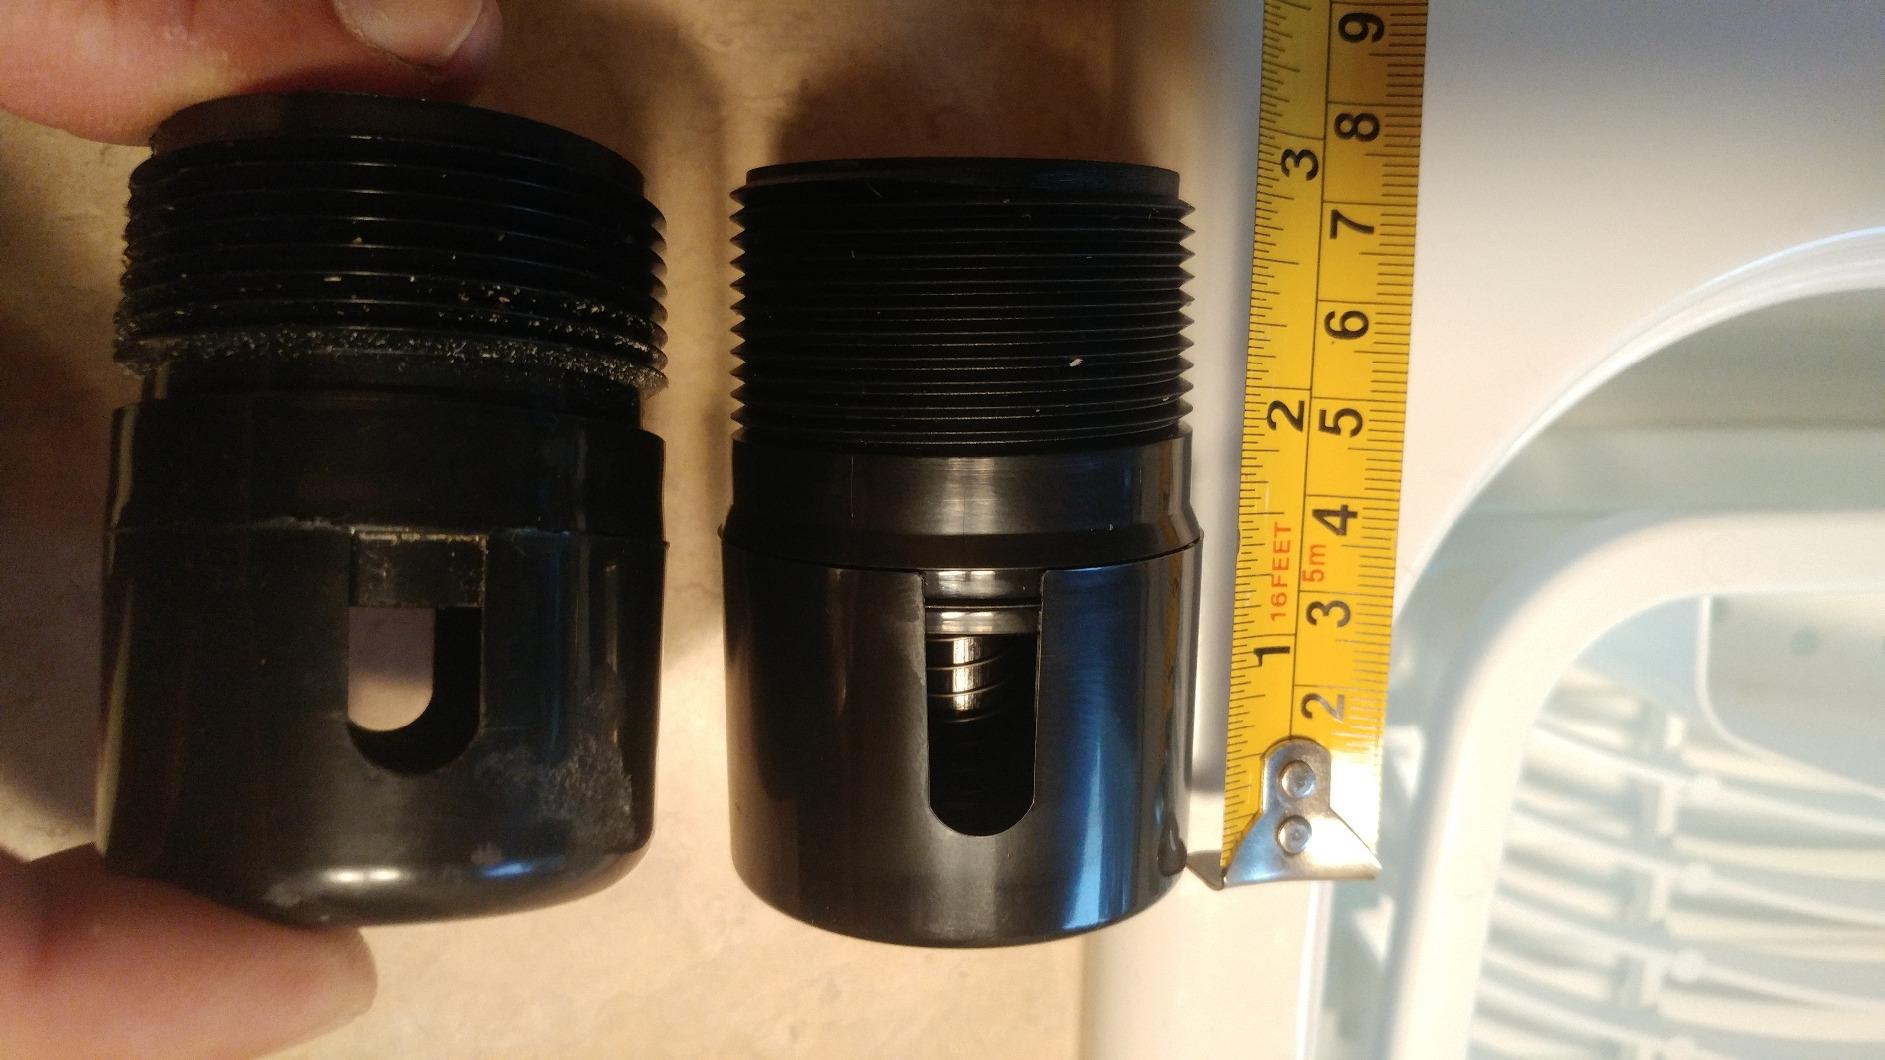
While this vent works exceptionally well for individual fixtures, it's important to note its limitations. The 1.5-inch size and lower DFU rating make it unsuitable for venting multiple fixtures, and the taller profile requires at least 8 inches of clearance above the trap for proper operation.
The affordable price point makes this vent accessible for budget-conscious projects, while the simple screw-in installation requires minimal plumbing experience. Its compact design fits in tight spaces where larger vents wouldn't work, making it ideal for sink applications in finished basement areas.
This vent's limited capacity makes it unsuitable for venting multiple fixtures, and some users report unusual goose-like sounds during operation. The taller profile may not fit in all installation scenarios, particularly under shallow sink cabinets.
![Basement Bathroom Plumbing Vent ([nmf] [cy]) Complete Guide 3 Broan-NuTone WVK2A Flexible Wall Ducting Kit for Ventilation...](https://m.media-amazon.com/images/I/41ZCZanWazL._SL160_.jpg)
Type: Exhaust ducting kit
Diameter: 4 inch
Length: 5 feet
Includes: 9-piece complete kit
Check PriceWhile not a plumbing vent per se, the Broan-NuTone WVK2A ducting kit is essential for venting bathroom exhaust fans in basement applications. Proper mechanical ventilation is crucial in basement bathrooms to prevent moisture buildup and mold growth, especially when natural ventilation is limited.
This complete 9-piece kit includes everything needed for proper exhaust fan installation: 5 feet of 4-inch flexible foil ducting, a white polymeric wall cap, 3-inch to 4-inch adapter, metal duct connector, and mounting screws. The kit's comprehensive nature eliminates the need to source individual components separately.

During installation, we found the included components well-designed for basement applications. The white polymeric wall cap provides a clean exterior appearance, while the UV-resistant construction ensures long-term durability. Customer photos show successful installations through basement walls and rim joists, providing proper moisture extraction to the exterior.
The flexible ducting easily navigates around obstacles in basement ceiling spaces, though we recommend using higher-quality duct tape than what's typically included in basic kits. The 3-inch to 4-inch adapter adds versatility for connecting to different fan sizes.
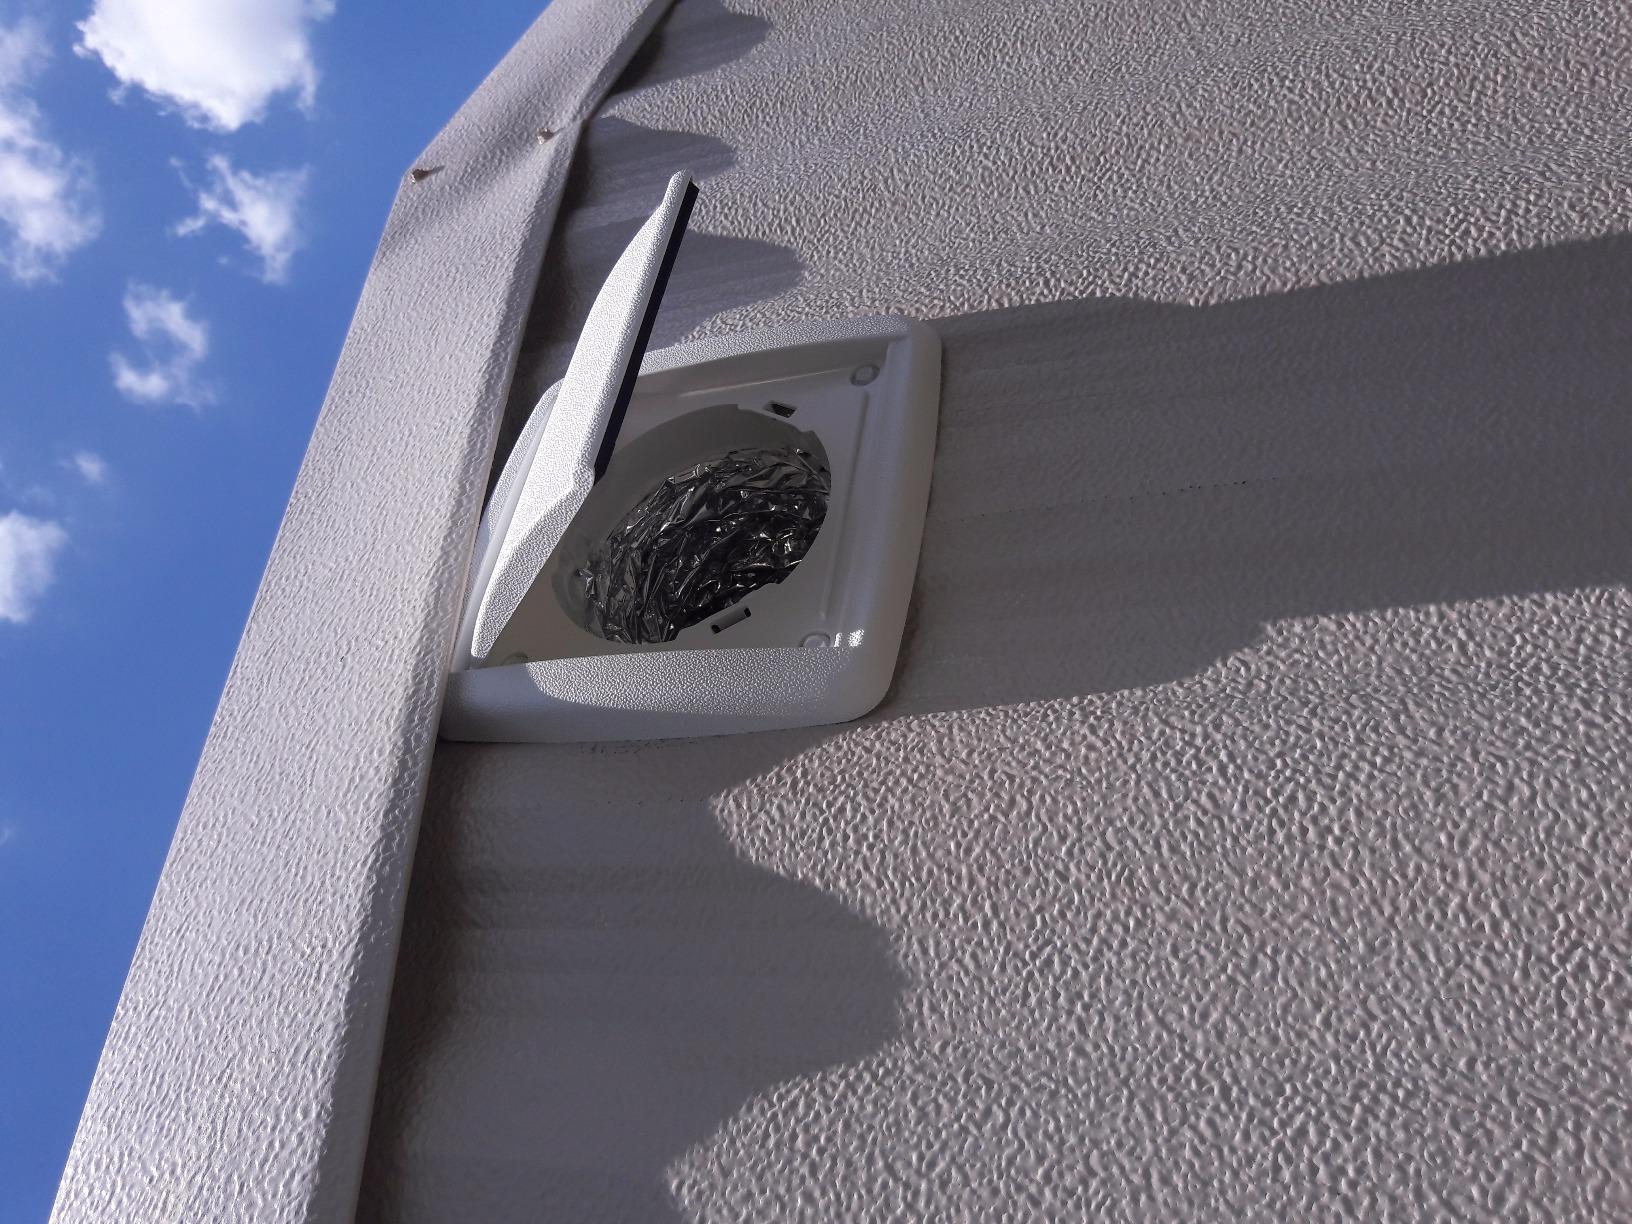
At around $24, this kit offers good value for the complete package. While some users note the flex pipe could be thicker, the overall system provides reliable performance when properly installed with adequate sealing at all connections.
The complete kit includes all necessary components for exhaust fan installation, saving time and ensuring compatibility. The UV-resistant construction provides durability for exterior applications, and the flexible ducting easily navigates around obstacles in basement ceiling areas.
The included flex pipe feels thinner than premium options, and the zip ties provided are essentially useless for securing connections. Some users report the template suggests cutting too large an opening, requiring additional finishing work around the wall cap.
Understanding and complying with plumbing codes is essential for any basement bathroom venting project. The International Plumbing Code (IPC) and Uniform Plumbing Code (UPC) provide the foundation for most local regulations, but always verify specific requirements in your jurisdiction before beginning work.
Both code systems require proper venting for all plumbing fixtures to prevent trap seal loss and protect against sewer gas infiltration. Vents must be sized according to fixture requirements, with most basement bathroom applications requiring minimum 1.5-inch vents for sinks and 2-inch vents for toilets, though local variations may apply.
Vent pipes must maintain proper slope and support throughout their run. Horizontal vent runs should slope upward at least 1/4 inch per foot toward the vent stack connection, and pipes require support every 4-6 feet depending on pipe size and material. All vent connections must be accessible for maintenance and inspection.
Improper vent sizing represents one of the most common code violations in basement bathroom installations. Using undersized vent pipes restricts air flow and can cause drainage issues, while oversized vents may not provide the velocity needed to clear the line effectively.
Improper trap seal protection occurs when vents are installed too far from fixtures or at incorrect heights. Plumbing codes generally require vents to be within specific distance limits from trap arms and installed above the flood level rim of fixtures to prevent water infiltration into the vent system.
Inadequate support and incorrect slope lead to water collection in vent pipes, creating potential blockages and code violations. Ensure all vent pipes are properly secured with approved hangers and maintain upward slope throughout their run to prevent water accumulation.
| Code Requirement | IPC Standard | UPC Standard | Common Mistake |
|---|---|---|---|
| Vent Size | Min. 1.5" for sinks | Min. 1.5" for sinks | Using undersized pipe |
| Vent Height | 6" above flood rim | Varies by fixture | Installing too low |
| Horizontal Run | 1/4" slope per foot | 1/4" slope per foot | Level or negative slope |
| Support | Every 4-6 feet | Every 4 feet | Inadequate hangers |
Even properly installed vent systems can develop issues over time. Understanding common problems and their solutions helps you maintain effective drainage and prevent sewer gas issues in your basement bathroom.
Slow drainage often indicates venting problems, particularly when multiple fixtures drain simultaneously. This typically occurs when insufficient air reaches the drain system, creating vacuum pressure that restricts water flow. Check for blocked vent pipes, improperly sized vents, or inadequate vent capacity for your fixture configuration.
Gurgling sounds from drains usually indicate air attempting to enter the system through water in traps rather than through proper vent pipes. This symptom often accompanies slow drainage and suggests vent obstruction or improper vent installation. Listen for gurgling when other fixtures drain to identify the affected vent line.
Sewer odors in the basement frequently indicate vent problems that have allowed trap seals to be broken or bypassed. This serious issue requires immediate attention, as sewer gases contain methane and can be hazardous to your health. Check for dry traps, blocked vents, or improper vent connections that may be allowing gases to enter living spaces.
Yes, absolutely. All plumbing fixtures including those in basements require proper venting according to both International Plumbing Code and Uniform Plumbing Code requirements. Without venting, you'll experience slow drainage, gurgling sounds, and potentially dangerous sewer gases entering your home.
Under most codes, a 2-inch vent can run horizontally up to 8 feet, while a 1.5-inch vent is limited to 6 feet. These runs must maintain an upward slope of at least 1/4 inch per foot toward the vent stack connection. Local requirements may vary, so always verify with your building department.
Yes, but with limitations. Wall venting is acceptable in many jurisdictions when venting through the roof isn't practical. The vent must terminate outside the building at least 10 feet from any window or door opening, and the opening must be protected with a proper vent cap to prevent debris and animal entry.
AAV acceptance varies by jurisdiction. Most areas now approve AAVs that meet ASSE 1050 or 1051 standards, including Oatey Sure-Vent and Studor vents. However, some municipalities still prohibit AAVs or restrict their use to specific applications. Always verify local requirements before installation.
Costs vary significantly based on method. Traditional venting typically ranges from $200-500 for materials plus labor if professionally installed. Air admittance valve installations cost much less at $15-50 for the valve plus minimal installation time. Factors affecting cost include access difficulty, material choices, and local permit requirements.
Yes, most jurisdictions require permits for adding bathroom fixtures including venting work. Permits ensure code compliance and protect your investment by requiring inspections. The process typically involves submitting plans and scheduling rough-in and final inspections. Working without permits can create liability issues and problems when selling your home.
Proper venting is essential for any basement bathroom installation, and choosing the right approach depends on your specific situation. After analyzing countless installations and code requirements, I recommend starting with a thorough assessment of your existing infrastructure and local code requirements.
For most basement bathrooms with access to existing vent stacks within reasonable distance, traditional venting provides the most reliable and universally accepted solution. While more involved and costly upfront, traditional vents require no maintenance and won't create issues during property inspections or sales.
When traditional venting isn't practical due to access limitations or finished spaces, quality AAVs like the Oatey Sure-Vent provide excellent alternatives for basement applications. These devices offer code-compliant solutions in most jurisdictions when properly installed according to manufacturer specifications.
Remember that proper venting isn't optional—it's a health and safety requirement that protects your home and family. Whether you choose traditional venting or AAVs, always prioritize code compliance and proper installation techniques. When in doubt, consult with a licensed plumber who can assess your specific situation and ensure code-compliant installation.