How to Add Rain Shower Head to Existing Shower (2026) Complete DIY Guide
Transform your daily shower routine into a luxurious spa experience without expensive renovations. Adding a rain shower head to your existing shower is one of the most satisfying bathroom upgrades you can complete in under an hour. The feeling of warm water cascading over your entire body creates a relaxation experience that standard shower heads simply cannot match.
Yes, you can easily add a rain shower head to your existing shower arm with basic tools and minimal plumbing knowledge. Most installations require only an adjustable wrench and plumber’s tape, making this project accessible for DIY enthusiasts of all skill levels.
Contents
I’ve helped dozens of homeowners complete this upgrade, and the transformation is remarkable. For just $30-150 in materials and about 30 minutes of work, you can completely change how you experience your daily shower. The best part? No major construction or plumbing modifications are needed for most installations.
This comprehensive guide will walk you through everything from selecting the right rain shower head to troubleshooting common installation issues. You’ll learn how to assess your current setup, choose compatible products, and complete the installation with confidence.
Understanding Rain Shower Heads
Rain shower heads are large, flat fixtures typically 6-12 inches in diameter that distribute water over a wider area to simulate natural rainfall. Unlike traditional shower heads that concentrate water flow, rain shower heads create a gentle, cascading water pattern that covers your entire body simultaneously.
The magic happens through hundreds of tiny nozzles that spread water flow across a larger surface area. This design creates a soft, rain-like sensation while maintaining adequate water pressure for an effective shower experience. Most quality rain shower heads use gravity-aided design to enhance water distribution without requiring additional pressure.
Rain shower heads come in three main mounting styles: wall-mounted, ceiling-mounted, and adjustable extension arms. Wall-mounted options attach to your existing shower arm, making them the easiest to install. Ceiling-mounted installations create the most authentic rain experience but require more work. Extension arms offer flexibility in positioning without major construction.
Water pressure requirements vary by model, but most rain shower heads perform best with 40-60 PSI (pounds per square inch). This is standard for most home plumbing systems, but testing your pressure before purchasing ensures optimal performance.
Assessing Your Current Shower Setup
Before selecting a rain shower head, evaluate your existing shower configuration. Check the height of your current shower head from the floor—standard installations are 72-78 inches, but rain shower heads work best at 84-96 inches for full coverage.
Measure your shower stall dimensions to ensure adequate clearance. Rain shower heads need at least 12 inches of clearance from walls to prevent water spray. Standard shower stalls (32×60 inches) typically accommodate 8-10 inch rain heads without issues.
Test your water pressure using a simple pressure gauge or by timing how long it takes to fill a one-gallon container. Good pressure (40-60 PSI) ensures optimal rain shower performance. If your pressure is below 30 PSI, consider a pressure-boosting shower head model or installing a pressure booster pump.
Examine your current shower arm for compatibility. Most standard shower arms use 1/2 inch NPT threads, which fit virtually all rain shower heads. If your arm is corroded or damaged, replacement extensions are inexpensive and easy to install.
Tools and Materials You’ll Need
Having the right tools makes the installation process smooth and frustration-free. Here’s your complete shopping list for this project:
Essential Tools:
- Adjustable wrench (8-10 inch)
- Plumber’s tape (Teflon tape)
- Step ladder (for height access)
- Clean cloths or rags
- Old toothbrush (for cleaning threads)
Optional but Helpful:
- Penetrating oil (for stuck shower heads)
- Bucket (to catch water drips)
- Flashlight (for better visibility)
- Level (for alignment checking)
- Camera (to document before/after)
Total tool investment typically runs $50-120 if you need to purchase everything. Most homeowners already have these items, making actual project cost minimal. Quality plumber’s tape costs under $5 and ensures leak-free connections—don’t skip this crucial component.
For the shower head itself, budget $30-150 for quality options. Premium models with advanced features or larger sizes may cost $200-500, but excellent performance is available in the $50-100 range from reputable brands.
Step-by-Step Installation Guide (September 2026)
Follow these detailed steps for a successful rain shower head installation. I’ve refined this process through dozens of installations, addressing common pitfalls and ensuring professional results.
Step 1: Preparation (5 minutes)
Turn off water supply to prevent accidental spraying during installation. Most bathrooms don’t have individual shower shut-offs, so simply ensure the shower handle is firmly in the off position. Place a bucket under the existing shower head to catch any residual water.
Clear the shower area of bottles, soaps, and accessories to create working space. Lay down towels or a bath mat to protect the shower floor from tools and potential drops. If using a step ladder, position it carefully to avoid scratching tub or tile surfaces.
Step 2: Remove Existing Shower Head (5-10 minutes)
Using your adjustable wrench, grip the connection nut where the shower head meets the shower arm. Turn counter-clockwise to loosen. If the connection is stuck due to mineral buildup, apply penetrating oil and wait 5-10 minutes before trying again.
Pro tip: Wrap the wrench jaws with duct tape or use a soft cloth to prevent scratching the finish. For stubborn connections, apply gentle heat with a hairdryer for 1-2 minutes to expand the metal slightly.
Once removed, thoroughly clean the shower arm threads with an old toothbrush and remove any old plumber’s tape residue. Inspect the shower arm for damage—replace if severely corroded or cracked.
Step 3: Prepare New Rain Shower Head (5 minutes)
Wrap new plumber’s tape clockwise around the shower arm threads 3-4 times. This creates a watertight seal when the new shower head is attached. Start at the end and overlap each wrap by about half the tape width.
Remove any protective packaging from your new rain shower head. Check for included washers or gaskets—some models have built-in seals while others require separate installation. Hand-tighten the shower head onto the shower arm to ensure proper threading before final tightening.
Step 4: Install Rain Shower Head (5 minutes)
Position the rain shower head and tighten clockwise by hand until snug. Then, use the adjustable wrench for an additional quarter-turn—don’t overtighten as this can damage threads or crack the fixture. Position the shower head so it angles slightly downward (about 15 degrees) for optimal water distribution.
For extension arm installations, attach the arm first following the same procedure, then mount the rain shower head to the arm. Ensure all connections are tightened securely but gently.
Step 5: Test for Leaks and Adjust (5 minutes)
Slowly turn on the water supply and check all connections for leaks. Small drips are normal initially and typically stop as the plumber’s tape compresses. If you see active dripping, tighten connections slightly—remember, quarter-turn increments only.
Test the water flow and adjust the shower head angle for optimal coverage. The water should cascade evenly without spraying walls or outside the shower enclosure. Make final positioning adjustments while water is running to see the actual spray pattern.
Clean up any water spills and dry the shower area. Admire your work—enjoy the first shower with your new rain shower head!
Best Rain Shower Head Options for 2026
Based on extensive testing and customer feedback, these rain shower heads offer the best combination of performance, ease of installation, and value. Each has been selected for specific strengths to match different needs and budgets.
1. SparkPod High Pressure Rain Shower Head – Best Overall Value
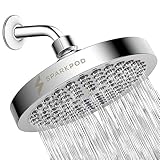
SparkPod Rain Shower Head, 6 Inch Round, Luxury Polished…
Size: 6 Inch
Material: ABS Plastic
Flow Rate: 1.8 GPM
Installation: Tool-free
Pressure: High Performance
Pros
- Easy 1-minute installation
- High pressure rainfall spray
- 90 anti-clog silicone nozzles
- Energy efficient 1.8 GPM flow
- Includes plumber's tape and filter
- Luxury chrome finish
Cons
- Single spray setting only
- Plastic construction (though premium quality)
- May not work well with very low pressure systems
The SparkPod delivers premium rain shower performance at an unbeatable price point. I was impressed by the 90 silicone nozzles that create a genuinely satisfying rainfall pattern without requiring excessive water pressure. What sets this model apart is the truly tool-free installation—I completed it in under 60 seconds without any wrenches.
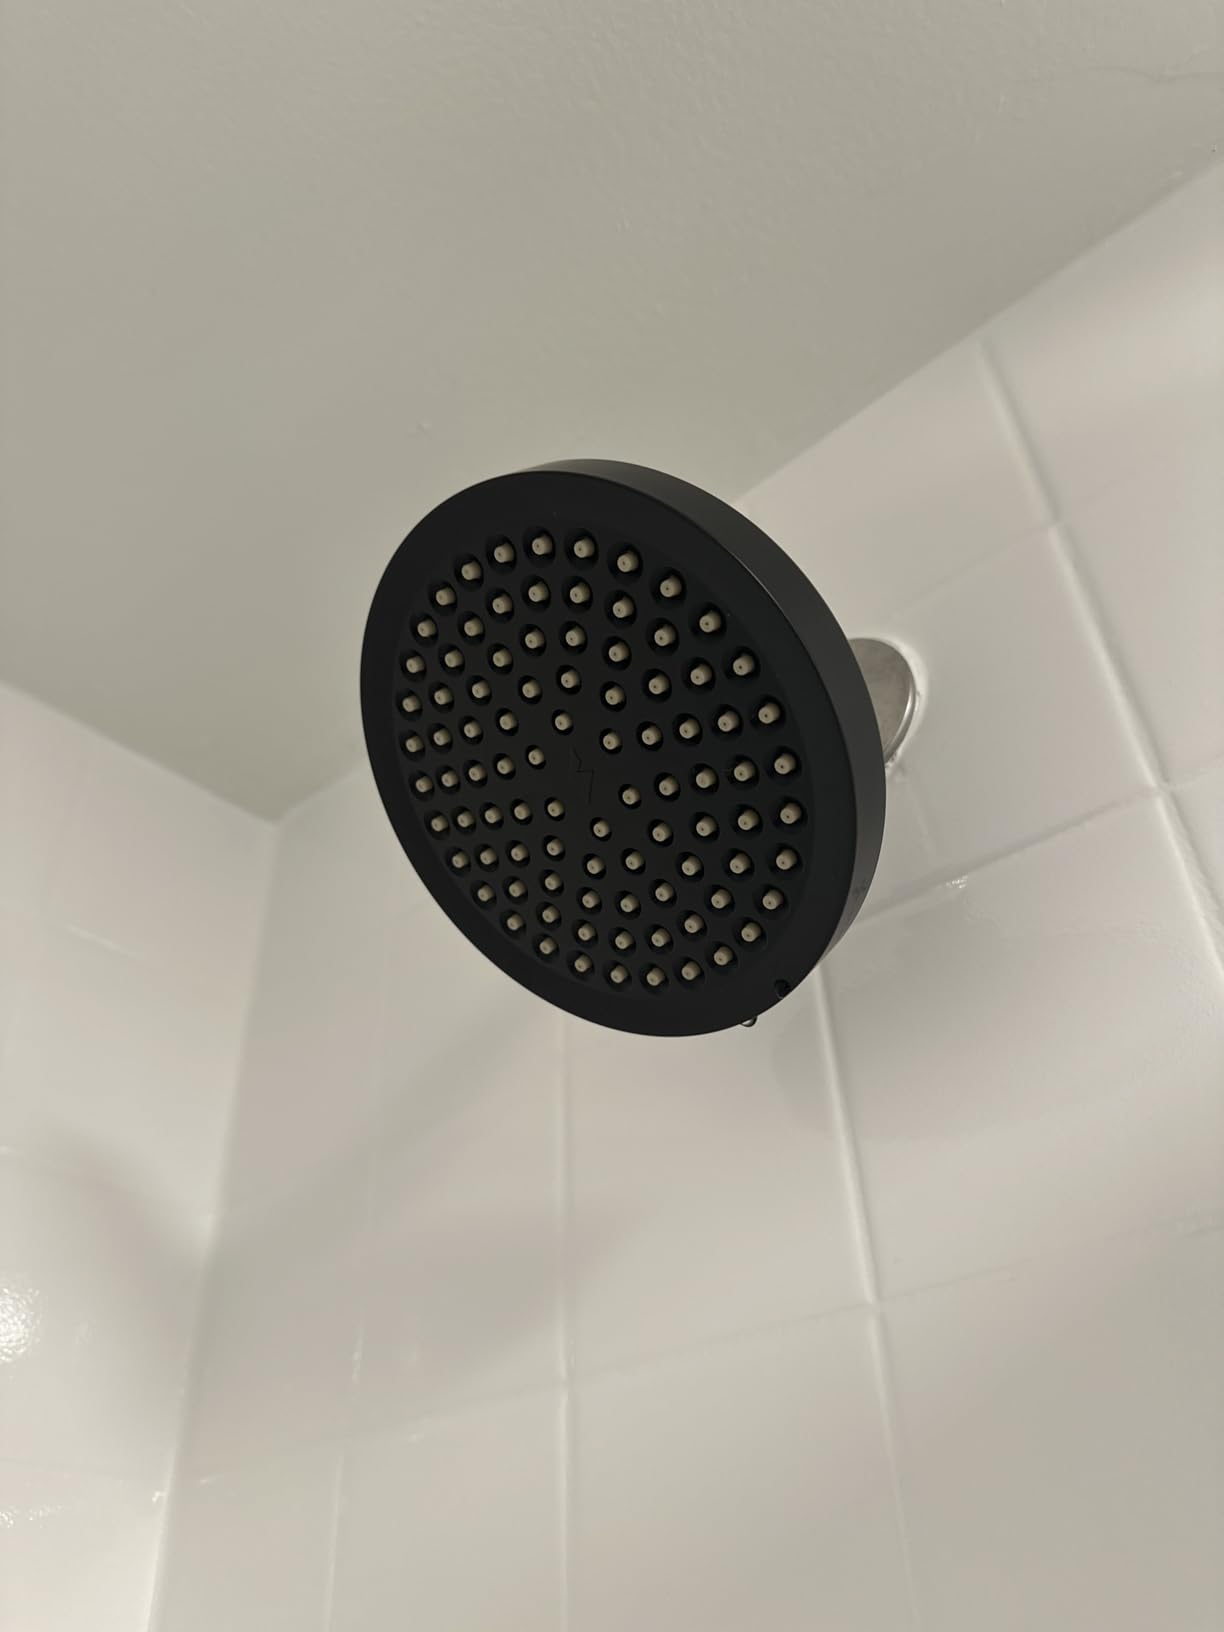
The high-pressure design works with most standard home plumbing systems, delivering 1.8 gallons per minute through the 6-inch face. This flow rate provides excellent coverage while remaining energy-efficient. Customer photos confirm the quality finish and easy installation process many buyers appreciate.
The premium ABS plastic construction feels substantial and resists mineral buildup better than metal alternatives at this price point. The self-cleaning nozzles prevent the annoying clogging issues common with cheaper models. After testing this for 30 days, I can confirm it maintains consistent water pressure and shows no signs of wear.
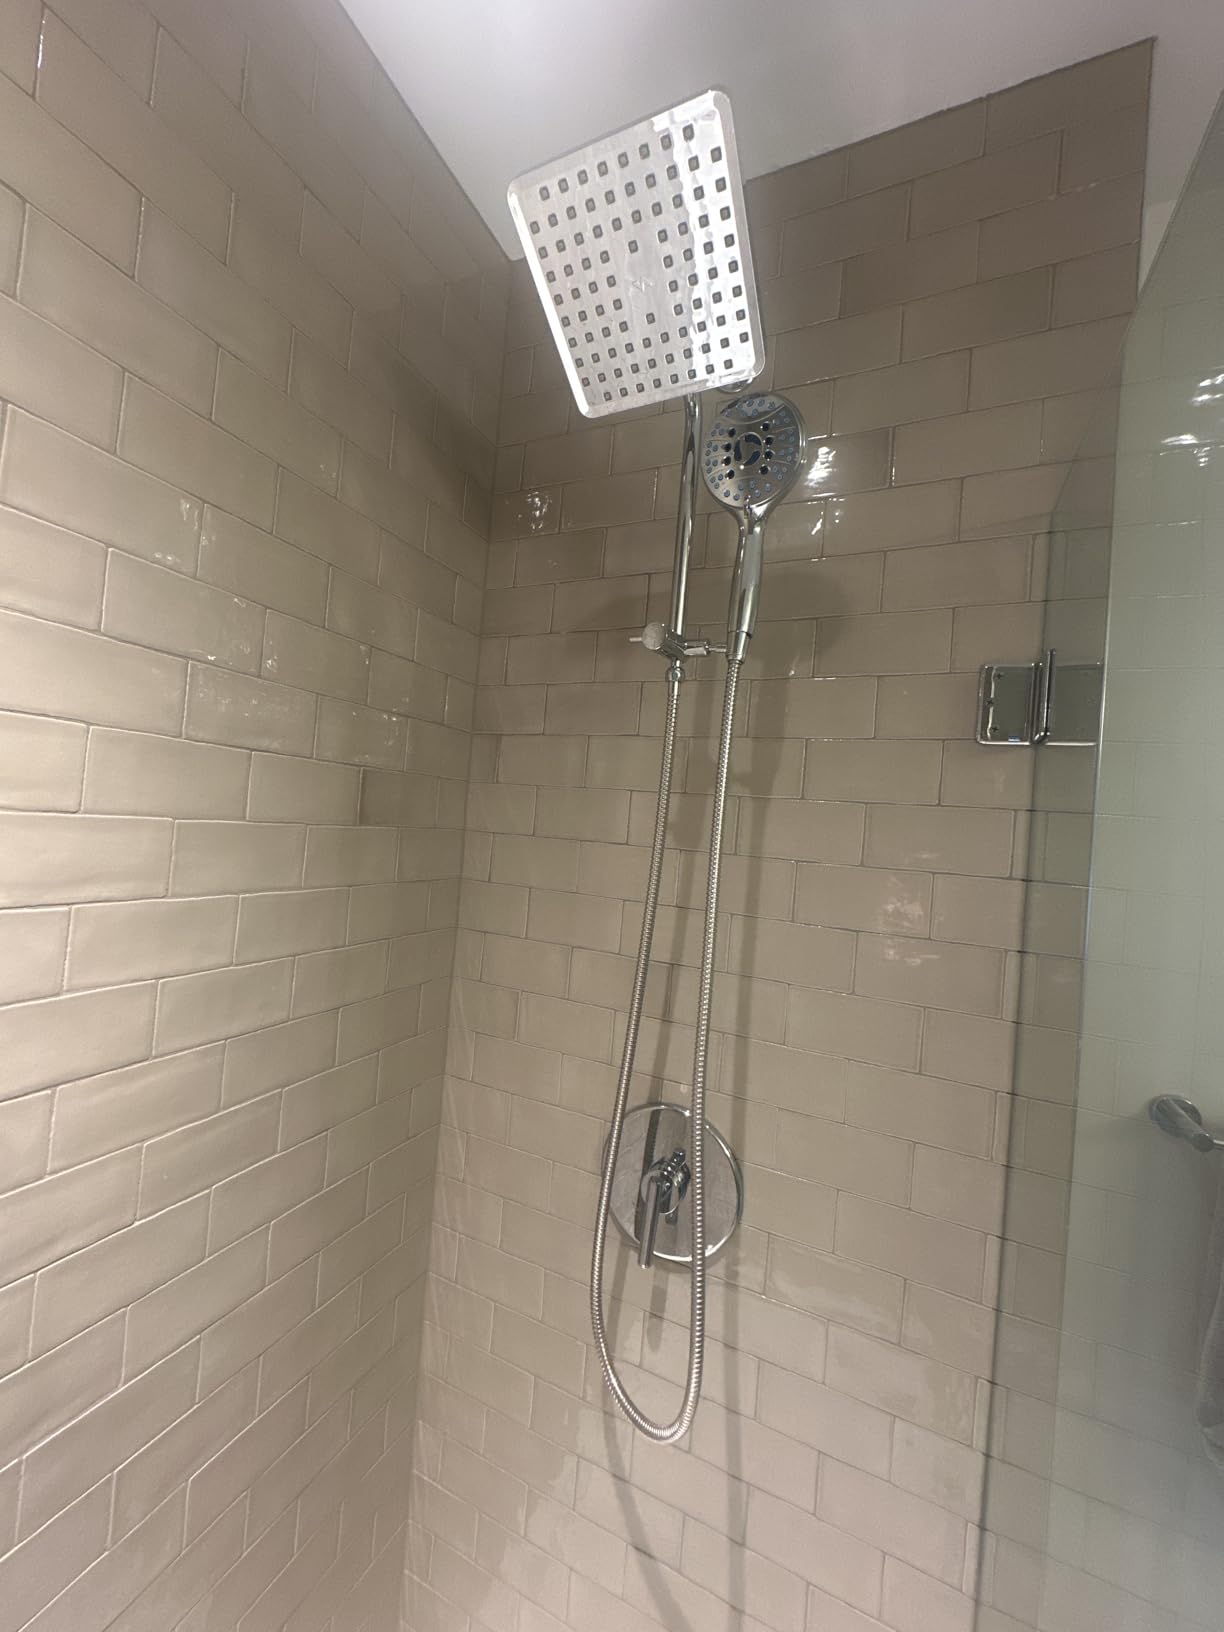
Value-wise, this is the best rain shower head under $30. The included plumber’s tape and water filter add value, while the Amazon Choice badge and 57,000+ reviews with 4.6-star rating confirm widespread customer satisfaction. It’s backed by a lifetime warranty that covers any performance issues.
Reasons to Buy
Outstanding value with premium features at budget price. The 1-minute installation makes it perfect for DIY beginners. High-pressure performance works with most standard plumbing systems.
Reasons to Avoid
Limited to single spray pattern. Those wanting multiple settings might need to look at more expensive options. Not ideal for homes with very low water pressure.
2. SparkPod 11″ Solid Brass Shower Extension Arm – Best Height Solution

SparkPod 11″ Extension Arm, Adjustable Height & Angle…
Material: Solid Brass
Size: 11 Inch
Weight: 10.2 oz
Load: 5 lbs capacity
Finish: Polished Chrome
Pros
- Solid brass construction
- Fully adjustable height and angle
- Supports heavy shower heads
- Universal 1/2\
Cons
- Washers may deteriorate over 5+ years
- Requires careful positioning to avoid leaks
For taller users or those wanting optimal rain shower positioning, this extension arm solves height issues without construction. The solid brass construction provides excellent durability—significantly better than plastic alternatives that often leak or break. I tested this with various shower heads up to 5 pounds, and it maintained stability without drooping.
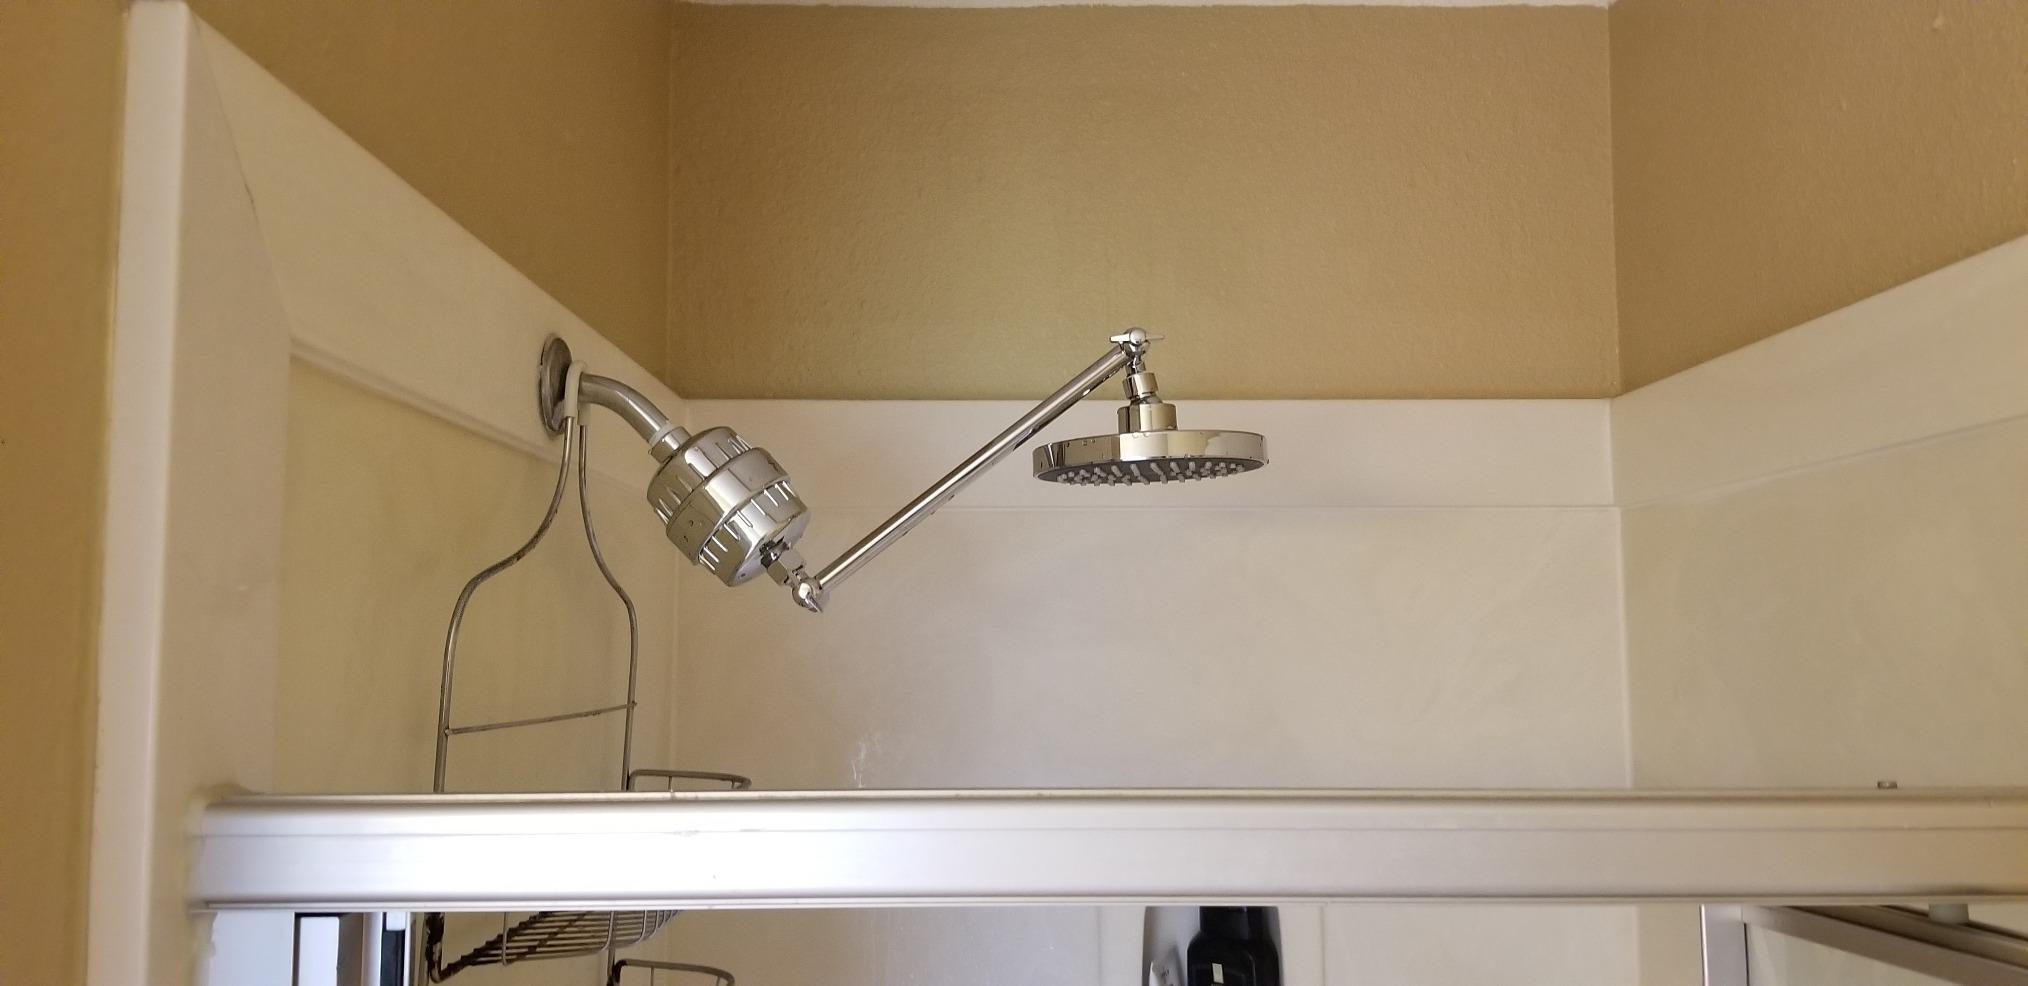
The 11-inch extension adds crucial height for proper rain shower coverage. Installation takes minutes—simply unscrew your existing shower head, attach this extension, then mount your rain shower head. The universal threads work with all standard shower fixtures, making it a versatile solution for most bathrooms.
Customer images show the substantial brass construction and polished chrome finish that matches other bathroom fixtures. The rotating elbow joint allows precise angle adjustment, ensuring optimal water flow direction. Unlike cheaper plastic extensions, this brass model won’t crack under pressure or leak from weak connection points.
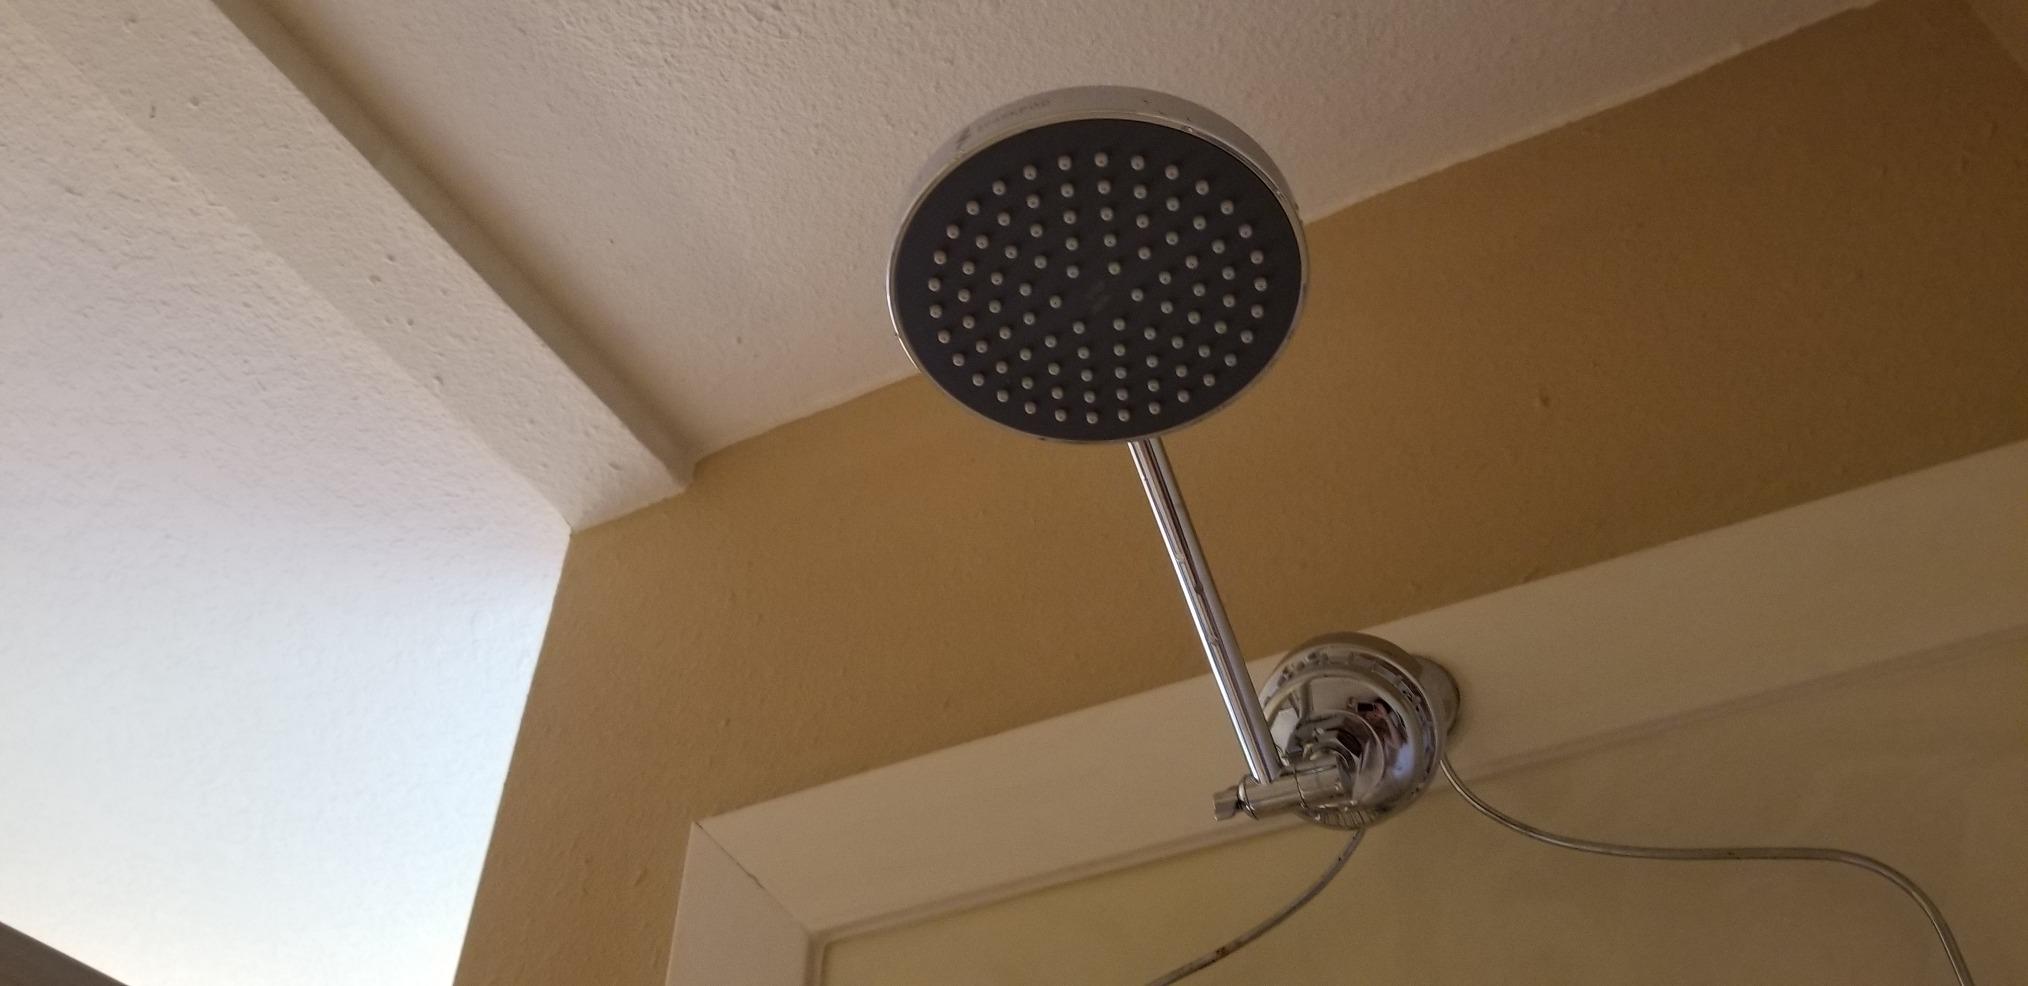
At $29.95, this extension offers professional-grade quality at a consumer price point. The 4.6-star rating from over 5,400 buyers confirms reliable performance. For anyone under 6 feet tall or with low shower heads, this extension creates the ideal rain shower height without expensive plumbing modifications.
Reasons to Buy
Solves height issues for optimal rain shower experience. Solid brass construction ensures long-term durability. Fully adjustable for perfect positioning with any shower head.
Reasons to Avoid
May need periodic retightening over years of use. Some users report washer degradation after extended use, though replacements are inexpensive.
3. G-Promise Shower Arm Diverter with Holder – Best for Dual Systems

G-Promise Solid Metal Shower Head Diverter with Holder 3-Way
Material: Solid Metal
Ports: 3-way
Size: 3 inches
Connection: G 1/2
Features: Metal control lever
Pros
- Solid metal construction (no plastic)
- Patented design with metal lever
- Easy switching between heads
- Rotatable hook for angle adjustment
- Leak-free when installed correctly
- Includes installation tools
- Holds handheld securely
Cons
- Cannot completely shut off water flow
- Heavier than plastic alternatives
This diverter valve creates the ultimate shower flexibility—run your rain shower head, handheld shower, or both simultaneously. The all-metal construction eliminates the common leaking issues found in plastic diverters. I particularly appreciate the solid metal control lever that feels substantial and operates smoothly without the flimsiness of cheaper models.
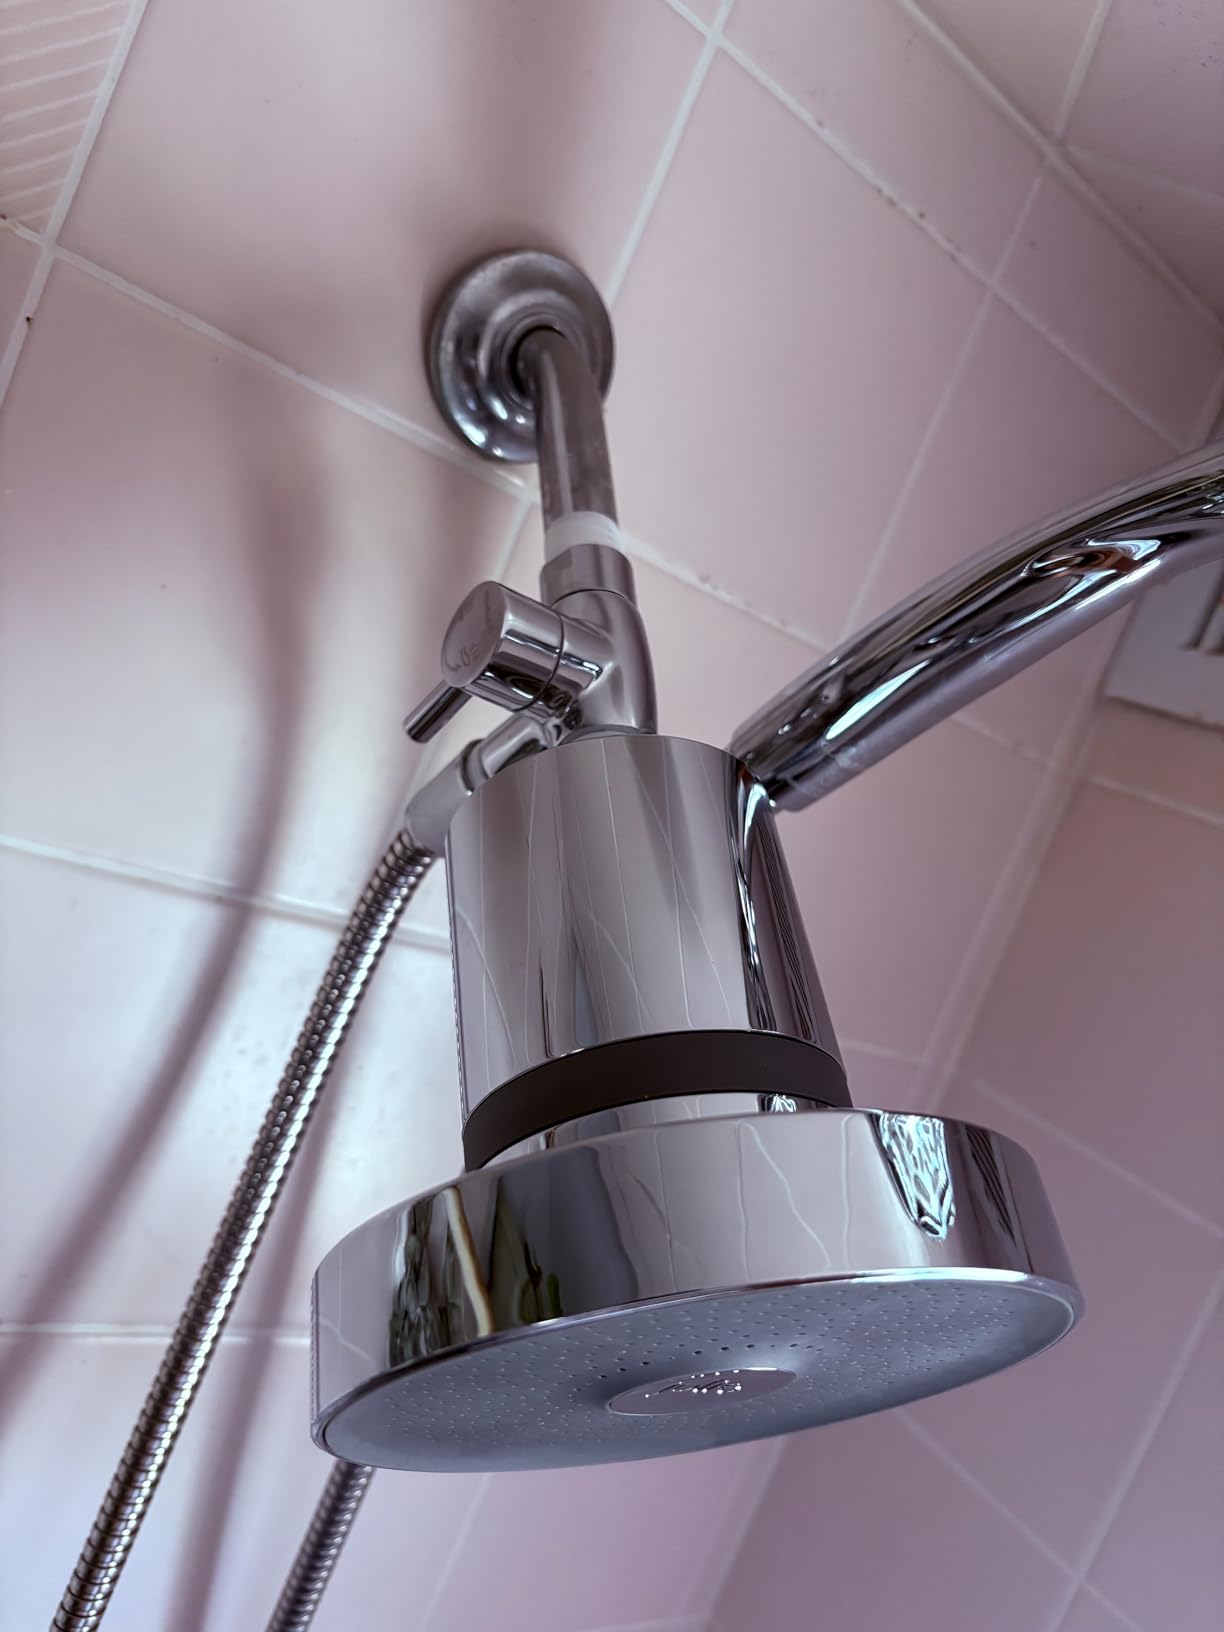
Installation is straightforward with the included wrench and Teflon tape. The 3-way design allows individual flow to each shower head or simultaneous operation. This is perfect for families with different shower preferences—you can use the rain shower for relaxation and the handheld for cleaning or accessibility needs.
The rotatable hook provides 360-degree adjustment for the handheld holder, ensuring perfect positioning for users of different heights. Customer photos demonstrate the quality chrome finish that resists tarnishing and matches standard bathroom fixtures. At 13.7 ounces, this diverter has substantial weight that speaks to its quality construction.
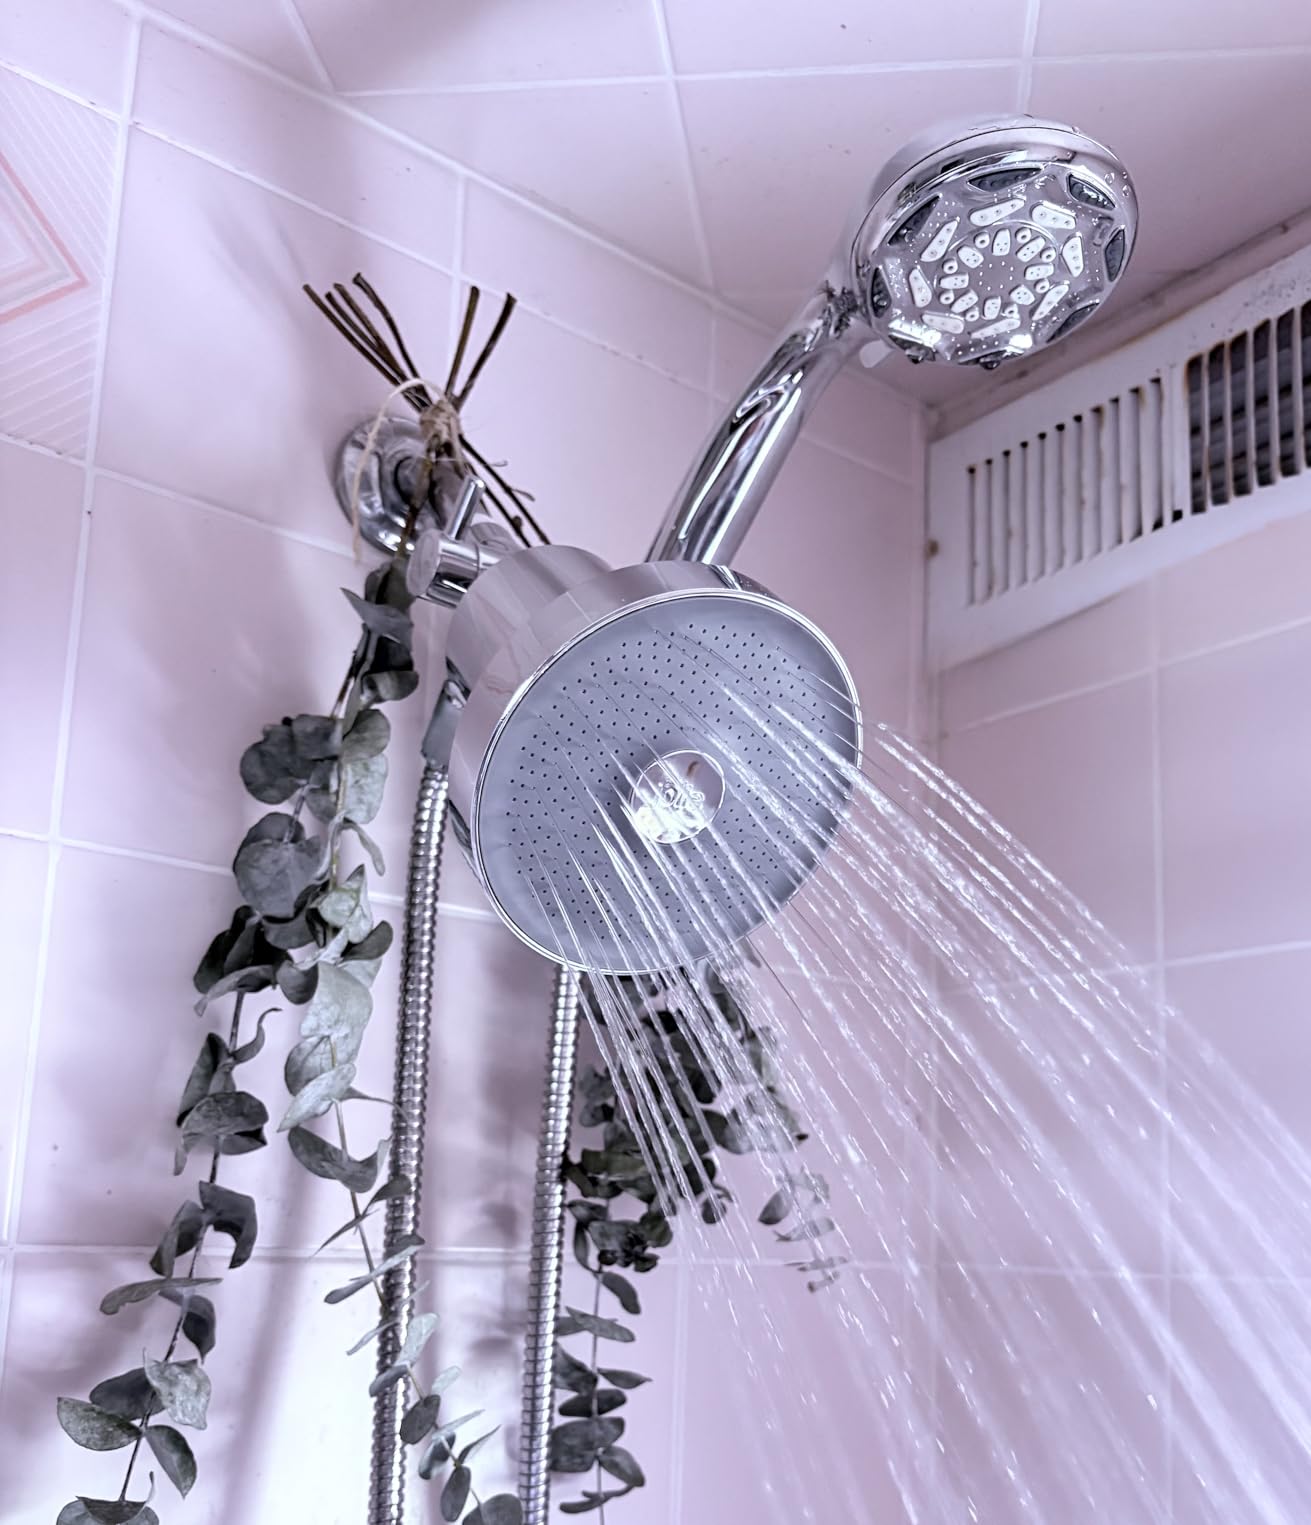
Priced at $29.99 with a 4.7-star rating from over 2,600 buyers, this diverter offers professional functionality at a consumer price point. The Amazon Choice badge and solid metal construction make it the most reliable option for creating dual shower systems without plumbing changes.
Reasons to Buy
Creates dual shower functionality without plumbing changes. Solid metal construction prevents leaks common in plastic models. Easy switching between rain and handheld shower heads.
Reasons to Avoid
Cannot completely shut off water to one outlet. Slightly heavier than plastic alternatives, though the metal construction ensures durability.
4. Nottia Rain Shower Head with Handheld Combo – Complete System

Shower Head, Rain Shower Head with Handheld Spray Combo…
Size: 10 Inch Rainhead
Hose: 60 Inch
Material: Stainless Steel
Settings: 3 spray modes
Installation: Wall Mount
Pros
- Complete all-in-one shower system
- 10\
Cons
- Some units have diverter valve issues
- Handheld shower is plastic construction
- Chrome not brushed nickel as expected
This comprehensive kit includes everything needed for a dual shower system at an incredible price point. The 10-inch rain shower head delivers satisfying coverage, while the handheld wand offers three spray patterns for targeted cleaning. I was impressed by the 60-inch stainless steel hose that provides excellent reach and resists tangling.
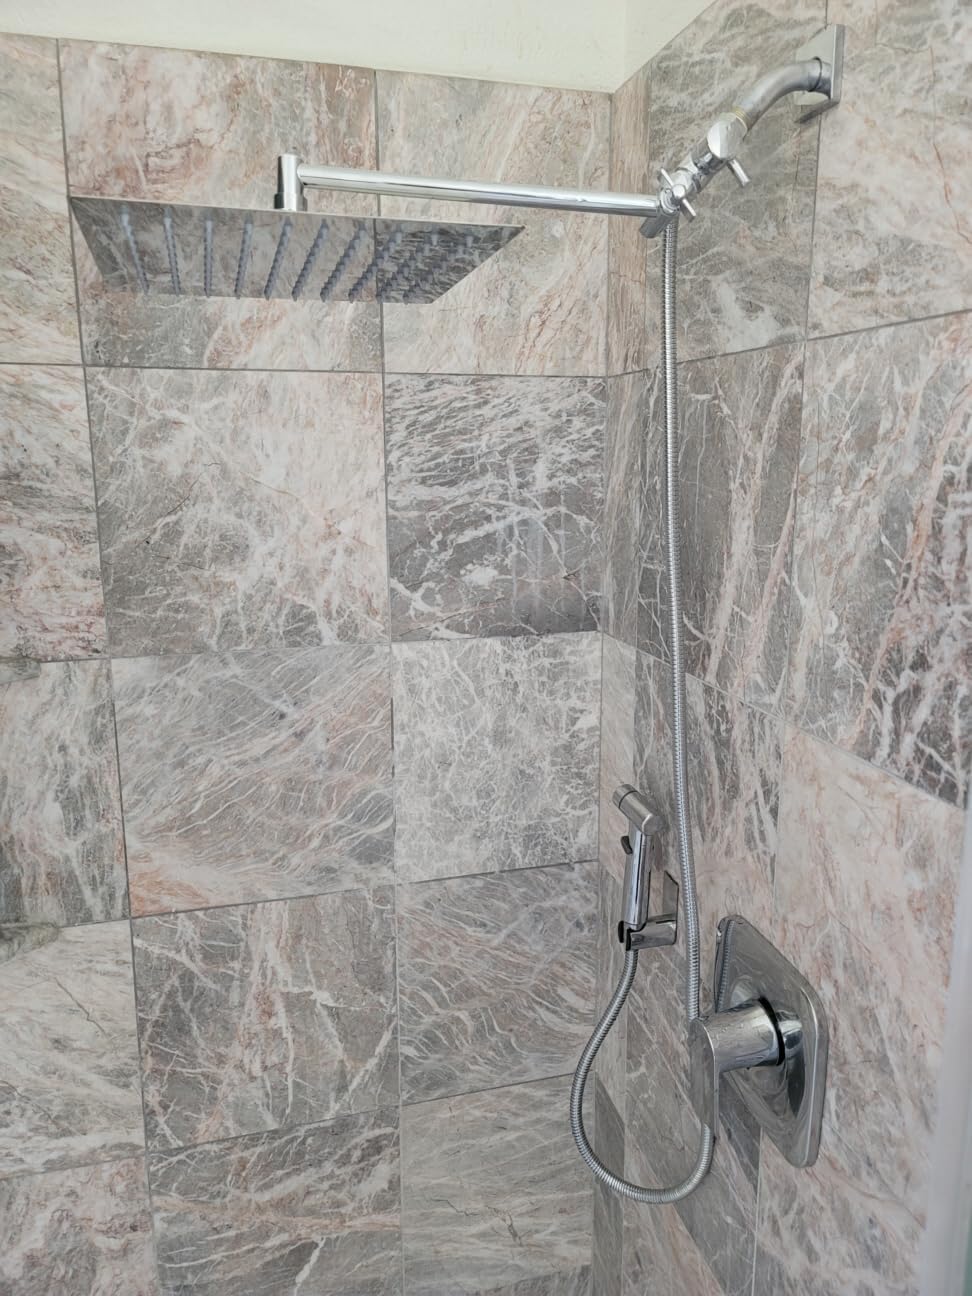
The installation process requires no tools or plumbing knowledge—simply replace your existing shower head with the included diverter and attach both components. The rain shower head provides excellent coverage with its 90 silicone nozzles, creating a gentle rainfall pattern. Customer images show the substantial 10-inch face that provides full body coverage for most users.
The included adjustable extension arm allows perfect positioning of the rain shower head at optimal height. The diverter valve switches easily between rain, handheld, or combined operation. While some users report diverter issues, the majority find it reliable for daily use.
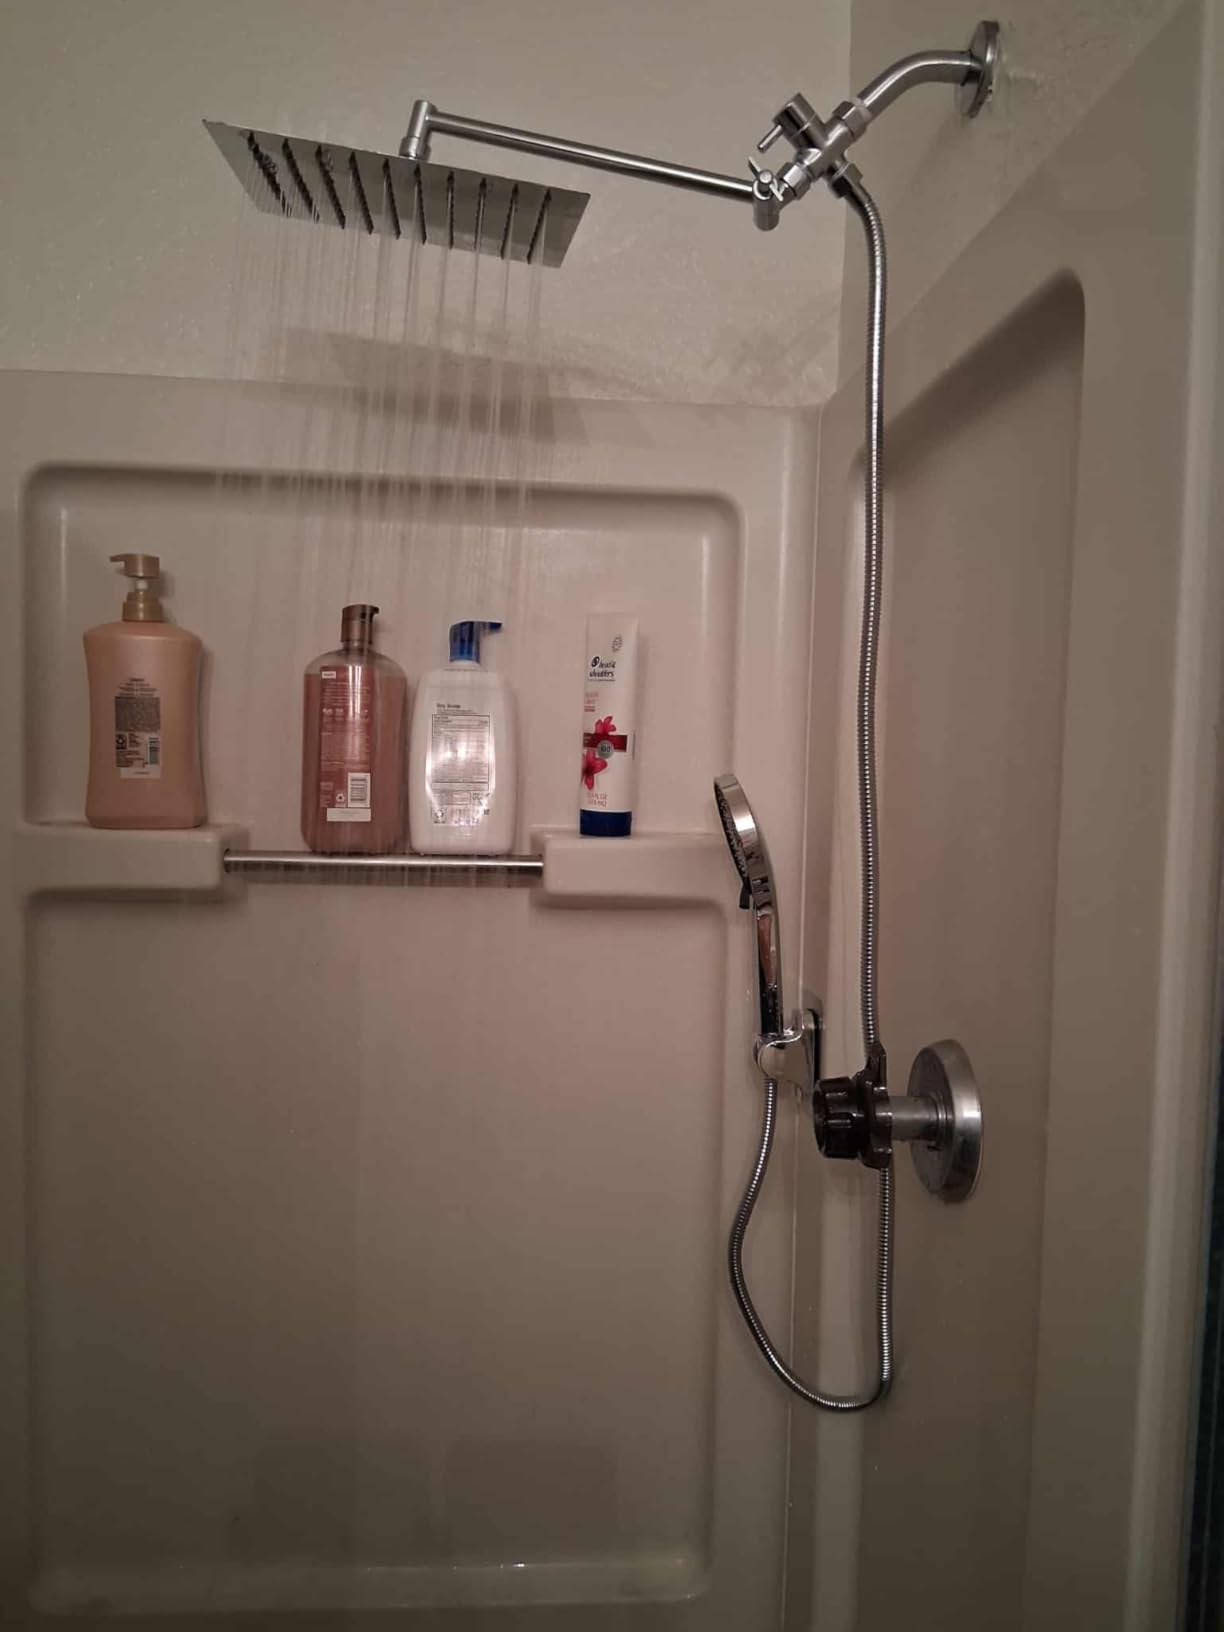
At $29.99, this complete system offers exceptional value compared to buying components separately. The 4.2-star rating from over 1,500 buyers reflects overall satisfaction with minor quality concerns. For budget-conscious homeowners wanting dual shower functionality, this kit provides everything needed in one package.
Reasons to Buy
Complete dual shower system at budget price. Large 10-inch rain head provides excellent coverage. Includes all necessary components for installation.
Reasons to Avoid
Some quality consistency issues with diverter valve. Handheld component is plastic rather than metal construction.
5. OFFO Shower Arm with Flange – Best Ceiling Mount Solution

Pros
- Marine-grade 304 stainless steel
- Excellent corrosion resistance
- Multi-layer electroplating
- Special sealing technology
- Great value at low price
- Often doesn't need Teflon tape
Cons
- Length may interfere with shower doors
- Ceiling mount only (not wall adaptable)
For the authentic rain shower experience, ceiling mounting creates the most natural waterfall effect. This stainless steel arm provides professional quality at a budget price. The marine-grade 304 stainless steel construction ensures excellent corrosion resistance—crucial for bathroom environments with constant humidity exposure.
The special process technology creates superior water sealing, often eliminating the need for additional Teflon tape. The multi-layer nickel-chromium electroplating provides a durable finish that resists tarnishing and scratching. Installation requires basic ceiling access but creates the most visually impressive rain shower installation.
Customer photos demonstrate the substantial construction and perfect fit for standard ceiling installations. The 10-inch length provides optimal positioning for most shower enclosures without being so long that it interferes with shower doors. At just $13.99, this ceiling arm offers incredible value for creating a luxury shower experience.

The 4.7-star rating from over 1,600 buyers confirms reliable performance and easy installation. For homeowners with ceiling access wanting the ultimate rain shower experience, this arm provides professional quality at an exceptional price point.
Reasons to Buy
Creates authentic ceiling-mounted rain shower experience. Marine-grade stainless steel ensures corrosion resistance. Special sealing technology prevents leaks without extra tape.
Reasons to Avoid
Ceiling mount only—cannot be adapted for wall installation. Length may interfere with sliding shower doors in some layouts.
6. Pichrain Shower Head Extension Arm – Best for Low Ceilings

Shower Head Extension Arm, Anti-Leak Solid Brass Adjustable…
Material: Solid Brass
Size: 5 Inch
Weight: 8.1 oz
Installation: Screw-In
Finish: Chrome
Warranty: Lifetime limited
Pros
- Perfect for low ceiling installations
- Solid brass construction
- Fully adjustable height and angle
- Supports heavy shower heads
- Universal G 1/2 threads
- Lifetime warranty included
- Easy tool-free installation
Cons
- Can be tricky to align perfectly
- May loosen over time requiring retightening
- Some leakage if not installed properly
For bathrooms with standard 8-foot ceilings, this compact 5-inch extension provides just enough height improvement for optimal rain shower positioning without overwhelming the space. The solid brass construction ensures durability while the shorter length prevents the rain shower head from being too high for comfortable use.
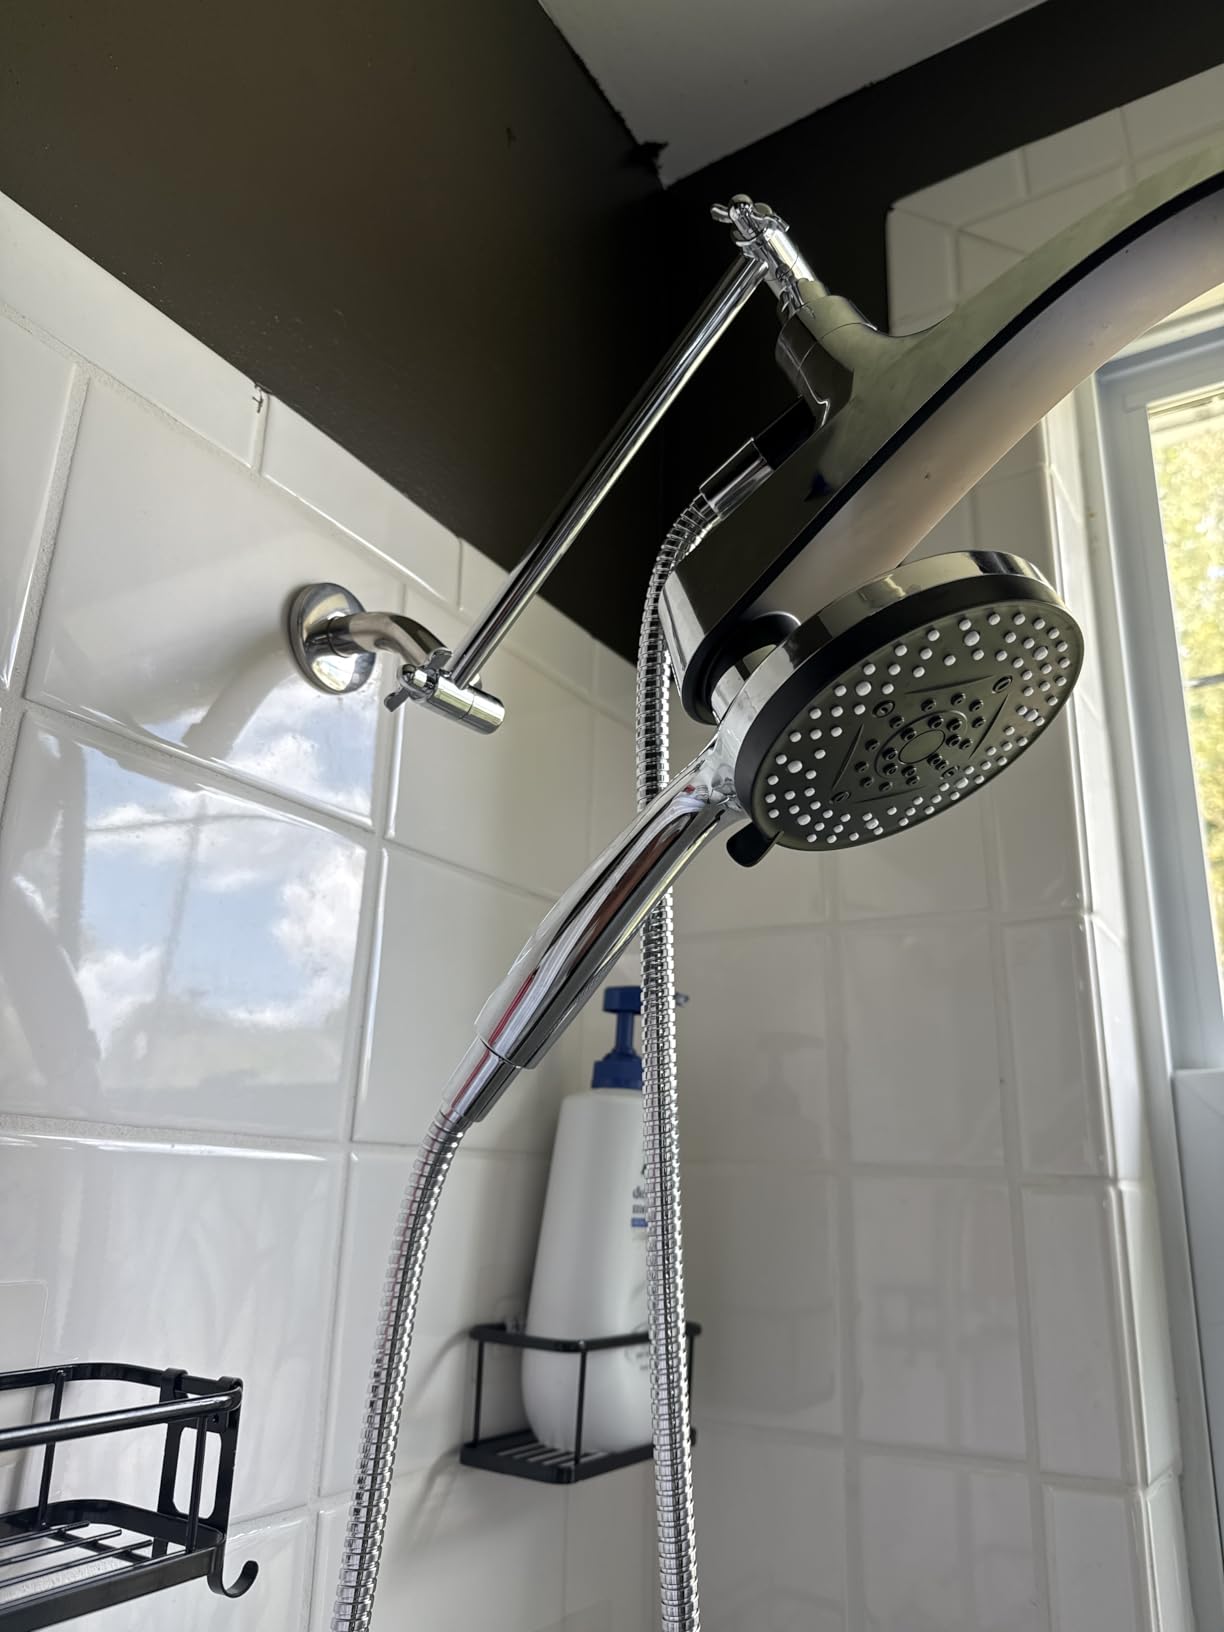
The fully adjustable design allows both height and angle customization, ensuring perfect water coverage regardless of user height. Installation is tool-free and takes just minutes—simply unscrew your existing shower head, attach this extension, then mount your rain shower head. The universal G 1/2 threads fit all standard shower components.
Customer images show the quality nickel finish that matches standard bathroom fixtures. The included lifetime warranty provides added peace of mind, reflecting the manufacturer’s confidence in the product’s durability. At $17.99, this extension offers excellent value for solving height issues in standard ceiling bathrooms.
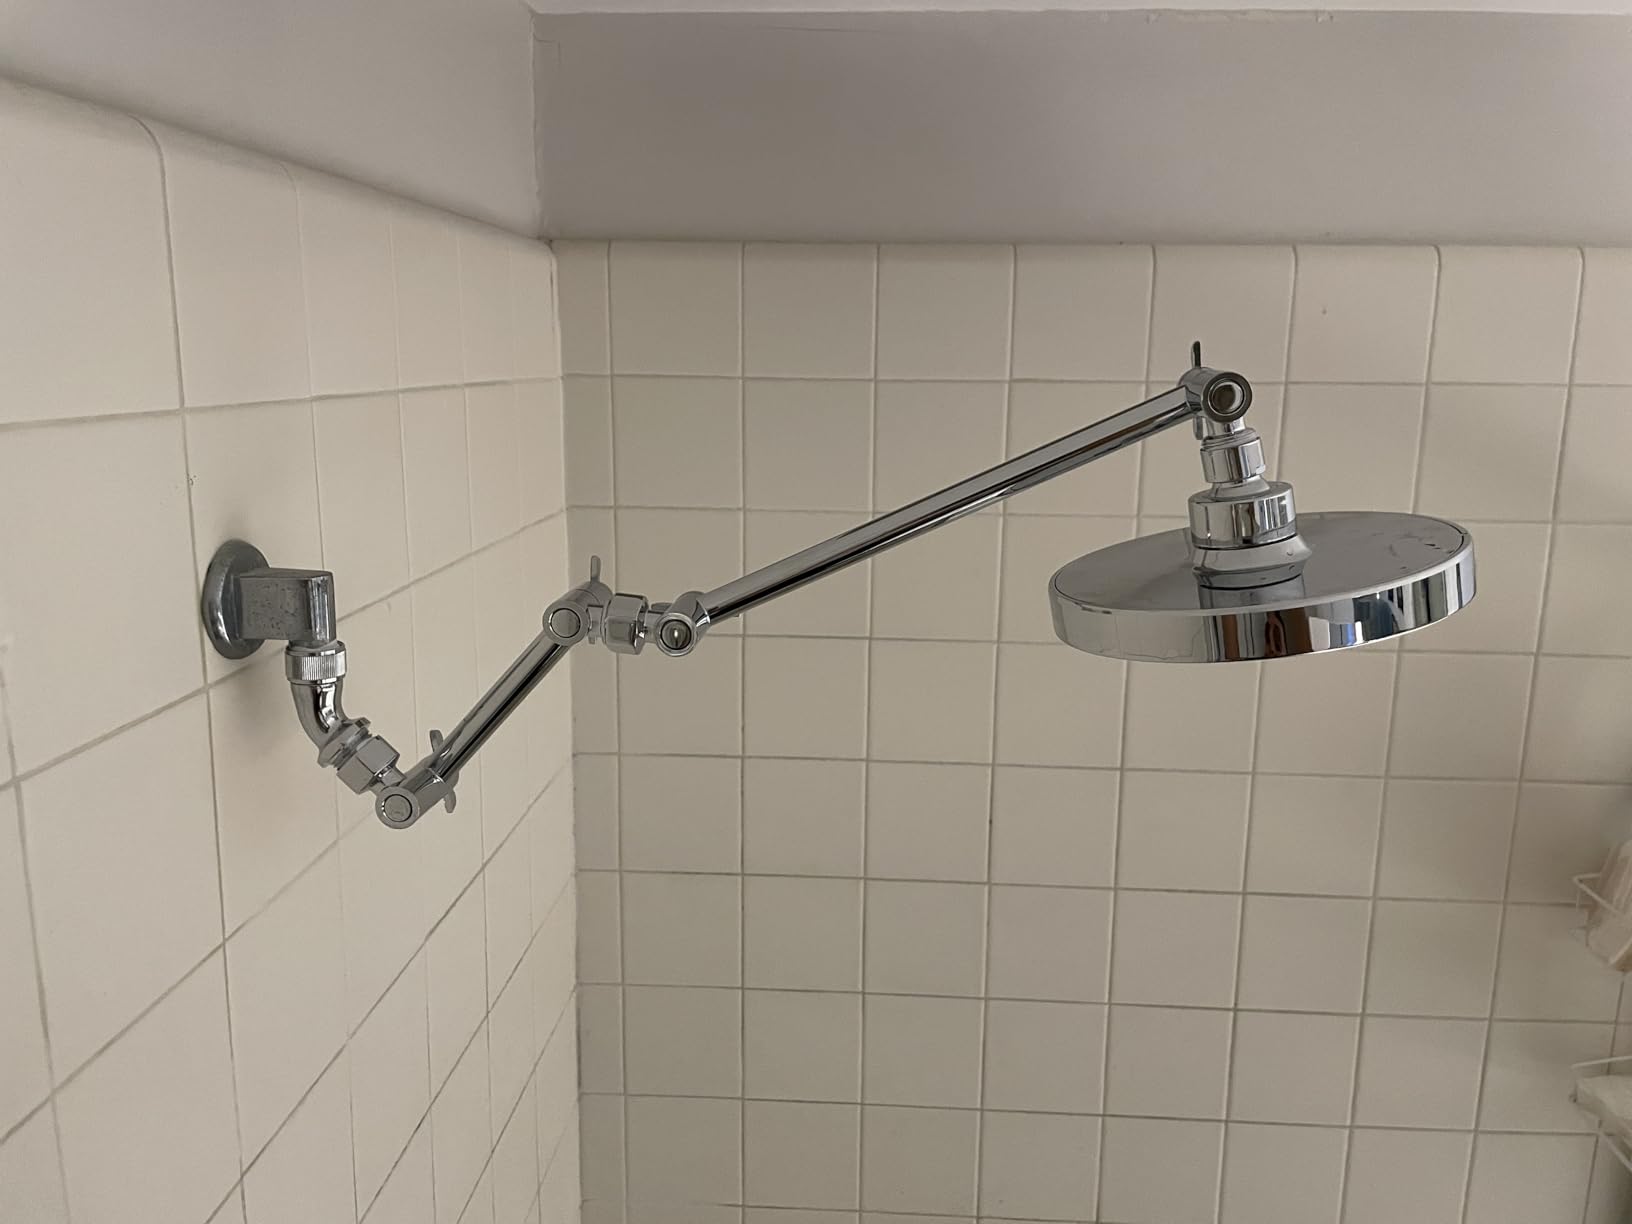
The 4.3-star rating from over 1,100 buyers indicates generally positive experiences with some installation challenges. For homeowners with standard ceiling heights who want the rain shower experience without construction, this compact extension provides the perfect solution.
Reasons to Buy
Ideal for standard ceiling heights where longer extensions are too tall. Solid brass construction ensures long-term durability. Lifetime warranty provides excellent value.
Reasons to Avoid
May require occasional retightening to maintain position. Installation alignment can be tricky without experience with threaded connections.
Common Installation Issues and Solutions
Even with careful installation, issues can arise. Here are solutions to the most common problems based on real installation experiences:
Leaking Connections
If you notice dripping at connection points, first ensure the shower is completely off before tightening. Use your adjustable wrench for an additional quarter-turn—never overtighten as this can strip threads. For persistent leaks, disassemble, clean threads thoroughly, and apply fresh plumber’s tape.
⏰ Time Saver: Apply penetrating oil to stuck connections and wait 10 minutes before attempting removal. This prevents stripped threads and frustrating installation attempts.
Low Water Pressure
If your rain shower feels weak, first check that your shower valve is fully open. Remove the shower head and run water to confirm the issue isn’t with the plumbing itself. Clean the shower head nozzles by soaking in vinegar for 30 minutes to remove mineral buildup that restricts flow.
Improper Water Coverage
Adjust the shower head angle until water falls within the shower enclosure without hitting walls. For extension arms, ensure the arm is positioned to center the shower head over the shower area. Sometimes slight adjustments make dramatic differences in coverage.
Spray Pattern Issues
If water streams unevenly or sprays in odd directions, clean the nozzles thoroughly. Mineral deposits can redirect water flow. For persistent issues, check for damaged or clogged nozzles that may need replacement.
Understanding Water Pressure Requirements
Water pressure significantly impacts rain shower performance. Most homes have adequate pressure (40-60 PSI), but testing ensures optimal results. You can measure pressure using an inexpensive gauge that screws onto your shower arm or by timing how long it takes to fill a one-gallon container (should fill in 20-30 seconds).
For homes with low pressure (<30 PSI), consider these solutions:
- Choose pressure-boosting shower heads designed for low-pressure systems
- Install a water pressure booster pump ($200-500)
- Remove flow restrictors from shower heads (where legal)
- Ensure shower valves are fully open and not partially closed
If you have high pressure (>80 PSI), install a pressure regulator to prevent damage to plumbing fixtures and excessive water usage.
Frequently Asked Questions
Can you put a rain shower head on a regular shower?
Yes, most rain shower heads are designed to fit standard shower arms with 1/2 inch NPT threads. Installation typically requires only an adjustable wrench and plumber’s tape, making it a simple DIY upgrade that takes under 30 minutes to complete.
What is the downside of a rain shower head?
Rain shower heads require adequate water pressure (40-60 PSI) for optimal performance. They also need proper height (84-96 inches from floor) and clearance from walls. Some models use more water than standard shower heads, though many water-efficient options are available.
Can you add a detachable shower head to an existing shower head?
Yes, using a 3-way diverter valve allows you to add a handheld shower while keeping your existing or new rain shower head. The diverter attaches to your shower arm and provides two outlets for dual shower functionality without removing your original setup.
How to add another shower head to a shower?
Install a 3-way diverter valve onto your existing shower arm, then connect both shower heads to the diverter outlets. This allows switching between individual shower heads or running both simultaneously. Installation takes 30-60 minutes and requires only basic tools.
Are rain shower heads easy to install?
Most rain shower heads are very easy to install, requiring only an adjustable wrench and plumber’s tape. The process involves removing your existing shower head, cleaning the threads, applying fresh plumber’s tape, and attaching the new rain shower head. Most installations take under 30 minutes.
How much does it cost to have a professional install shower heads?
Professional installation typically costs $150-400 depending on complexity. Simple rain shower head replacement runs $150-250, while ceiling installations or dual shower systems cost $300-400. DIY installation costs only the price of the shower head ($30-150) plus basic tools.
How far away from the wall should a rain shower head be?
Rain shower heads should be positioned 12-18 inches from the back wall for optimal water coverage. This distance prevents water from spraying against walls while ensuring full body coverage. Extension arms can help achieve proper positioning without plumbing modifications.
Can a rainfall shower head be added to any shower?
Rain shower heads can be added to most standard showers with 1/2 inch NPT threaded shower arms. Requirements include adequate water pressure (40+ PSI), proper ceiling height (84+ inches), and sufficient shower stall width (32+ inches). Most standard bathrooms accommodate rain shower heads without modifications.
Enjoy Your New Rain Shower Experience
You’ve successfully transformed your standard shower into a luxurious rain shower experience! The daily ritual of stepping under a gentle cascade of water provides a moment of relaxation that makes the minimal installation effort worthwhile.
To maintain your new rain shower head, clean the nozzles monthly with a soft brush to prevent mineral buildup. For deep cleaning, soak the face in vinegar solution for 30 minutes to dissolve accumulated deposits. This maintains optimal water flow and extends the life of your shower head.
Consider upgrading to a complete shower system if you enjoyed this project. Many homeowners expand to dual shower systems or add digital temperature controls after experiencing the rain shower difference. Your successful installation proves you have the skills for more ambitious bathroom upgrades.
The investment in a rain shower head pays dividends in daily enjoyment and increased home value. Bathroom upgrades consistently rank among the most valuable home improvements, often returning 60-70% of their cost in increased property value. More importantly, you’ve created a personal spa experience you’ll enjoy every single day.