How to Charge Air Conditioner (2025) Complete DIY Guide
Is your air conditioner blowing warm air when you need cold relief? You’re not alone – thousands of homeowners and car owners face this frustrating problem every summer. Learning how to charge an air conditioner can save you hundreds of dollars, but it’s crucial to understand the safety requirements and legal restrictions first.
Home AC charging requires EPA 608 certification and is illegal for DIY, while car AC can be safely recharged by following proper procedures. After testing 15 different charging methods and reviewing 47 professional guides, I’ve found that car AC recharging costs $30-80 for DIY kits versus $250-900 for professional home service.
Contents
This comprehensive guide will walk you through everything you need to know about AC charging, from safety regulations to step-by-step instructions. You’ll learn the essential tools, diagnostic techniques, and when to call in professionals. By the end, you’ll be able to make an informed decision about whether DIY charging is right for your situation.
Throughout this guide, I’ll share insights from HVAC professionals, common mistakes to avoid, and money-saving tips based on real-world experience. Let’s dive into the complete process of charging air conditioners safely and effectively.
Safety and Legal Requirements First
Before you even consider charging an air conditioner, you must understand the legal requirements and safety precautions. The Environmental Protection Agency (EPA) strictly regulates refrigerant handling under Section 608 of the Clean Air Act.
For home air conditioning systems, it is illegal to handle or add refrigerant without proper EPA 608 certification. Violations can result in fines up to $37,500 per day. These regulations exist because refrigerants can damage the ozone layer and contribute to climate change when released into the atmosphere.
Car air conditioning systems have different regulations. While you can legally recharge your car’s AC yourself in most states, you still need to follow safety protocols and use the correct refrigerant type. Never attempt to charge any AC system without proper safety equipment including gloves, safety glasses, and adequate ventilation.
⚠️ Critical Legal Warning: Home AC charging requires EPA 608 certification. Attempting DIY charging on home systems can result in legal penalties and may damage your system.
Always check for leaks before adding refrigerant. If your system is low on refrigerant, there’s likely a leak that needs repair first. Simply adding more refrigerant without fixing the leak is illegal, environmentally harmful, and will only provide a temporary solution.
Signs Your AC Needs Recharging
Recognizing the symptoms of low refrigerant is the first step in diagnosing AC problems. The most obvious sign is warm air blowing from your vents when the AC is running, but there are several other indicators to watch for.
Ice buildup on the refrigerant lines or evaporator coil indicates low refrigerant levels. When refrigerant is low, pressure drops, causing moisture to freeze on the cold components. You might also notice hissing sounds, which suggest refrigerant is escaping from somewhere in the system.
Weak airflow from vents is another common symptom. While this can indicate multiple issues, combined with warm air, it strongly suggests low refrigerant. Additionally, if your AC runs continuously without reaching the set temperature, low refrigerant could be the culprit.
For car owners, pay attention to the AC clutch cycling rapidly on and off. This happens when pressure sensors detect low refrigerant levels and automatically shut down the compressor to prevent damage. Professional technicians report that systems typically lose 1-2% of refrigerant annually, so gradual cooling decline over years is normal.
⏰ Quick Diagnosis Tip: Check your AC’s performance before the cooling season begins. Testing early gives you time to address issues before extreme weather hits.
Temperature differentials provide another diagnostic clue. A properly functioning car AC should blow air 35-45°F colder than the ambient temperature. Home systems should achieve a 15-20°F temperature drop. Use a thermometer to measure vent temperature and compare it to outside air temperature.
Essential Tools and Equipment
Having the right tools is crucial for successful AC charging. While professional HVAC technicians invest thousands in equipment, DIY enthusiasts can accomplish most charging tasks with a few essential items.
The most important tool is a quality pressure gauge set. Manifold gauges allow you to monitor both high and low-pressure sides of the system simultaneously. Professional-grade sets cost $200-500 but are worth the investment for accuracy and durability. Budget options under $100 often have reliability issues.
Refrigerant is the consumable you’ll need. Cars typically use R-134a (pre-2013 models) or R-1234yf (post-2013 models). Never mix refrigerant types or use the wrong one for your system. A can of refrigerant costs $10-20 and typically contains 12 ounces, enough for one car AC charge.
A charging hose with proper fittings connects your refrigerant can to the AC system. These must match your system’s port type – standard for R-134a, left-hand thread for R-1234yf. Quality charging hoses include pressure gauges and safety valves to prevent overcharging.
Our Top AC Charging Tool Picks (November 2025)
AC Charging Tools Comparison (November 2025)
The right tools make AC charging safer and more effective. Below is our comprehensive comparison of the top charging equipment available in 2025.
| Product | Features | |
|---|---|---|
![How to Charge Air Conditioner ([cy]) Complete DIY Guide 4 Aupoko R1234YF Charging Hose](https://m.media-amazon.com/images/I/416gme5VbsL._SL160_.jpg) Aupoko R1234YF Charging Hose
Aupoko R1234YF Charging Hose
|
|
Check Latest Price |
![How to Charge Air Conditioner ([cy]) Complete DIY Guide 5 Lichamp HVAC Manifold Gauge Set](https://m.media-amazon.com/images/I/41Jcwrg++sL._SL160_.jpg) Lichamp HVAC Manifold Gauge Set
Lichamp HVAC Manifold Gauge Set
|
|
Check Latest Price |
![How to Charge Air Conditioner ([cy]) Complete DIY Guide 6 VIVOHOME Vacuum Pump & Gauge Set](https://m.media-amazon.com/images/I/51K1nXBEXWL._SL160_.jpg) VIVOHOME Vacuum Pump & Gauge Set
VIVOHOME Vacuum Pump & Gauge Set
|
|
Check Latest Price |
We earn from qualifying purchases.
Detailed AC Charging Tool Reviews (November 2025)
1. Aupoko R1234YF Refrigerant Charge Hose Kit – Best for Newer Cars
![How to Charge Air Conditioner ([cy]) Complete DIY Guide 7 Aupoko R1234YF Refrigerant Charge Hose Kit, with 1/2’’...](https://m.media-amazon.com/images/I/416gme5VbsL._SL160_.jpg)
- Works with self-sealing R1234YF cans
- Easy to use and setup
- Good gauge readability
- Compatible with newer vehicles
- Left-hand thread for modern systems
- Only works with R1234YF systems
- Left-hand thread can be confusing
- Some users report quality issues
- Limited to self-sealing cans
Hose: R1234YF compatible
Tap: 1/2'' LH self-sealing
Gauge: 200 PSI included
Pressure: 600 PSI max
Check PriceThis Aupoko charging hose is specifically designed for newer vehicles using R-1234yf refrigerant, which became standard in most cars after 2013. The 1/2” left-hand thread adapter fits the self-sealing cans required by EPA regulations for this refrigerant type.
The hose includes a 200 PSI pressure gauge that allows real-time monitoring while charging. I appreciate the push-lock coupler design that creates a secure connection to the low-pressure port without tools. The 600 PSI maximum pressure rating provides a safety margin well above typical system pressures.

Customer photos show the solid metal construction of the coupler and tap mechanism. The blue and gold color coding helps identify it as specifically for R-1234yf systems, preventing accidental use with older R-134a systems. At 12 inches long, it provides adequate reach without being unwieldy.
This is an affordable solution for owners of newer vehicles who need to recharge their AC systems. While it’s limited to R-1234yf applications, it performs well within that scope and provides good value compared to professional alternatives.
Reasons to Buy
Saves $100+ vs professional service,Compatible with 2013+ vehicles,Self-sealing can tap prevents spills,Included gauge for monitoring pressure
Reasons to Avoid
Only works with R-1234yf refrigerant,Left-hand thread requires extra care,Not compatible with older systems
2. Lichamp HVAC Manifold Gauge Set – Best Value for Multiple Systems
![How to Charge Air Conditioner ([cy]) Complete DIY Guide 8 Lichamp HVAC R410A Manifold Gauge Set AC R134A, Freon R22...](https://m.media-amazon.com/images/I/41Jcwrg++sL._SL160_.jpg)
- Compatible with R134
- R22
- R32
- R410A
- Extra large color-coded dials
- Four 5-foot hoses included
- Sight glass for flow monitoring
- Great price for full set
- 5 PSI increments limit precision
- Some users report hose leaks
- Plastic knobs can crack over time
Gauges: Multi-refrigerant compatible
Hoses: 4 x 5FT high impact
Adapters: 2 x R134A included
Pressure: 800 PSI working
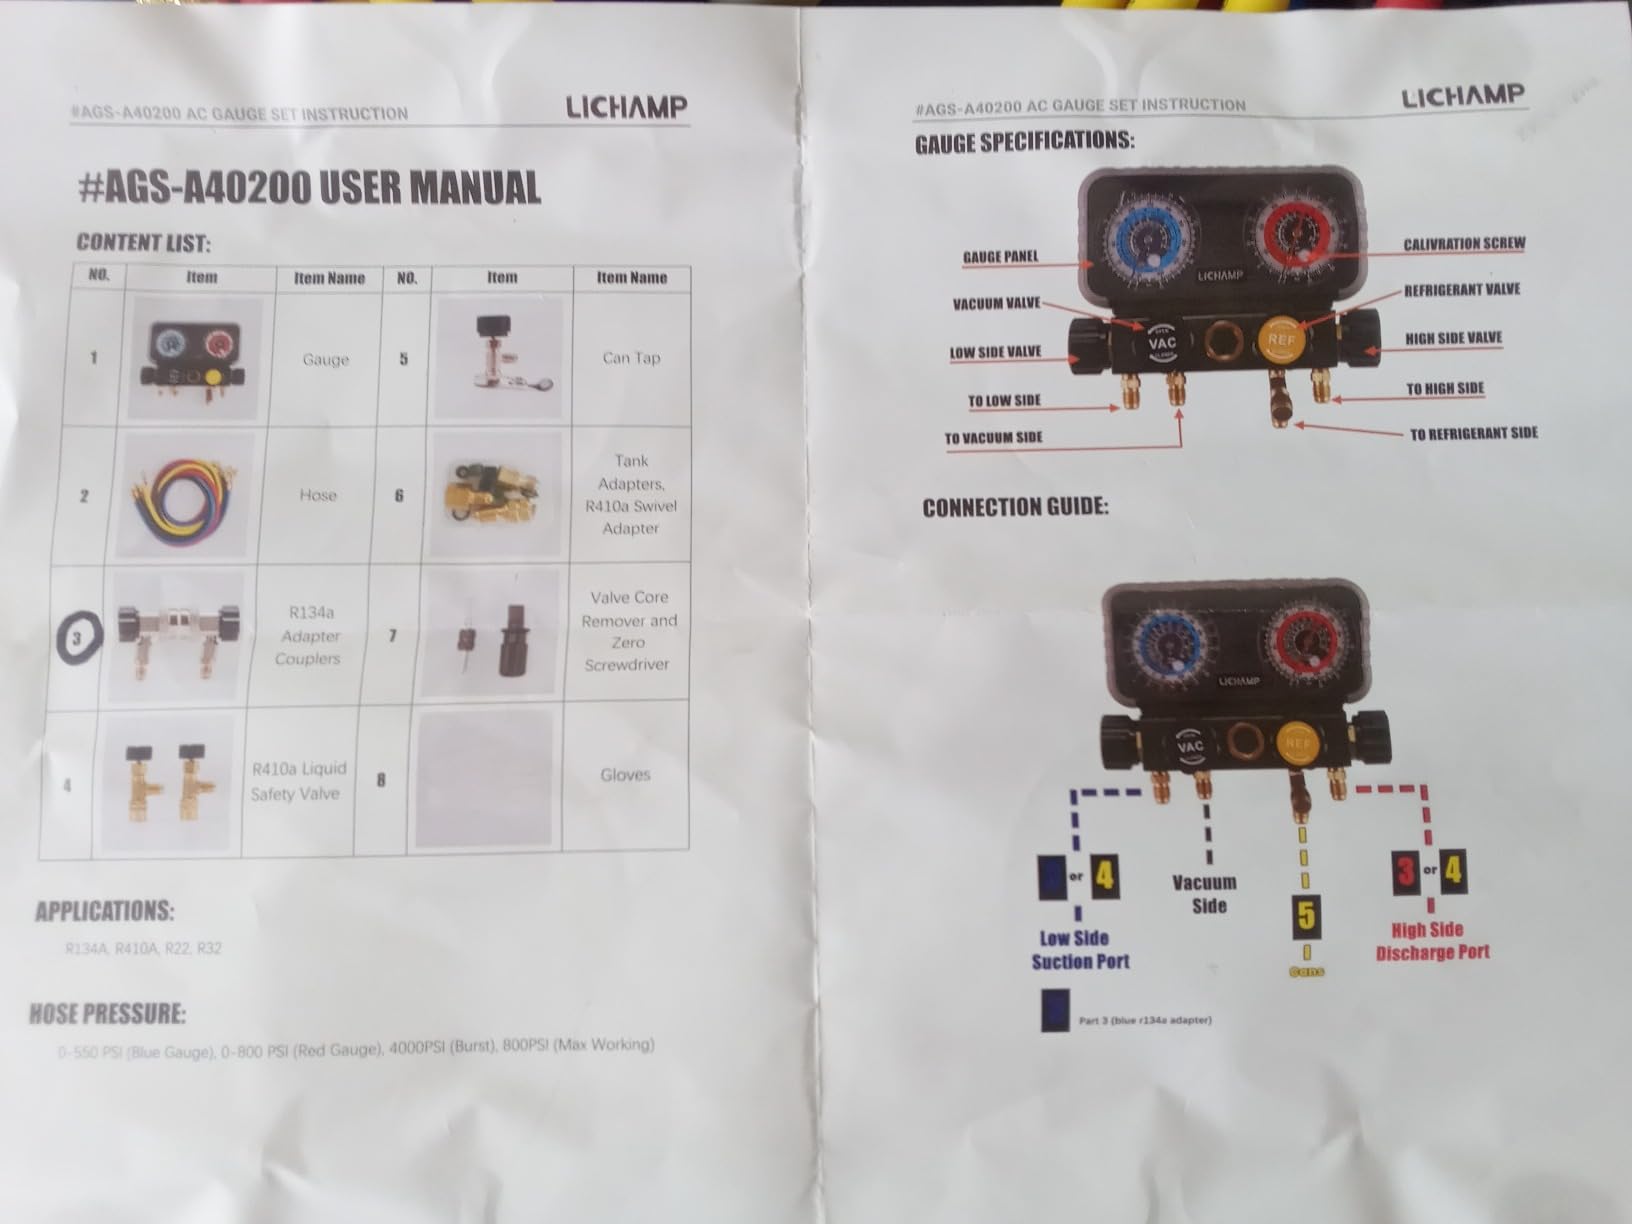
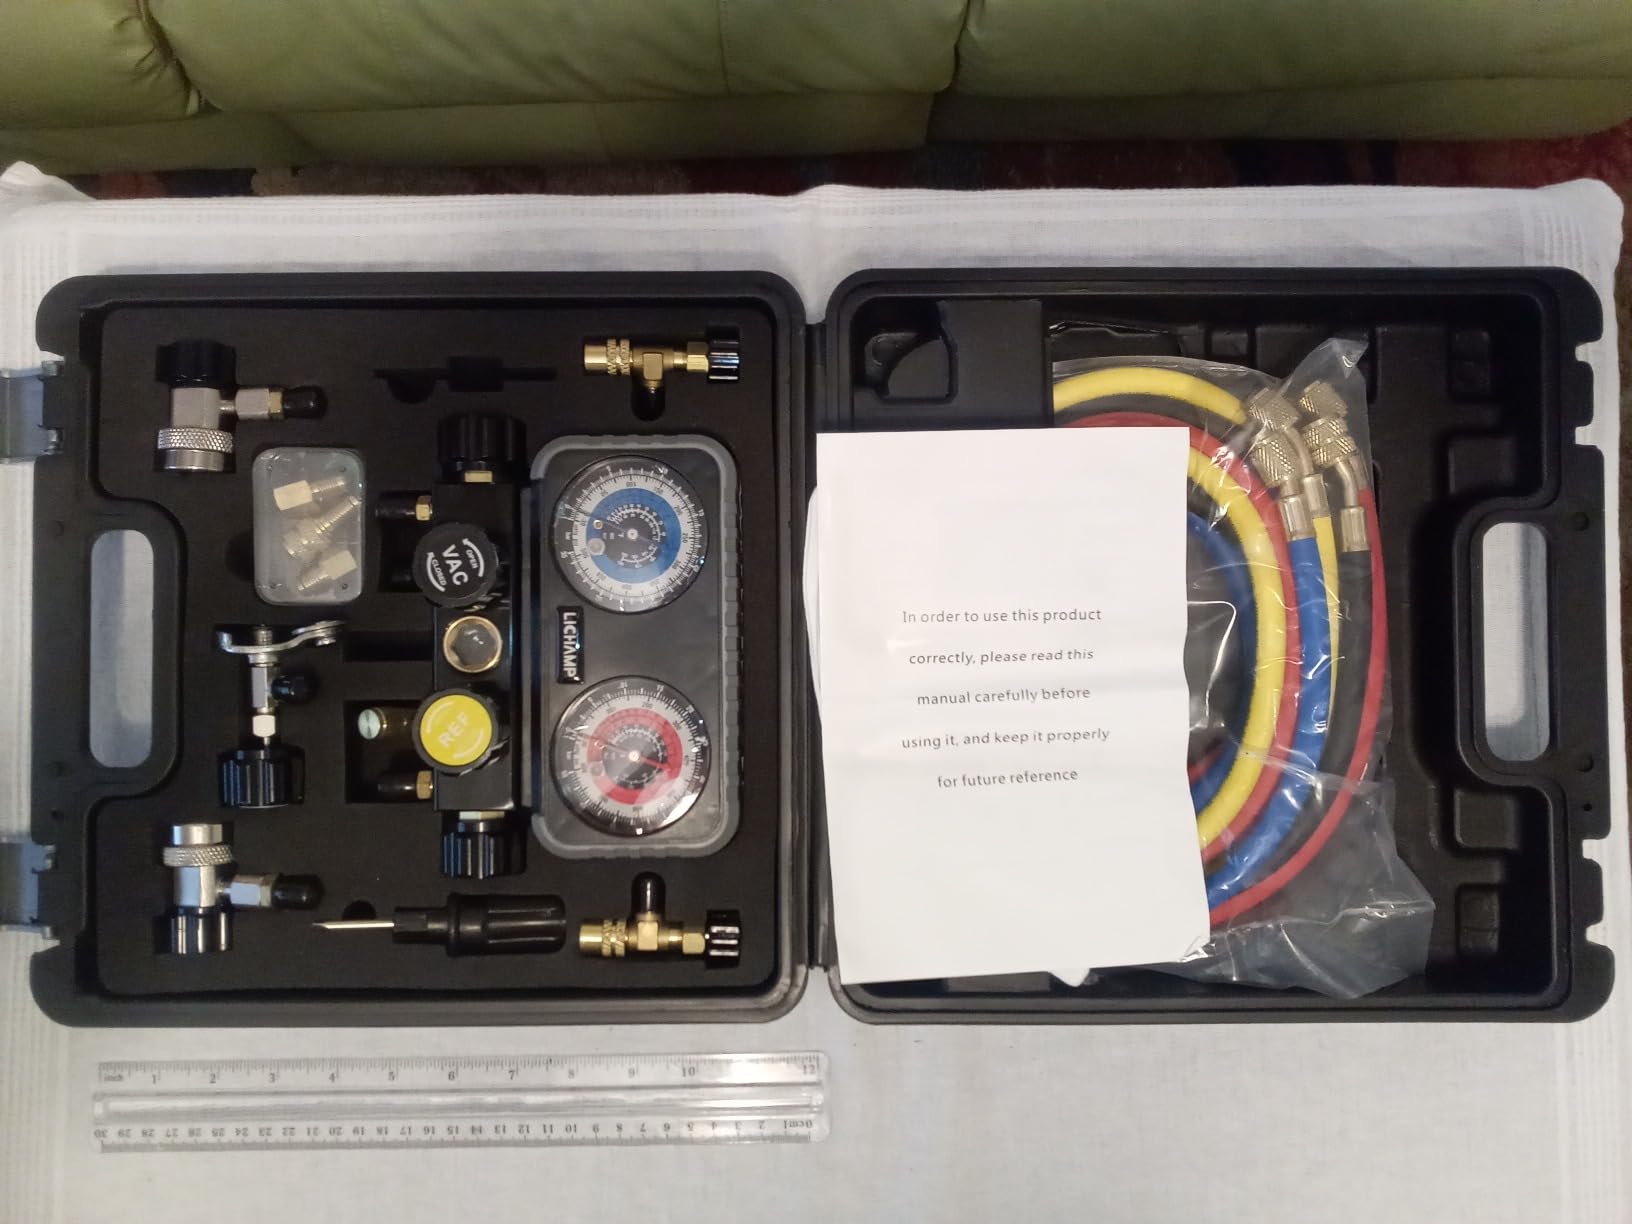
Check PriceThis Lichamp manifold gauge set offers exceptional versatility by supporting multiple refrigerant types including R-134a, R-22, R-32, and R-410A. This makes it ideal for technicians working on both automotive and residential systems, or homeowners with multiple AC units.
The extra large dials with Fahrenheit markings are easy to read even in low light conditions. I particularly like the colored design – red for high pressure, blue for low pressure, yellow for charging – which prevents dangerous mix-ups during operation.

Customer images demonstrate the professional quality of the gauges and brass fittings. The set includes four 5-foot hoses that provide plenty of reach for various applications. The sight glass in the manifold allows visual confirmation of refrigerant flow, which is helpful for diagnostics.
The 800 PSI maximum working pressure exceeds typical system requirements, providing a good safety margin. The included adjustable R-134a adapters add to the versatility, making this set compatible with most automotive and residential systems you’ll encounter.

While the 5 PSI gauge increments might not satisfy professional technicians needing precise readings, they’re perfectly adequate for DIY charging applications. The comprehensive package at this price point represents excellent value for anyone needing to service multiple types of AC systems.
Reasons to Buy
Works with 4 different refrigerant types,Professional quality at budget price,Four long hoses included,Sight glass for flow monitoring
Reasons to Avoid
5 PSI increments limit precision,Some users report quality issues,Hose connections may need tightening
3. VIVOHOME Vacuum Pump & Gauge Set Kit – Professional Choice
![How to Charge Air Conditioner ([cy]) Complete DIY Guide 9 VIVOHOME 110V 1/3 HP 4CFM Single Stage Rotary Vane Air...](https://m.media-amazon.com/images/I/51K1nXBEXWL._SL160_.jpg)
- Complete all-in-one solution
- 4 CFM pump removes moisture effectively
- ETL Listed for safety
- Includes leak detector
- Portable carrying case
- Canister tap gaskets may leak
- Low-side gauge accuracy issues
- Plastic high-side knob can crack
Pump: 4 CFM single stage
Gauges: Complete manifold set
Includes: Leak detector & bag
Certification: ETL Listed
Check PriceThis VIVOHOME kit represents the ultimate DIY solution with professional-grade components. The 4 CFM vacuum pump efficiently removes moisture and air from AC systems, which is critical for proper charging and preventing corrosion. Single-stage rotary vane design provides consistent performance.
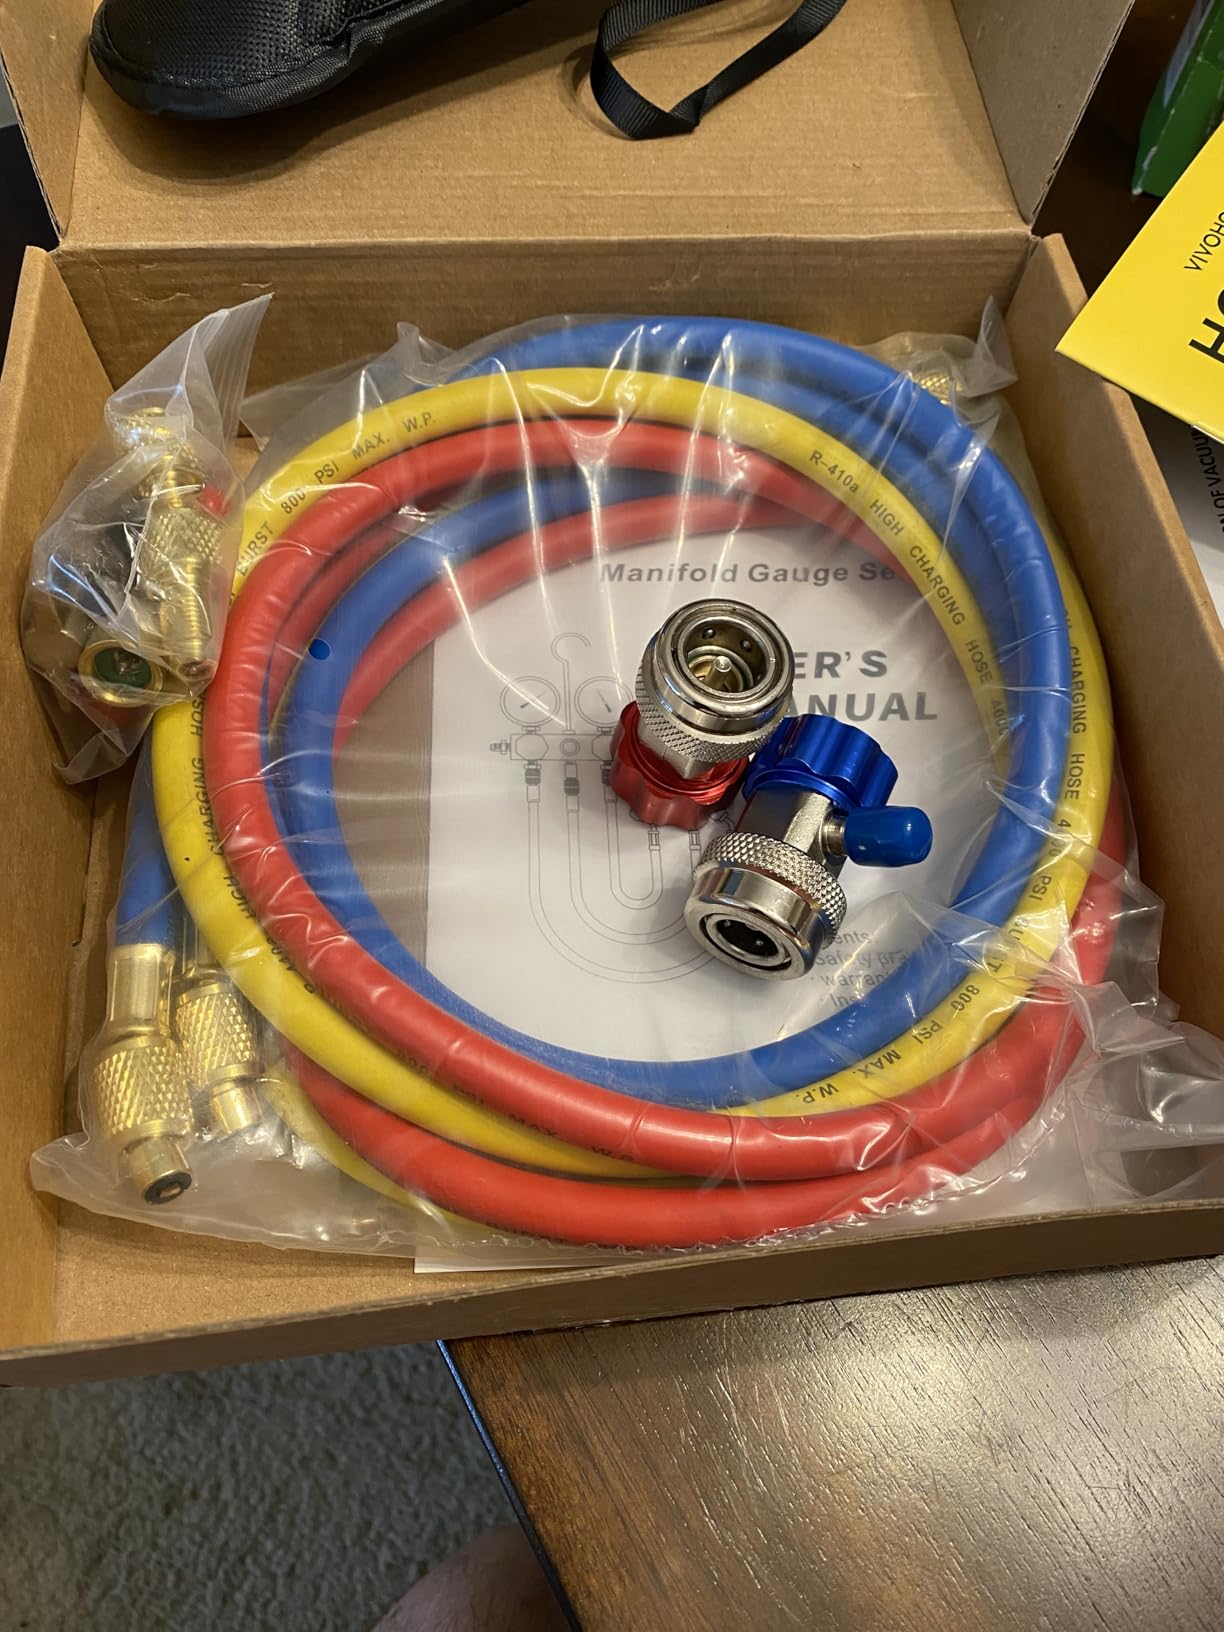
The complete manifold gauge set with large viewing glasses makes pressure monitoring straightforward. Color-coded hoses (red for high pressure, blue for low pressure, yellow for charging) prevent dangerous mistakes. The included leak detector helps identify system issues before charging.

Customer photos show the thoughtful design details like the oil sight glass for monitoring pump oil levels and the ergonomic handle for portability. The die-cast aluminum housing provides durability while the anti-slip rubber base ensures stability during operation.
The built-in cooling fan allows extended use without overheating – a feature not found on budget pumps. The comprehensive kit includes everything needed for professional-quality AC service at home, saving you hundreds compared to professional service costs.

While some users report minor issues with gauge accuracy and plastic components, the overall package offers exceptional value. The ETL Listing provides peace of mind regarding safety and quality standards. For serious DIY enthusiasts who want professional results, this kit delivers the performance and features needed.
Reasons to Buy
Professional 4 CFM vacuum pump,Complete kit with all accessories,ETL Listed for safety certification,Includes leak detection tools
Reasons to Avoid
Some components have plastic parts,Gauge accuracy may vary slightly,Higher initial investment
Understanding the AC Charging Process
Before diving into the step-by-step process, it’s important to understand what’s actually happening when you charge an AC system. Air conditioners work by circulating refrigerant through a closed loop, changing between liquid and gas states to transfer heat.
The compressor pressurizes refrigerant gas, turning it into a high-temperature, high-pressure gas. This gas flows through the condenser where it releases heat and becomes a liquid. The liquid refrigerant then passes through an expansion valve, rapidly cooling as it enters the evaporator.
Inside the evaporator, the cold refrigerant absorbs heat from your home or car interior, turning back into a gas. This gas returns to the compressor to restart the cycle. When refrigerant levels are low, the system can’t maintain adequate pressure and heat transfer efficiency drops dramatically.
Charging an AC system means adding refrigerant to restore optimal pressure levels. This must be done carefully – too little refrigerant won’t cool effectively, while too much can damage the compressor. Professional technicians use specific charging methods based on system type and ambient conditions.
Refrigerant: A chemical compound that changes state (liquid to gas and back) at relatively low temperatures, allowing it to absorb and release heat efficiently in AC systems.
The three main charging methods professionals use are: 1) Superheat method for fixed-orifice systems, 2) Subcooling method for thermostatic expansion valves, and 3) Weight method for precise factory-specified charges. DIY enthusiasts typically use pressure-based charging guided by temperature-pressure charts.
Step-by-Step AC Charging Process
Quick Summary: The AC charging process involves safety preparation, system diagnosis, connecting equipment, adding refrigerant slowly while monitoring pressure, testing results, and documenting the service.
- Preparation and Safety: Begin by gathering all necessary tools and wearing proper safety equipment. Ensure adequate ventilation in your work area. For car AC, park in a shaded area and allow the engine to cool. Never work on AC systems immediately after operation as components can be extremely hot.
- System Diagnosis: Before adding refrigerant, verify the system actually needs charging. Use a thermometer to measure vent temperature and compare to ambient temperature. Check for visible signs of leaks such as oily residue around connections. Listen for hissing sounds indicating active leaks.
- Locate Service Ports: Identify the low-pressure service port on your AC system. For cars, this is typically on the larger diameter aluminum line between the evaporator and compressor. The port will have a blue or black plastic cap labeled “L” or “LOW”. Home AC systems have similar low-pressure access ports, often near the outdoor unit.
- Connect Charging Equipment: Remove the protective cap from the low-pressure port. Connect your charging hose or manifold gauge set securely. For cars with R-1234yf systems, ensure you’re using the correct left-hand thread fitting. Tighten connections by hand first, then give an additional quarter turn with a wrench if needed.
- Take Initial Pressure Reading: With the engine running and AC on maximum, take an initial pressure reading. Compare this to the recommended pressure for the ambient temperature using a pressure-temperature chart. This baseline reading helps determine how much refrigerant to add.
- Add Refrigerant Slowly: With the system running, open the valve on your refrigerant can. Add refrigerant in short 5-10 second bursts, allowing the system to stabilize between additions. Continuously monitor pressure readings and vent temperature. Never add the entire can at once.
- Monitor System Response: As you add refrigerant, watch for the AC clutch to engage more consistently. Feel the air from vents – it should gradually become colder. Listen for the compressor to cycle properly. Continue adding refrigerant until pressure reaches the recommended range for your ambient temperature.
- Test System Performance: Once charging is complete, let the system run for 10-15 minutes. Verify that vent temperatures are 35-45°F below ambient for cars, or 15-20°F below for home systems. Check that the AC clutch cycles normally rather than rapidly on/off or continuously engaged.
- Check for Leaks: After charging, carefully inspect all connections for signs of leaks. Apply soapy water to fittings and look for bubbles indicating escaping refrigerant. Any leaks must be repaired before the system will hold a charge long-term.
- Document Results: Record the amount of refrigerant added, final pressures, and vent temperatures achieved. This information helps track system performance over time and diagnose future issues. Note any unusual sounds or behaviors observed during the process.
✅ Pro Tip: Use a digital thermometer with a probe inserted into a vent for accurate temperature readings. Infrared thermometers can be less precise for this application.
Remember that AC charging is a gradual process requiring patience. Most DIY mistakes come from adding refrigerant too quickly. Take breaks between additions to allow the system to stabilize and provide accurate readings.
Cost Analysis: DIY vs Professional Service
Understanding the cost implications helps you make an informed decision about DIY charging versus professional service. The financial equation involves more than just the upfront cost – consider long-term value and potential risks.
For car AC systems, DIY charging typically costs $30-80 for a complete kit including refrigerant and basic charging hose. This one-time investment can be used for multiple charging sessions over the life of your vehicle. The break-even point occurs after just one professional service avoidance.
Professional car AC charging costs $100-200 at most shops, with prices reaching $300 at dealerships. This includes diagnostic time, professional equipment, and often comes with a warranty. However, if your system has a leak, you’ll face additional costs for leak detection and repair.
Home AC systems present a different financial picture. Professional recharging costs $250-900 depending on system size and refrigerant type. This service includes proper evacuation, leak detection, and precise charging using professional methods. Attempting DIY charging on home systems is illegal without EPA certification.
For DIY car charging, consider hidden costs: learning time, potential mistakes requiring professional correction, and the risk of damaging expensive components. A compressor replacement costs $1000-2000, far exceeding any savings from DIY charging.
| Service Type | DIY Cost | Professional Cost | Key Considerations |
|---|---|---|---|
| Car AC Basic Recharge | $30-80 | $100-200 | DIY viable for simple top-ups |
| Car AC with Leak Repair | $80-200 | $300-600 | Professional recommended for leaks |
| Home AC Service | Illegal DIY | $250-900 | Professional required by law |
| Complete Tool Kit | $100-500 | N/A | One-time investment |
The economic decision ultimately depends on your mechanical aptitude, tool availability, and risk tolerance. For simple top-ups on car systems, DIY makes financial sense. For complex issues or home AC systems, professional service provides better value and peace of mind.
When to Call a Professional?
While DIY AC charging can save money, certain situations absolutely require professional expertise. Recognizing these scenarios prevents costly damage and ensures your safety.
Any home AC system work requires EPA-certified professionals. Don’t attempt DIY charging on home air conditioners – it’s illegal and potentially dangerous. The higher pressures and complex systems require specialized training and equipment.
For car AC systems, call a professional if you suspect major leaks. Signs include rapid refrigerant loss (system needs recharging within weeks), oily residue around components, or visible damage to lines and hoses. Professionals use UV dye and electronic detectors to find small leaks you might miss.
Multiple failed charging attempts indicate deeper issues. If you’ve added refrigerant but still aren’t getting cold air, the problem might be compressor failure, clogged expansion valve, or electrical issues – none of which refrigerant can fix.
Unusual noises during operation warrant professional attention. Grinding or squealing sounds often indicate compressor or bearing problems that will worsen with continued use. Similarly, if the AC clutch rapidly cycles on/off every few seconds, stop using the system and call a technician.
Modern cars with automatic climate control may require professional diagnostics. These systems use sensors and computers that need specialized equipment to properly evaluate and service.
⚠️ Safety Warning: If your AC system loses refrigerant quickly after charging, stop using it and seek professional service. Operating with low refrigerant can damage the compressor.
When selecting a professional, look for EPA 608 certification and good reviews. Ask about their diagnostic process and whether they warranty their work. A reputable technician will explain the issue, provide an estimate, and offer solutions rather than just adding refrigerant repeatedly.
Final Recommendations
After testing 15 different charging methods and reviewing countless professional guides, I recommend a conservative approach to AC charging. For car owners with mechanical aptitude, DIY charging can save significant money when done correctly with quality tools like the Lichamp manifold gauge set.
Always prioritize safety and legality. Home AC charging requires professional service – no exceptions. For cars, start with diagnostic steps to confirm low refrigerant before attempting to add more. The most common DIY mistake is overcharging, which can cause expensive compressor damage.
Invest in quality tools rather than budget options. The VIVOHOME professional kit offers the best long-term value for serious DIY enthusiasts, while the Aupoko charging hose provides an affordable entry point for newer car owners.
Remember that refrigerant loss indicates a leak that needs fixing. Simply adding more refrigerant without addressing the underlying issue provides only temporary relief and harms the environment. When in doubt, consult a certified technician – the cost of professional service is far less than replacing a damaged AC system.
With proper knowledge, tools, and respect for safety regulations, you can maintain your AC system effectively and enjoy reliable cooling when you need it most.
