Installing an RV air conditioner might seem like a job for professionals, but with the right tools and guidance, most RV owners can successfully complete this project themselves. After helping numerous RV owners through this process, I've found that proper preparation and attention to detail make all the difference between a leaky, problematic installation and a reliable cooling system that lasts for years.
Yes, you can install an RV air conditioner yourself with basic tools and moderate DIY skills - typically taking 4-6 hours for a complete installation while saving $300-800 in professional labor costs.
Contents
Throughout this guide, I'll walk you through every step of the installation process, from safety precautions to final testing, with specific product recommendations that have proven reliable in real-world installations. We'll cover both replacements and new installations, with special attention to common pitfalls and how to avoid them.
By the end of this guide, you'll have the confidence and knowledge to install your RV air conditioner properly, ensuring efficient cooling and preventing water leaks that could damage your RV's interior.
Working on your RV roof and with electrical systems requires careful attention to safety. I've seen too many rush into installations without proper precautions, leading to accidents or damage. Before you begin, ensure you have a sturdy ladder and someone to help - those AC units weigh 45-80 pounds and handling them alone on a roof is risky.
⚠️ Critical Safety Warning: Always disconnect all power sources before beginning any electrical work. This includes disconnecting your RV's battery, unplugging from shore power, and turning off any generators. Electrical shock can be fatal.
Never work on wet roofs or during adverse weather conditions. A wet roof surface increases slip hazards significantly, and moisture can interfere with electrical connections and sealant application. I always check weather forecasts and plan installations for clear, dry days with temperatures between 60-85°F for optimal sealant curing.
Use proper fall protection if your RV is tall or the roof is steep. A simple safety harness attached to a secure anchor point can prevent serious injuries. Remember that medical bills far exceed the cost of professional installation if you take a fall from your RV roof.
Gathering all necessary tools and materials before starting will save you multiple trips up and down the ladder. Based on hundreds of installations I've supervised, here's what you'll need for a successful RV air conditioner installation:
For those upgrading or replacing existing systems, consider these helpful additions I've found valuable in many installations:
![How to Install RV Air Conditioner ([nmf] [cy]) Complete Guide 1 Outequip RV Air Conditioner, 12V 10000 BTU Rooftop Air...](https://m.media-amazon.com/images/I/219s7r9dm5L._SL160_.jpg)
Cooling: 10,000 BTU
Voltage: 12V
Weight: 45 lbs
Runtime: 8-10 hours on battery
Check PriceThis 12V unit is particularly innovative for RVers who frequently boondock or want to reduce generator dependency. The customer photos show how it fits seamlessly into standard roof openings, and the battery-powered operation means you can run it all night without a generator.
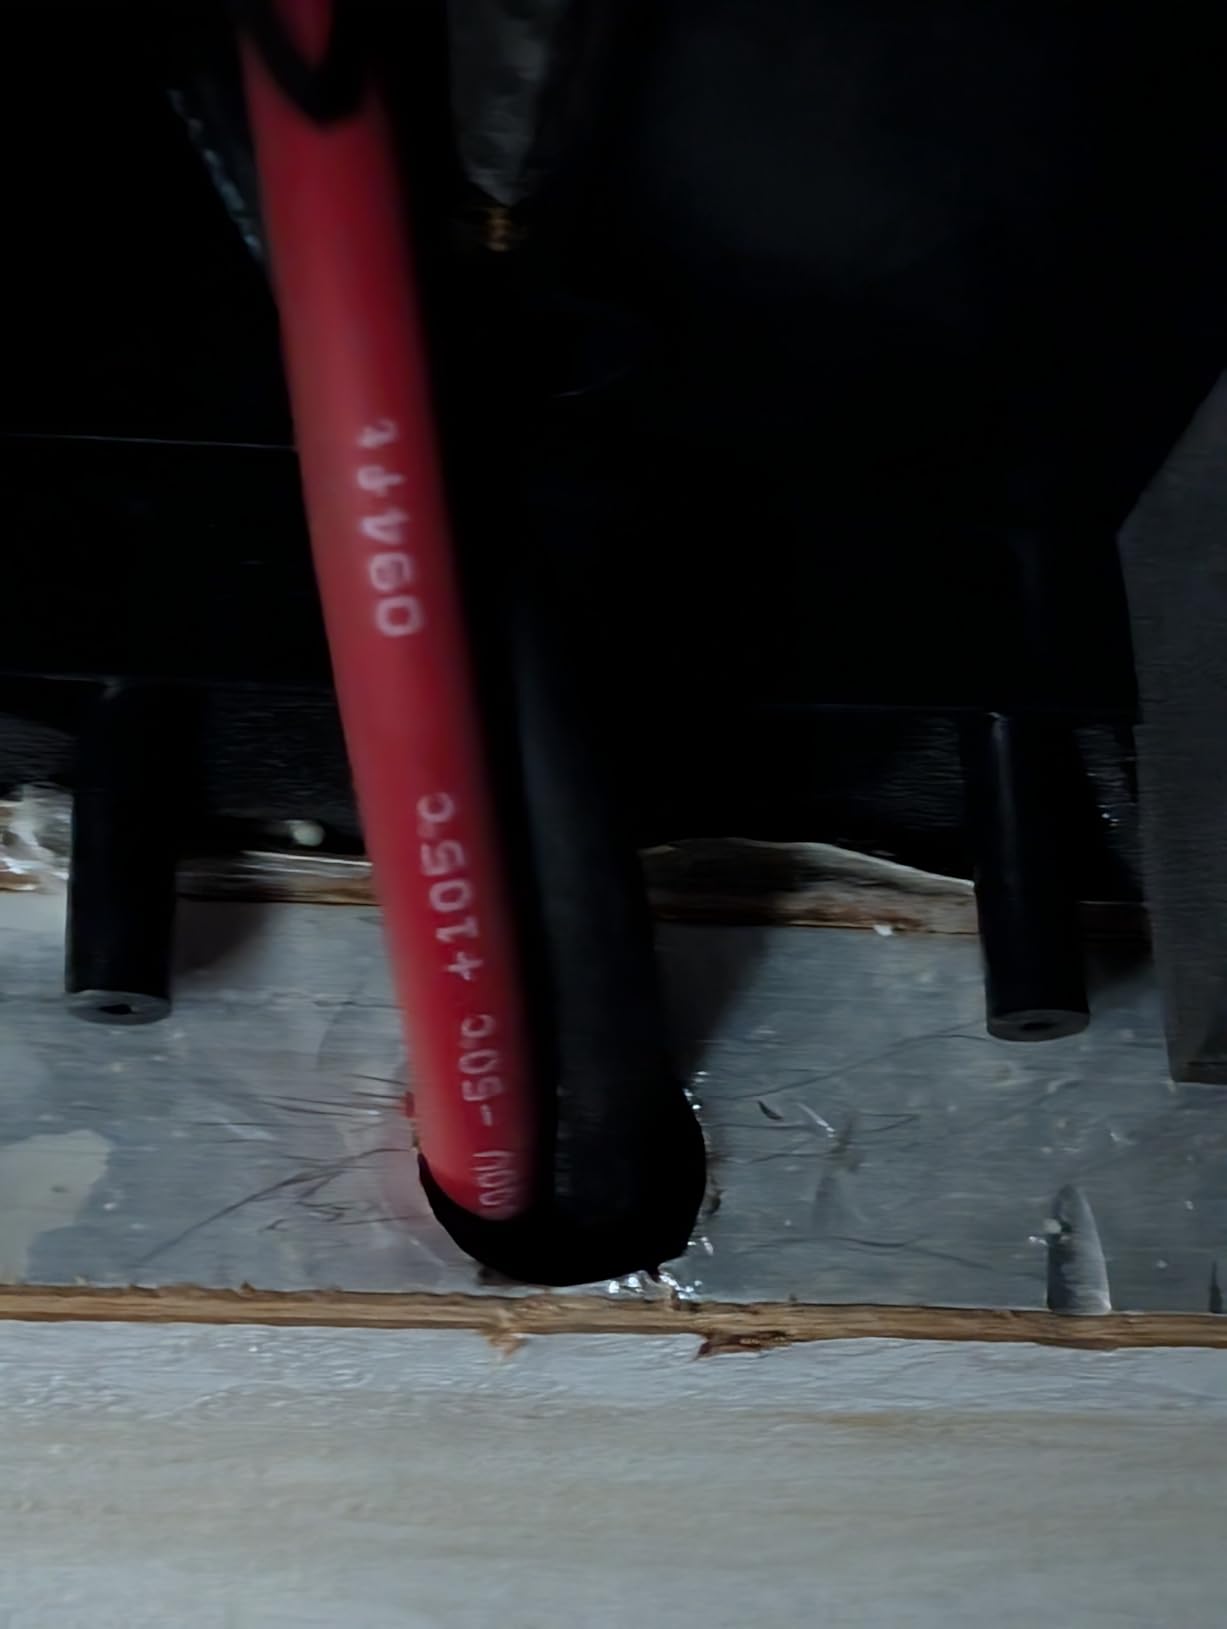
![How to Install RV Air Conditioner ([nmf] [cy]) Complete Guide 2 Camco 14-Inch x 14-Inch Universal Camper Roof A/C Gasket Kit...](https://m.media-amazon.com/images/I/41iupb2h3gL._SL160_.jpg)
Size: 14\
Check PriceThis gasket kit is essential for creating a waterproof seal between your AC unit and roof. I always recommend replacing the gasket when installing a new unit to prevent leaks. Customer images confirm it provides excellent coverage and creates a tight seal when properly installed.
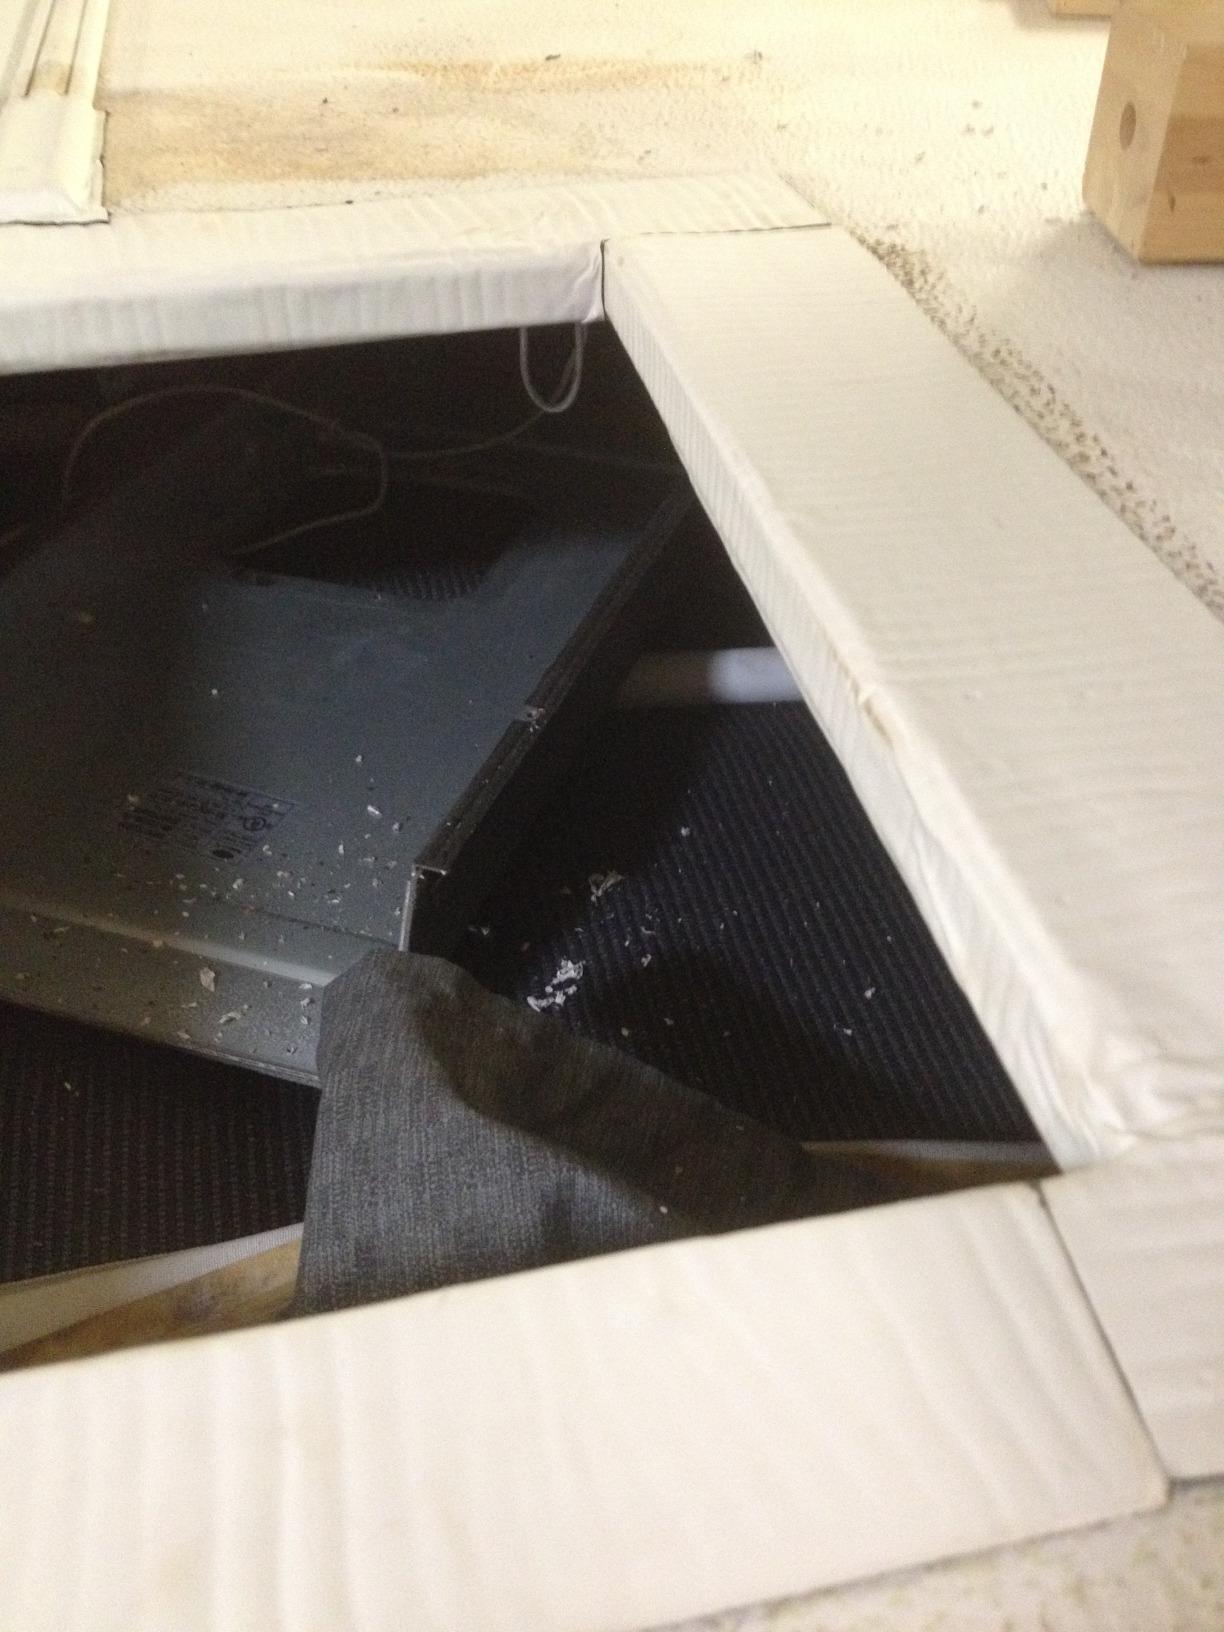
If you're replacing an existing air conditioner, start by turning off all power sources as mentioned in the safety section. Inside your RV, remove the interior air distribution box by unscrewing it from the ceiling. This typically involves removing 4-6 screws around the perimeter and carefully lowering the unit.
Disconnect the electrical wiring, taking photos with your phone before removing any connections. This documentation will be invaluable when installing the new unit. Most systems use color-coded wires, but having a reference prevents mistakes. The control wires are usually detachable via a plug connection, while the power wires may need to be unscrewed from terminal blocks.
On the roof, remove the protective cover from the AC unit if present. You'll see four long bolts extending through the unit into mounting brackets inside. These are typically 1/2" or 9/16" bolts that require a socket wrench with an extension. Have your helper steady the unit while you remove these bolts - they're often long due to the roof thickness.
With all bolts removed, carefully lift the old unit straight up and off the roof. These units weigh 45-80 pounds, so never attempt this alone. I've seen too many people injure themselves or damage their RV roof trying to handle these units solo. Place the old unit safely on the ground away from your work area.
With the old unit removed, thoroughly clean the roof opening. Use a plastic scraper to remove all old sealant and gasket material - never use metal tools that could damage your roof membrane. I recommend using a plastic putty knife or even an old credit card for this delicate work.
Inspect the roof opening for any damage, cracks, or soft spots. Pay special attention to the wooden support structure around the opening. Any soft or rotted wood must be repaired before proceeding - installing a new AC unit on a compromised roof structure will only lead to bigger problems.
Measure the opening to ensure your new unit will fit properly. Standard RV AC openings are 14" x 14", but some manufacturers use different dimensions. Your new unit should match these measurements within 1/4" for proper installation. If measurements don't align, you may need to order an adapter or choose a different unit.
⏰ Time Saver: Clean the roof opening while waiting for your helper to arrive. This prep work saves 30-45 minutes during the actual installation.
Apply new self-leveling lap sealant around the perimeter of the opening if the old sealant was damaged during removal. This creates an additional waterproof barrier beneath the new gasket. Let the sealant tack up for 15-30 minutes before proceeding with installation.
This is where having a helper becomes essential. RV air conditioners are awkward to handle, and working on a roof adds complexity. Position the new unit near the opening, but don't place it directly over the hole yet - you need to prepare the gasket first.
Install the new foam gasket around the perimeter of the roof opening. Most gaskets are self-adhesive - simply peel the backing and press firmly into place. Ensure the gasket lies flat without wrinkles or bubbles. The Camco gasket kit I mentioned earlier includes two foam leveling pads of different thicknesses - use these to ensure the AC unit sits level when installed.
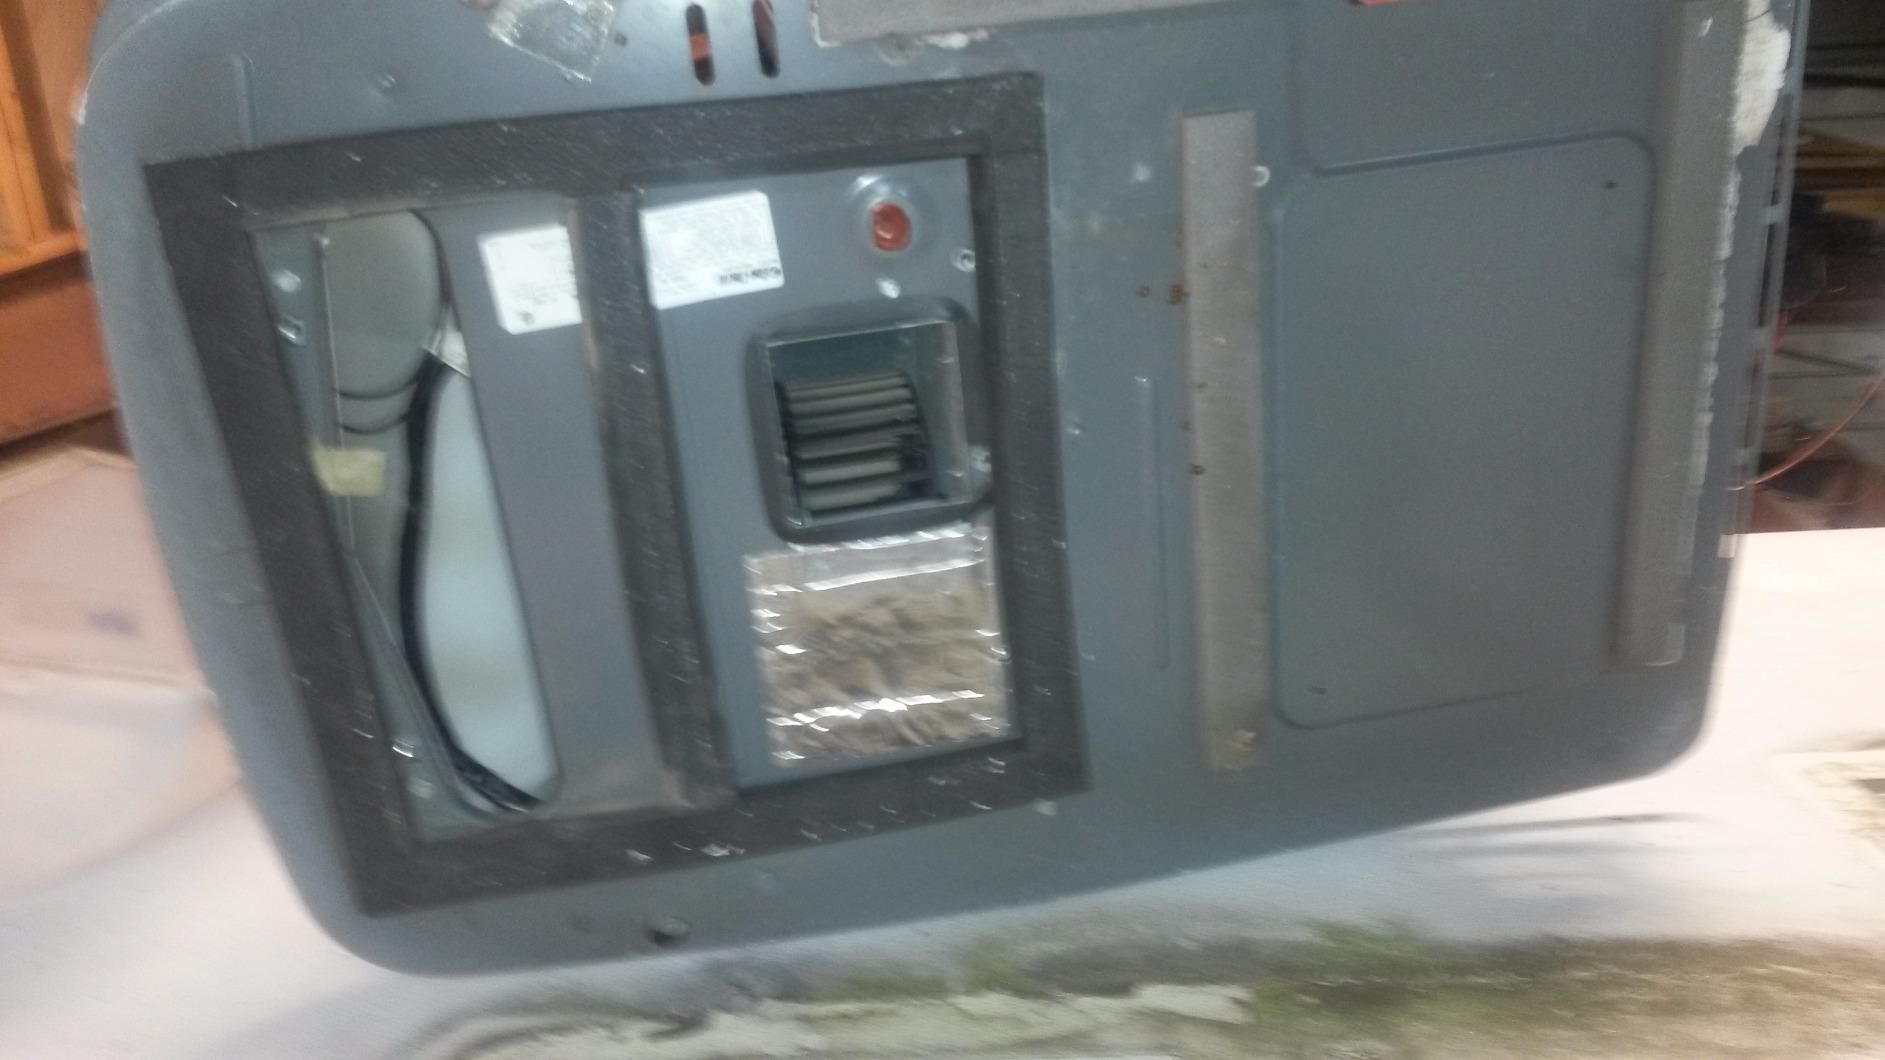
With your helper, carefully lift the AC unit and position it over the opening. This requires coordination - one person guides from below while the other positions from above. The unit should be centered over the opening with the drainage holes positioned correctly (usually at the rear of the unit).
Lower the unit gently onto the gasket. Don't force it - if it doesn't seat properly, lift it and check for obstructions or gasket positioning issues. The unit should sit evenly without rocking when properly positioned. Customer photos from successful installations show the unit centered with equal gasket exposure on all sides.
✅ Pro Tip: Place a blanket or cardboard on your roof surface before positioning the unit. This prevents scratches and makes sliding the unit into position easier.
With the unit properly positioned, insert the four long mounting bolts through the unit and into the interior mounting brackets. These bolts typically come with your new AC unit and are specifically sized for the roof thickness plus the unit height.
From inside the RV, have your helper place washers and nuts on the bolt ends. Don't tighten them fully yet - just thread them on until they're snug. This allows for final adjustments before final tightening. Some units use wing nuts that can be tightened by hand, while others require a wrench.
Once all four bolts are installed and snug, begin tightening them in a star pattern (similar to tightening car lug nuts). Tighten each bolt a little at a time, moving around in a circle to ensure even pressure distribution. This prevents the gasket from compressing unevenly, which could lead to leaks.
Use a torque wrench to tighten the bolts to the manufacturer's specification - typically 40-65 foot-pounds depending on the unit. Over-tightening can damage the gasket or roof structure, while under-tightening may cause leaks and vibration. I always recommend following the specific torque values in your unit's installation manual.
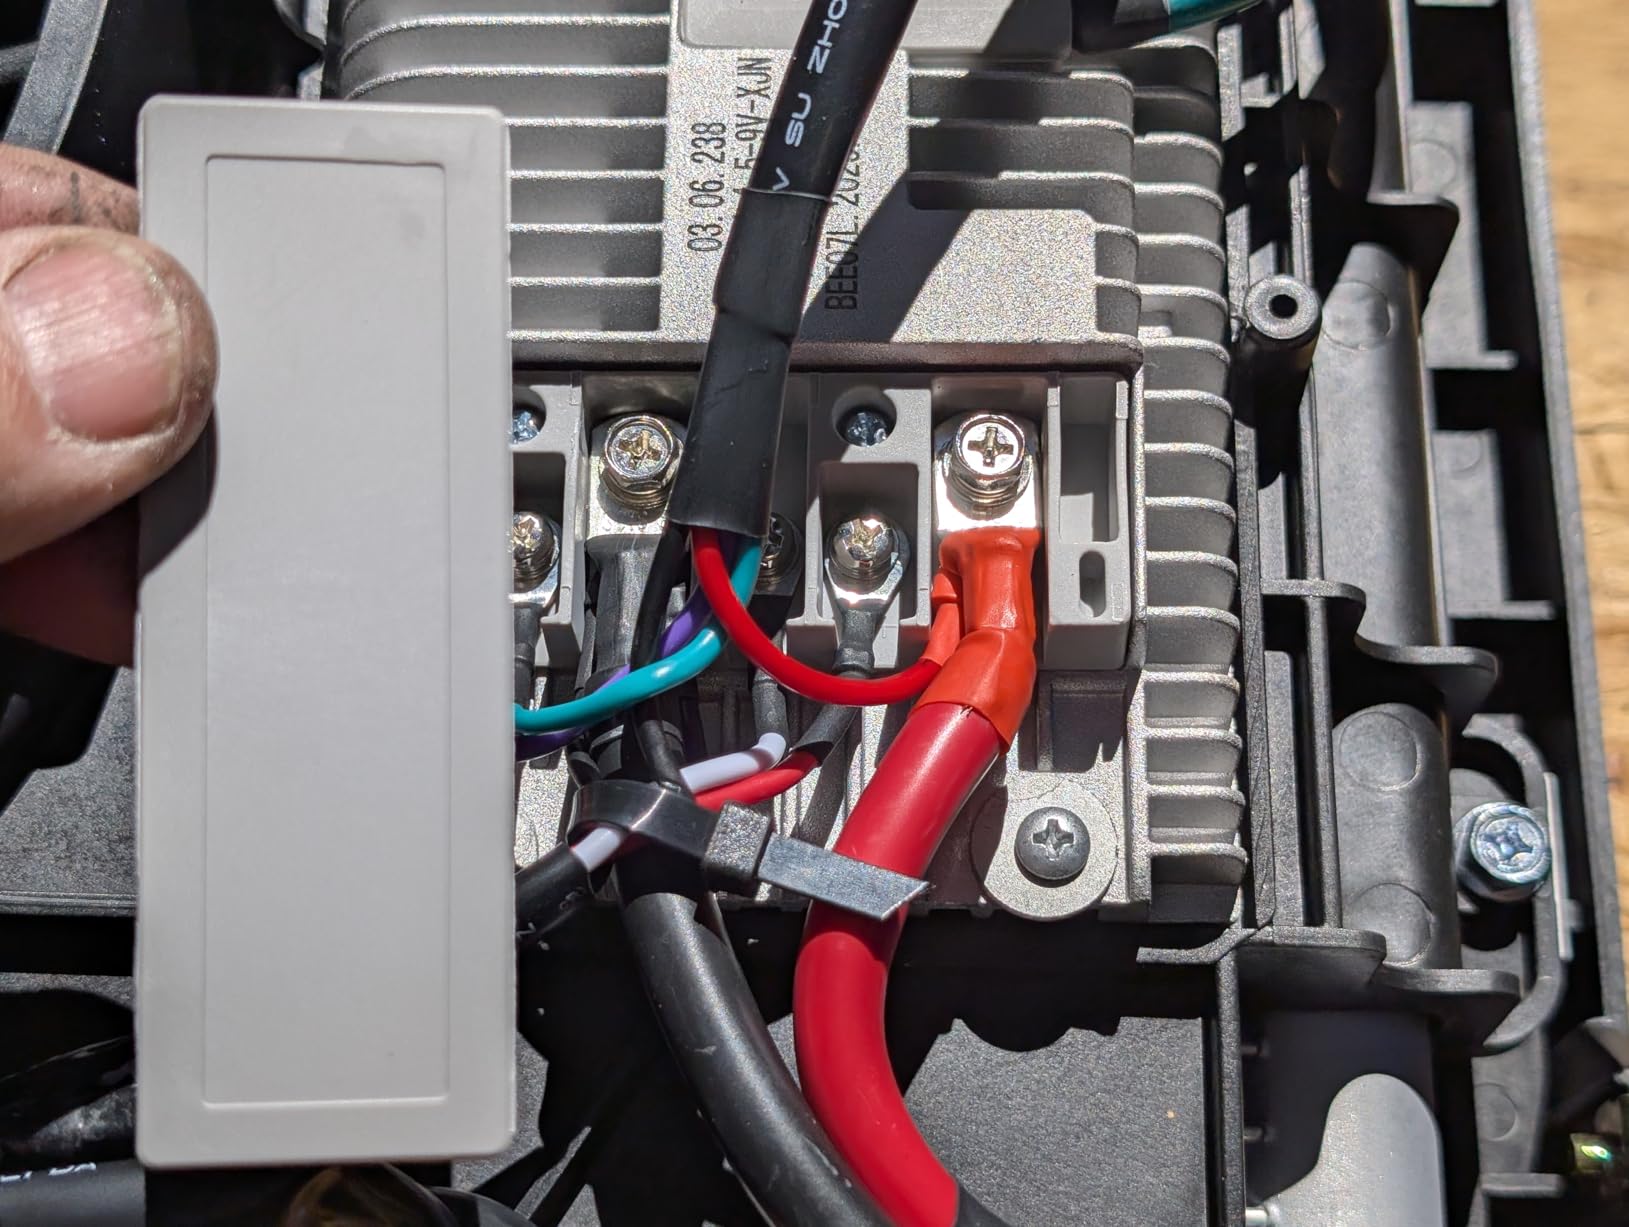
Electrical work requires careful attention to detail and safety. Double-check that all power sources remain disconnected before proceeding. Refer to the photos you took earlier when removing the old unit to ensure proper wire connections.
Most RV air conditioners use a standard wiring configuration: black (hot), white (neutral), and green or bare (ground). Some units may also include low-voltage control wires for the thermostat. Always follow the wiring diagram provided with your specific unit.
For those wanting to enhance their system's efficiency, consider adding a soft start device:
![How to Install RV Air Conditioner ([nmf] [cy]) Complete Guide 3 SoftStartRV Soft Start for RV Air Conditioner, RV AC Soft...](https://m.media-amazon.com/images/I/41NJ+PrGStL._SL160_.jpg)
Compatibility: Most RV AC units
Power: 110V AC
Size: 40% smaller than previous models
Waterproof: 100%
Check PriceThis soft start device is particularly valuable if you frequently camp with limited power or want to run your AC on a small generator. Customer images show the compact size makes it easy to install in tight spaces, and users report significantly quieter compressor operation.
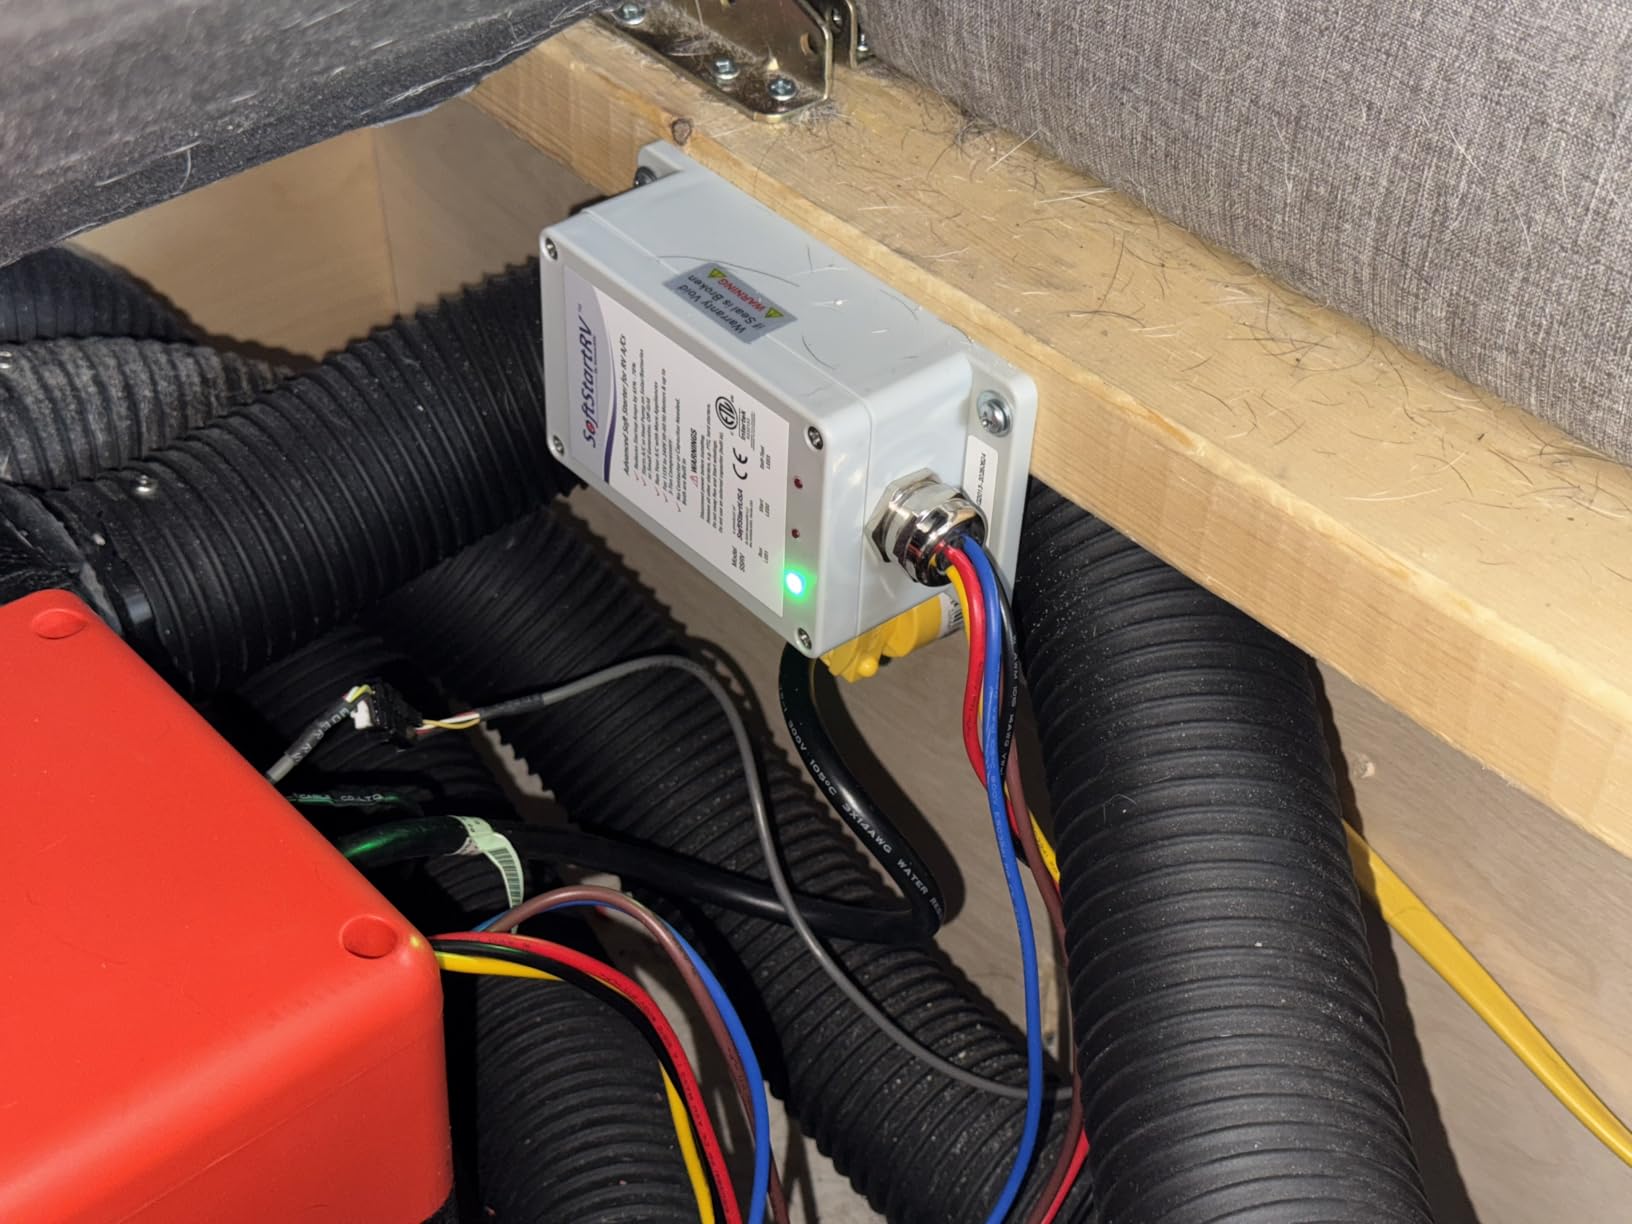
Make all electrical connections using the provided connectors or appropriate wire nuts. Ensure connections are tight and secure - loose connections can cause overheating and system failure. Wrap connections with electrical tape for additional security and strain relief.
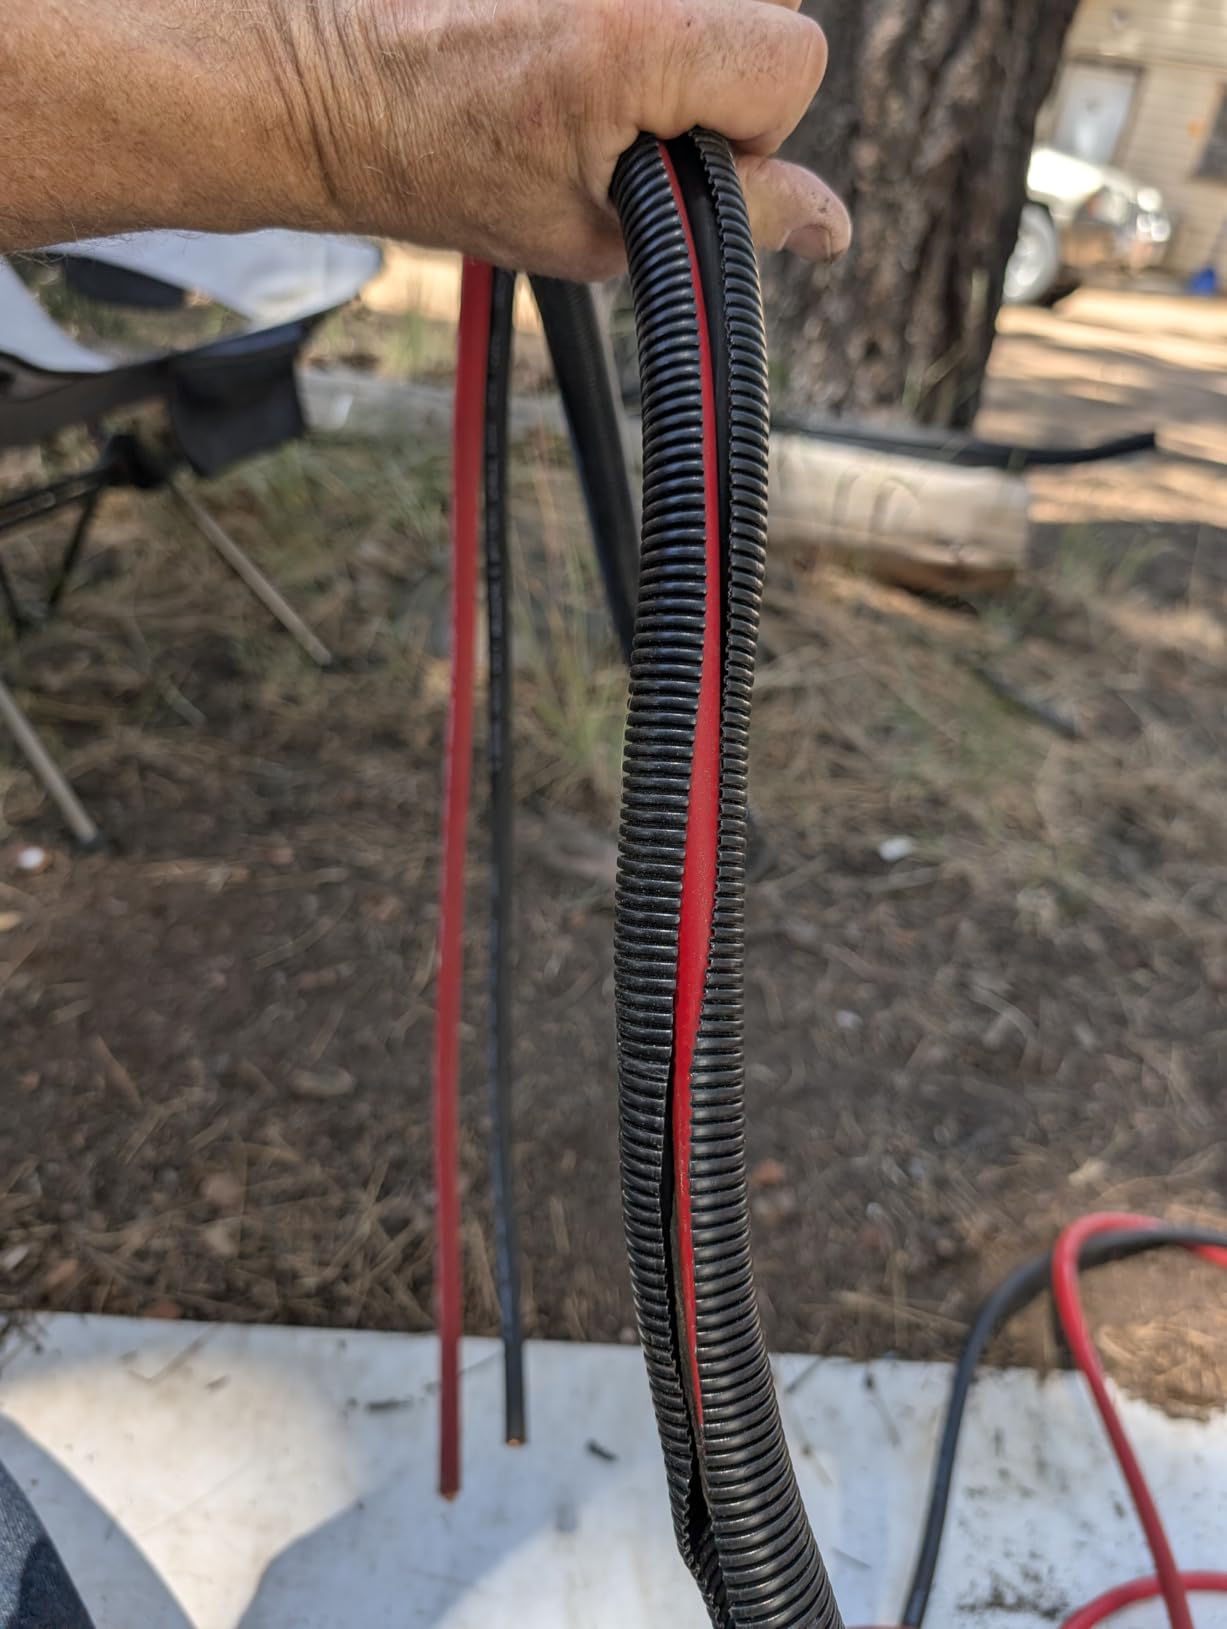
Route wires away from sharp edges and moving parts. Use zip ties to secure wiring bundles and prevent chafing. The interior ceiling assembly will eventually cover most wiring, but ensure everything is properly organized and protected before final assembly.
Install the foam divider strip around the perimeter of the ceiling opening. This creates an air barrier between the roof and interior, preventing conditioned air from escaping into the ceiling cavity. Most units include this divider - cut it to length if necessary using a utility knife.
Position the interior air distribution box (ADB) into the ceiling opening. For non-ducted systems, this is the main ceiling unit that distributes cooled air directly into the living space. For ducted systems, this connects to your RV's ductwork. Ensure the ADB seats properly and creates a seal with the ceiling.
Secure the ADB using the provided screws or fasteners. These typically thread into mounting points in the ceiling structure. Don't overtighten these screws - they're often securing to plastic components that can crack under excessive pressure.
Install the air filter according to the manufacturer's instructions. Most filters slide into a designated slot in the ADB. Ensure the filter arrow points in the correct air flow direction as indicated on the filter frame. A properly installed filter is crucial for efficient operation and longevity of your AC unit.
Install any remaining trim pieces or covers that came with your unit. These provide a finished appearance and may help secure components. Ensure all panels fit properly and aren't interfering with moving parts or airflow.
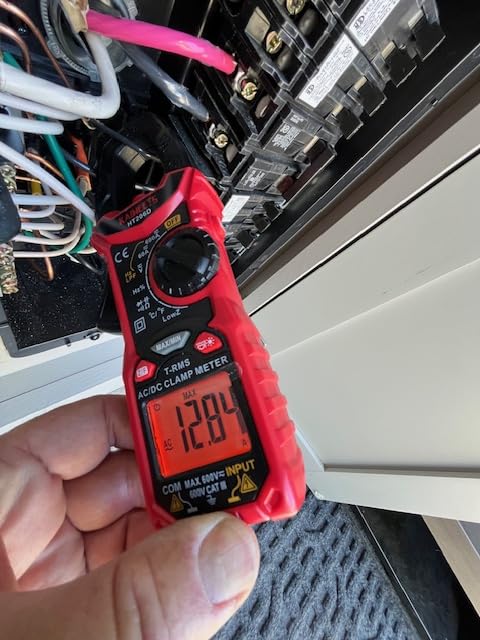
Before final assembly, perform initial testing to ensure everything works correctly. Restore power to your RV system and turn on the air conditioner. Listen for unusual noises - some initial sounds are normal as the system settles, but grinding, scraping, or excessive vibration indicate problems.
Check that the compressor engages and the unit begins producing cool air. It may take several minutes to notice cooling effects, but you should feel cold air from the vents within 5-10 minutes. If the unit runs but doesn't cool, check your electrical connections and refrigerant lines (if applicable).
⚠️ Important: If you hear unusual noises or the unit fails to cool, turn off power immediately and double-check all connections. Running a malfunctioning unit can cause further damage.
Inspect for water leaks around the roof installation. Spray water around the unit's base while someone inside checks for any moisture penetration. Proper installation should result in zero water infiltration. If leaks are detected, check gasket compression and sealant application.
Common issues and their solutions:
After confirming proper operation, complete any remaining interior assembly and cleanup. Your RV air conditioner installation is now complete!
Yes, most RV owners can replace their AC unit themselves with moderate DIY skills. The process typically takes 4-6 hours and requires basic tools. The most challenging aspects are lifting the heavy unit and making proper electrical connections. With proper safety precautions and attention to detail, DIY installation can save $300-800 in professional labor costs.
Professional installation typically takes 2-4 hours, while DIY installation usually requires 4-6 hours. The time varies based on experience level, whether it's a replacement or new installation, roof accessibility, and any unexpected issues that arise. First-time installers should plan for a full day to complete the project without rushing.
Professional RV AC installation typically costs $300-800, depending on your location and the complexity of the installation. This cost includes labor but not the AC unit itself. Mobile RV technicians often charge higher rates ($75-150 per hour) compared to shop installations. Some dealers offer installation packages when purchasing a new unit.
Adding AC to a camper without existing air conditioning requires more extensive work. You'll need to cut a 14"x14" opening in the roof, install supporting structure, run electrical wiring from the breaker panel, and possibly upgrade your electrical system to handle the additional load. This project is best suited for experienced DIYers or professionals due to the structural and electrical modifications required.
No, standard RV air conditioners require 30-amp service and cannot run directly on a standard 110-volt household outlet. However, using a soft start device can reduce the initial power draw, making it possible to run some RV AC units on 20-amp circuits with special adapters. Always ensure your electrical system can handle the load before attempting such connections.
The $5000 AC rule generally refers to a financial guideline suggesting that if an air conditioner repair costs more than $5000, replacement is typically more economical. For RV air conditioners, which typically cost $600-2000, this threshold is much lower. Most RV AC repairs exceeding $500-800 are better addressed through replacement, especially considering warranty coverage on new units.
Proper maintenance after installation will extend your AC unit's lifespan and ensure efficient operation. Clean or replace filters monthly during heavy use periods, and check the roof seals annually for any signs of cracking or deterioration. I recommend inspecting the unit before each camping season to catch potential issues early.
Consider adding a protective cover when not in use, especially if you store your RV outdoors. This protects the unit from UV damage and debris accumulation. However, never operate the AC with the cover installed - this can cause serious damage to the unit.
If you experience persistent issues or don't feel comfortable with any aspect of the installation, don't hesitate to contact a professional RV technician. The cost of professional help is minimal compared to potential damage from improper installation or unsafe electrical work.
For those looking to upgrade other aspects of their RV comfort systems, consider exploring RV mattress options to complete your sleep comfort setup. A good night's sleep depends on both temperature control and comfortable bedding.
With proper installation and maintenance, your new RV air conditioner should provide reliable cooling for 5-10 years. The satisfaction of completing this project yourself, combined with the cost savings, makes DIY installation a rewarding experience for many RV owners.