
How to Install a Backsplash Behind a Stove: Easy Guide (2026)
How to install a backsplash behind a stove is mostly a thinset-and-grout job, but the part that trips people up happens before you buy a single tile: the wall behind the range has to be finished so the range still sits where it sits today. Measure that gap first, then prep, set, grout and caulk.
Time: one long evening plus a day of drying, about 6 to 8 hours of work spread over two days. Cost: driven by tile body, the size of the run and whether your wall needs patching, so price the material list before you commit. Difficulty: moderate DIY if the wall is flat and the range moves easily. Skill level: patient beginner with a steady hand and a level.
Contents
The short version
- Clear the range. Shut off power, close the gas valve or unplug, slide the appliance out.
- Run the clearance check. Compare today’s gap behind the range to tile plus mortar thickness.
- Prep the wall. Clean it, patch holes, mask counters and cabinets, mark your level line.
- Dry-lay from the centerline. Balance the cuts so no sliver ends up at a cabinet.
- Set the tile. Notch the thinset, back-butter each piece, space it 1/8 inch, work upward.
- Grout and caulk. Wait 24 hours, grout the joints, then caulk the 1/8 inch gap at the counter.
Tools and Materials
Gather everything before the range comes out. Half an hour of hunting for a trowel with dried mortar on it is a waste of a good evening.
Tools
- 25 to 30 foot tape measure and a pencil with a sharp point
- Level or laser level, plus a straightedge and a marker for the reference line
- Notched trowel, a 1/4 by 3/8 inch notch for standard wall tile, plus a flat margin trowel
- Score-and-snap tile cutter for ceramic and porcelain; a wet saw with a blade rated for your tile if you are cutting stone or large format
- Tile nippers, safety glasses, cut-resistant gloves and a dust mask or respirator when cutting
- 1/8 inch tile spacers, a rubber mallet, and a mixing paddle plus a bucket for thinset
- Grout float, sponge, buckets, stiff brush, painter’s tape and a drop cloth
- Caulk gun and 100 percent silicone kitchen and bath caulk for the movement joint
Materials
- Tile, measured at wall area plus 10 percent for cuts and future repairs
- Cementitious thinset mortar, white for light or white tile, gray for dark; a non-sag formula if you are working overhead
- Grout: sanded poly-blend for joints 1/8 inch and wider, unsanded grout for glass or polished stone tile
- Grout sealer and pre-sealer if your tile body is porous, such as natural stone or cement tile
- 1/8 inch spacers, tile edge trim or bullnose for exposed ends, and box extenders if tile is thicker than your outlet boxes
- Backer board and alkaline-resistant screws only if the wall is badly damaged; most painted drywall takes thinset directly
Before You Start
The clearance check is the single step people skip, and it is the one that decides whether the job ends well. A range that sits almost flush to the wall today will not sit flush once you add tile and mortar, and the gap that opens behind the appliance collects crumbs and grease.
- Measure the existing gap. Measure from the back of the range to the wall at the top, middle and bottom. Three readings tell you if the range is square to the wall or leaning.
- Measure your finished build-out. Add the tile thickness to the mortar thickness. A 1/4 inch tile bed on 1/8 inch of notched thinset lands near 3/8 inch total. Thicker stone plus backer board can pass 3/4 inch.
- Compare the two numbers. Any build-out larger than your current gap means the range will sit proud of the wall and no longer line up with the counter beside it.
- Read the range installation manual. Check the required rear clearance, side clearances and any anti-splash trim specs. If the range is rear-venting, the wall behind it takes more heat than a front-venting wall, and the manual may cap how high a finish can go.
Three fixes handle a tight gap. Thin-set mortar with a smaller trowel notch buys you back about 1/8 inch. A low-profile thinset for large format tile cuts the mortar bed down further. Or install a thin counter strip behind the range as a built-in stop, which costs a small slab and settles the question permanently. If none of those get you there, a stainless or other metal panel is thinner than most tile and non-combustible.
On safety: turn the range off, shut off the breaker for any outlet above the counter, and close the gas valve before you move anything. Wear eye protection when you cut and cut outside or wear a respirator when you cut cement board, because the dust is a real lung hazard. If your backsplash is cosmetic, renter-friendly alternatives exist; if you want the tile look elsewhere in the home, our bathroom backsplash ideas covers cheaper rooms where heat is not a factor.
Permits rarely apply to a tile finish on an existing wall. Gas reconnections, hardwired electrical work and moving a structural wall do require permits and licensed trades in most jurisdictions, and those are the jobs to hand off rather than attempt.
Step-by-Step Instructions
Step 1: Measure the Wall and Plan the Layout
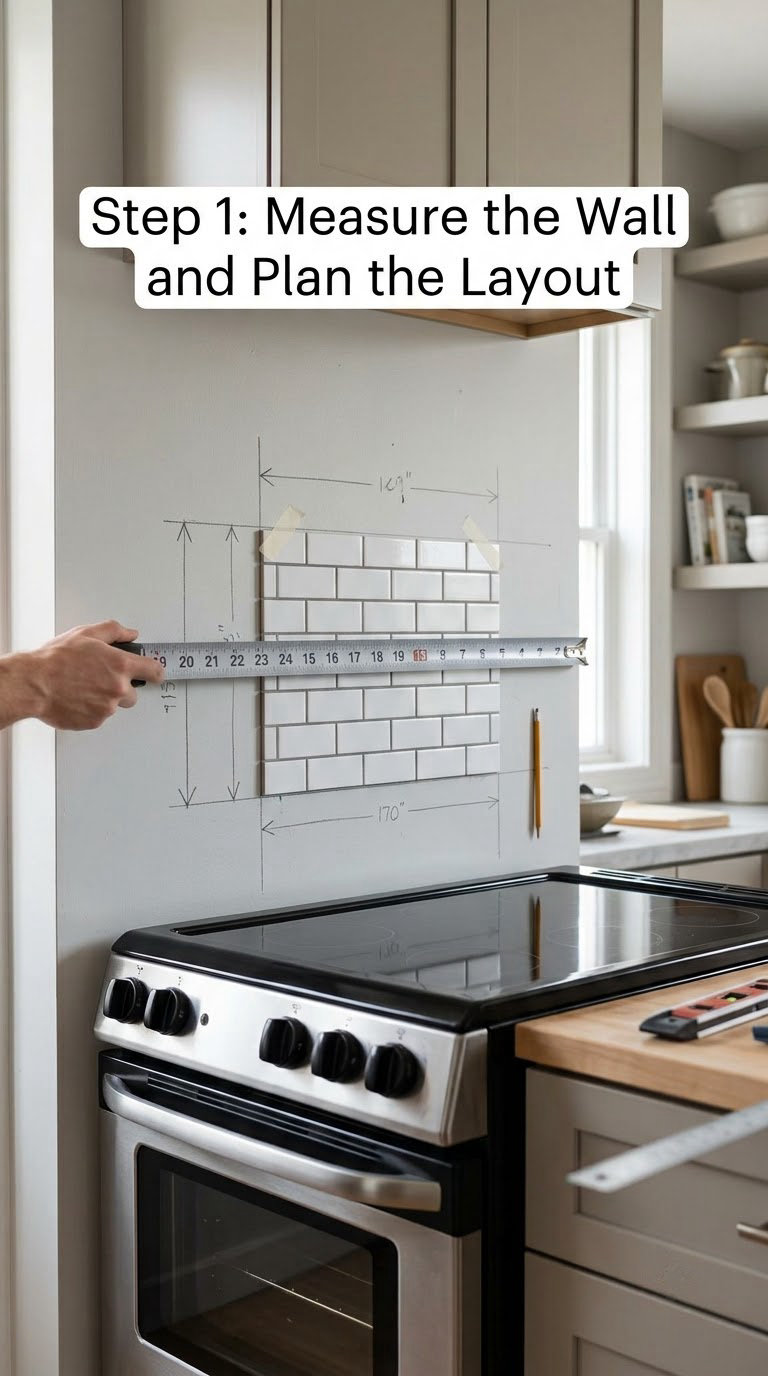
Measure the width of the run and the height you intend to cover, then multiply for square footage and add 10 percent. The overage is not optional; it covers cuts, a miscut piece, and the spare tile you will want in five years when a corner chips.
Find the centerline of the range or the center of the run and mark it. Dry-lay tile from that mark outward, working toward both ends. Starting in the middle is what keeps you from ending up with a 3/8 inch sliver against a cabinet, and it is the question homeowners argue about most in the planning stage.
Mark every obstruction now: outlet boxes, switches, the range hood bracket, any plumbing or gas valve cover, and the anti-splash trim if your range has one. Add 1/8 inch of extra opening around each box so the cover plate sits flat on finished tile later.
Decide the top edge before you lay a single piece. A 15 to 18 inch band from countertop to the underside of the upper cabinets is the standard working height, and matching the band on the adjoining walls is what makes a small kitchen feel deliberate.
Step 2: Prepare the Wall and Stove Area
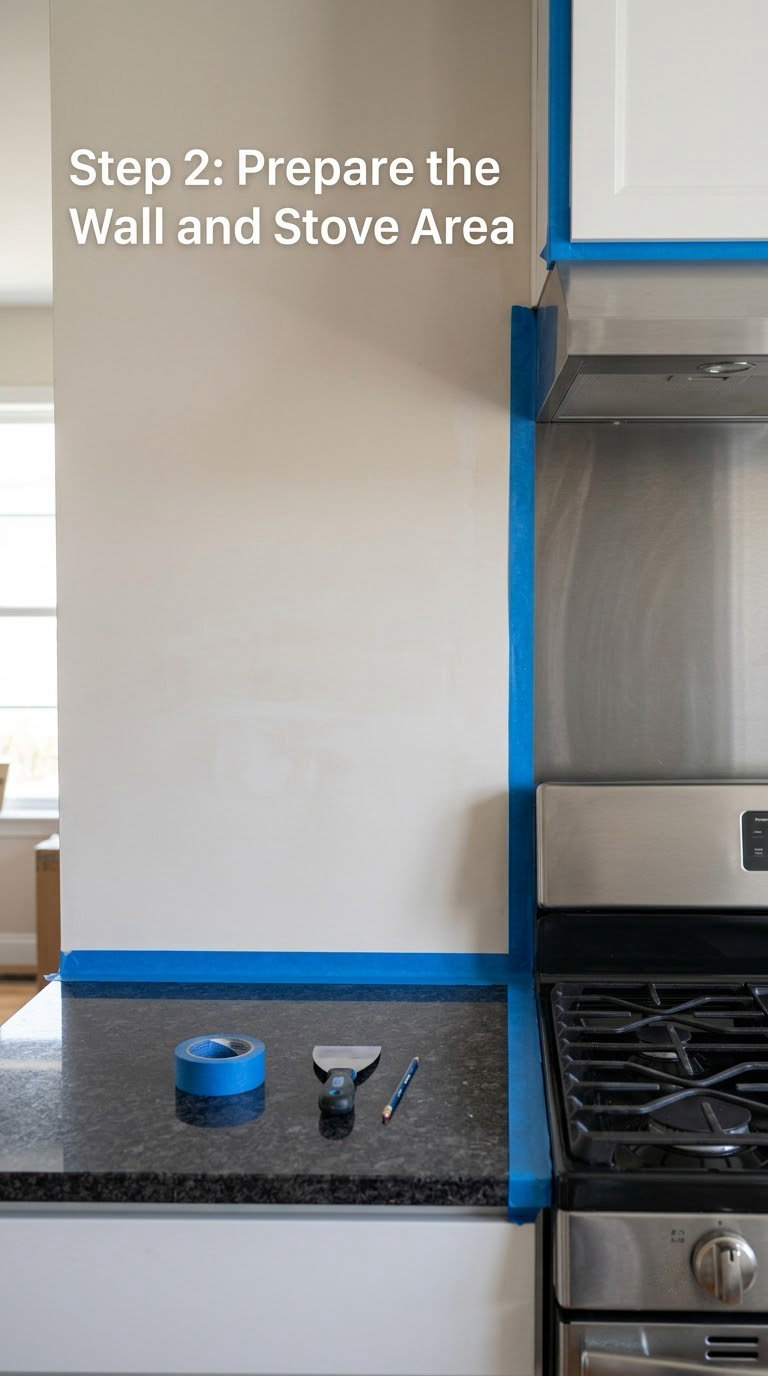
Pull the range forward, disconnect it and set it on a drop cloth. If it is a slide-in range on a floor base, expect to lift it off the rail lip. If it is freestanding, you will have to slide it back and recheck that it is level and square after.
Wash the wall with a degreaser and let it dry fully. Patch nail holes and any gouged drywall with setting compound, let it harden, then skim the whole area lightly so the wall is flat enough to hold a mortar bed. A high spot you can feel with your palm becomes a hollow tile you can hear with a knuckle.
Mask the countertop edge, cabinet faces and any painted wall with painter’s tape. A clean straight edge also tells you where the 1/8 inch expansion gap will land, so mark the grout line between counter and tile lightly before you start.
Mark your reference line with the level a fraction above where tile will sit, so tile covers the pencil mark. On a long run behind a range, a laser level saves a lot of re-cuts.
Step 3: Choose the Right Backsplash Material
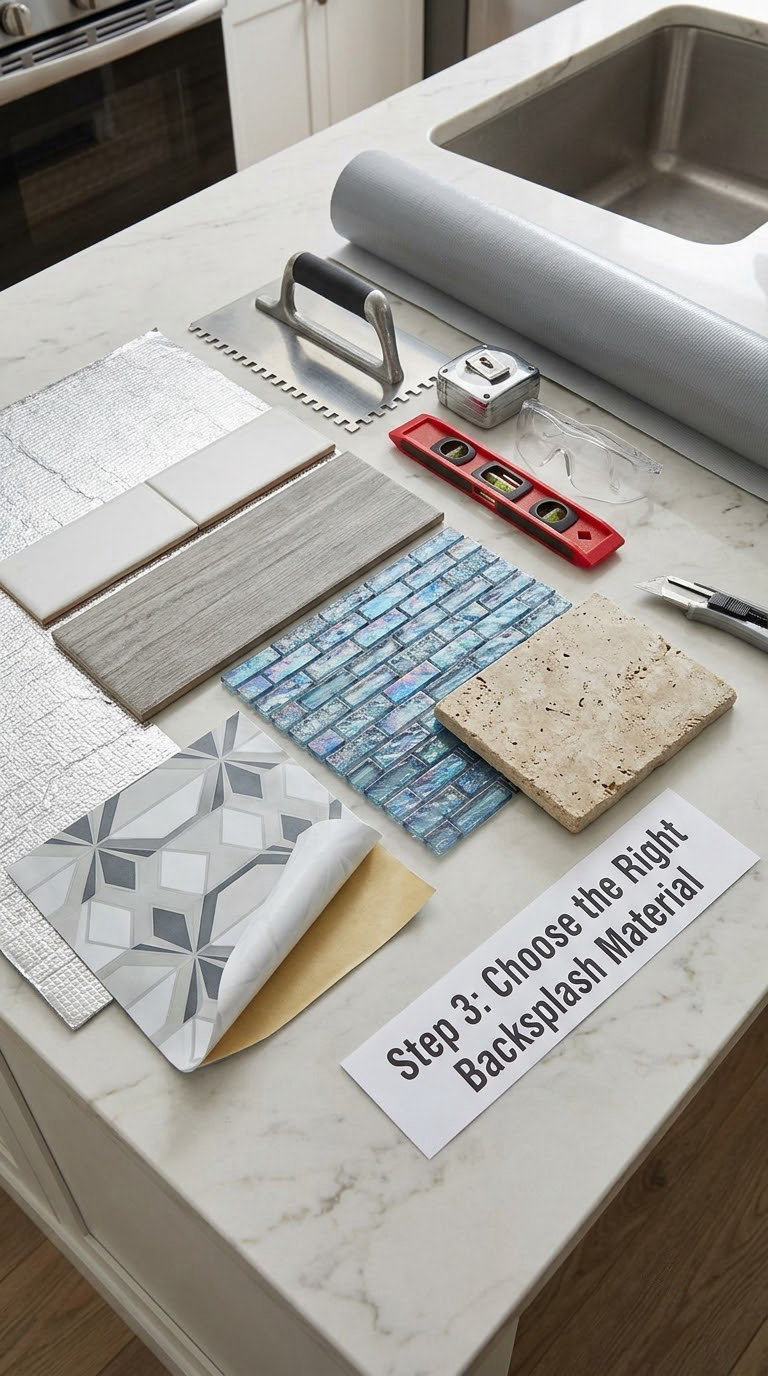
Material choice drives everything after it, because thickness decides the clearance problem and porosity decides your sealing routine. Porcelain and glazed ceramic are the easy default for most kitchens. Natural stone looks better and demands a pre-sealer and more care. Peel-and-stick is the fastest install and the worst choice directly behind burners.
| Material | Heat and grease | Typical thickness | Best for |
|---|---|---|---|
| Glazed ceramic | Good grease resistance, non-combustible | About 1/4 inch | Budget installs, easy cutting |
| Porcelain | Excellent, low absorption | About 1/4 inch | Busy kitchens, high heat zones |
| Glass or metal-backed panel | Excellent, wipes clean | 1/4 to 3/8 inch | Fast install, tight clearances |
| Natural stone | Excellent, must be sealed | 1/2 to 3/4 inch | Durability over convenience |
| Peel-and-stick | Adhesive softens with heat | About 1/8 inch | Renters, low-commitment walls |
Every material except peel-and-stick is non-combustible, which is what building practice expects near a range. If your heat source is a wood-burning appliance rather than a kitchen range, the non-combustible rule is even tighter; our wood stove insert picks cover the appliance side of that decision.
Keep peel-and-stick out of the burner zone. Experienced DIYers consistently report the vinyl discolouring and letting go near heat, and the adhesive backings differ so much between brands that printed claims are not worth relying on. It is fine on a wall two feet to the side of the range.
Step 4: Cut Tiles or Panels to Fit
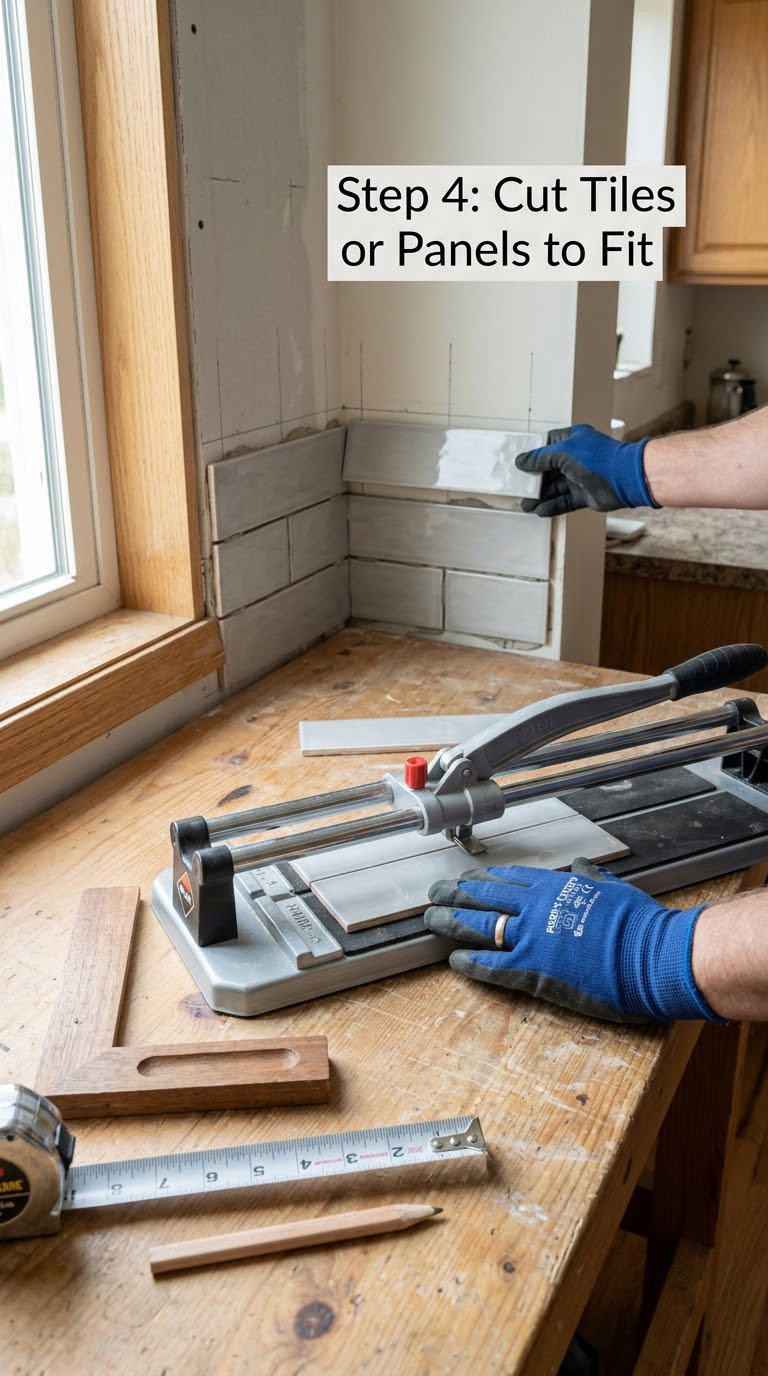
Transfer measurements to the tile face and mark with a pencil and straightedge, then score and snap for ceramic and porcelain. Break the score line in one decisive motion rather than several passes, which is what causes edge chips on hard tile bodies.
Cut natural stone wet. Dry cutting produces silica dust and a ragged edge that will not line up. Work in small sections so you are not carrying full panels around the kitchen.
Test-fit each piece before it touches mortar, including around outlets and any trim. For cutouts, drill a hole in the waste corner, then nip outward to the pencil line, working around the box in four straight bites.
If tile is thicker than your outlet boxes, screw on plastic box extenders so the cover plates sit proud of the finished surface instead of sinking into it. Fit the plates loosely during install so mortar does not get behind them.
Step 5: Set the Tiles or Backsplash Panels
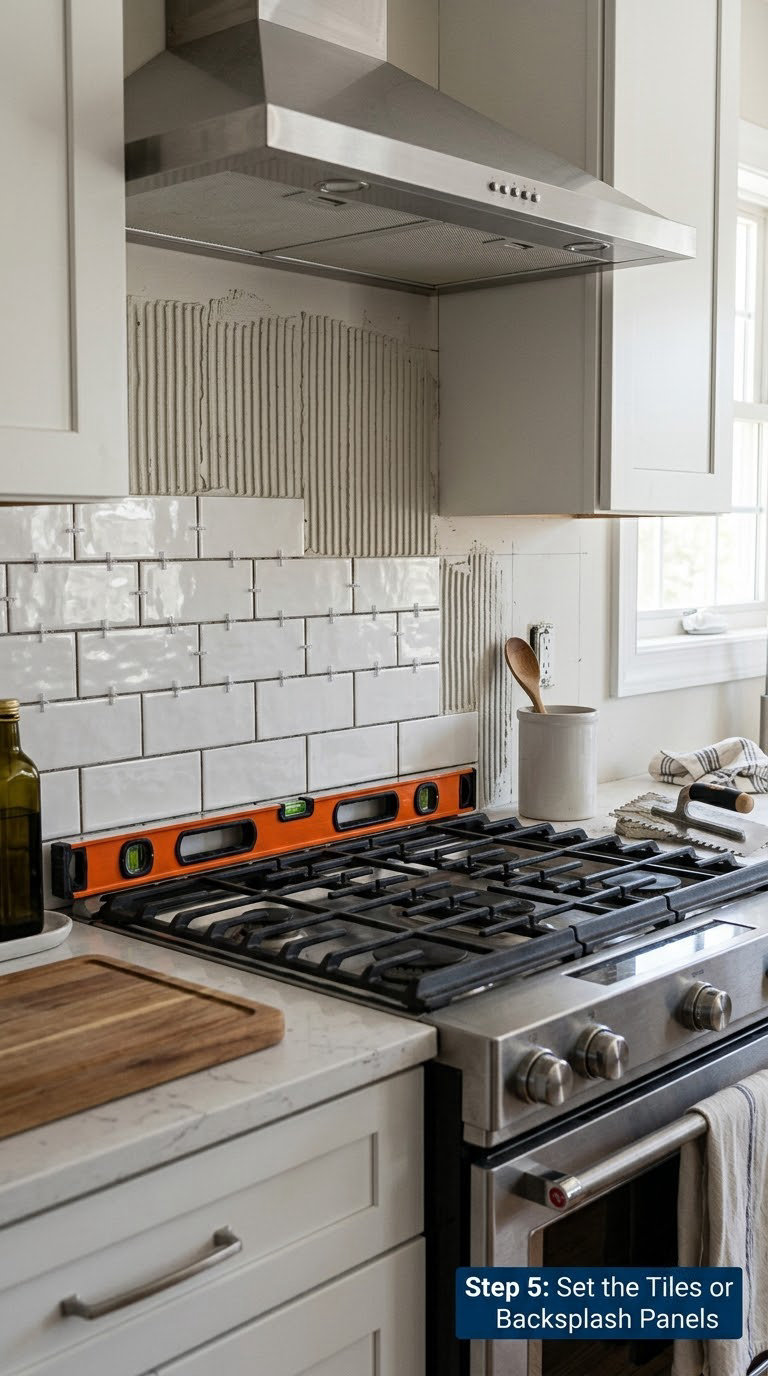
Mix thinset to the consistency of soft peanut butter, let it slake 5 to 10 minutes, then stir again and skim the lumps off the top. Mix only what you can use in 20 to 30 minutes; thinset that has started to firm up will not spread or bond properly.
Comb a 1/4 by 3/8 inch notch onto the wall in even passes for standard wall tile, and back-butter the back of each piece with a flat trowel. Skipping back-buttering is the single most common cause of hollow tiles that pop off months later, because the combed ridges only touch along their peaks.
Press the first row into place along your reference line, set two or three spacers per tile, and tap each piece with a rubber mallet until the face sits even with its neighbours. Check across the row with the level, not down it.
Work upward in manageable sections of about 3 feet, and keep pulling spacers out as you go rather than at the end. Check the top edge of every row against the level before you set the next one. Small, constant corrections are cheaper than a full row of rework.
Do not push the range back against the wall yet. Let the mortar cure undisturbed for 24 to 48 hours, longer in cool or humid rooms.
Step 6: Finish the Joints and Protect the Installation
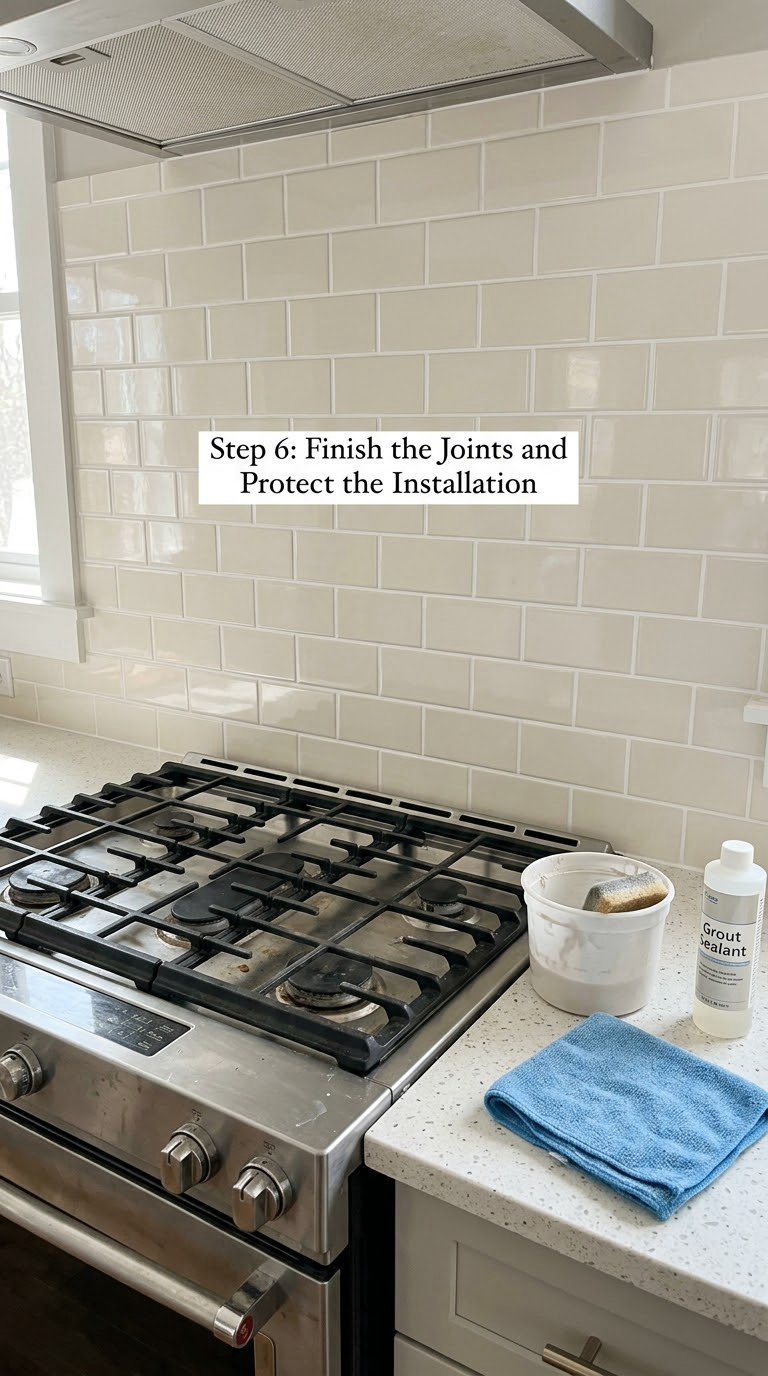
Pull every spacer, sweep the joints with a stiff brush, and wipe the tile face with a damp sponge before grouting. Let the wall dry for the remainder of the cure time if the wall felt cool or damp to the touch.
Mix grout to a soft consistency and work it into the joints with a float at an angle, pressing firmly so the joints fill top to bottom rather than skinning over. Let it haze, then sponge it off in one direction, changing the sponge often. Overworking grout is how you end up with a cloud across the whole wall.
At the countertop, leave a 1/8 inch gap and fill it with 100 percent silicone kitchen and bath caulk instead of grout. That gap is a movement joint. Grout is rigid, the counter is not, and the crack shows up as a dark line along the bottom edge a year later.
Seal porous tile, such as natural stone or cement tile, with a penetrating sealer after the grout has dried, typically 24 to 72 hours. Wipe away the residue before it cures. Glazed ceramic and porcelain need sealing only on the grout.
Slide the range back, reconnect the gas or power, and recheck that it is level, that anti-splash trim still clears, and that nothing is pinched behind the appliance.
Common Mistakes to Avoid
Tiling without the clearance check. The fix is to measure the finished build-out against the current gap before you buy tile, not after the mortar cures.
Starting at one end. You will almost certainly end with a sliver cut at a cabinet. Dry-lay from the centerline first and work outward.
Grouting the countertop gap. Leave the 1/8 inch space and caulk it. Rigid grout at a change of plane cracks.
Skipping back-buttering. Combed mortar alone leaves air channels behind the tile. Butter the back of every piece.
Using a grout too coarse for the joint. Sanded grout in a joint under 1/8 inch crumbles. Unsanded grout is the right choice for glass and polished stone.
Tile proud of the outlet box. A cover plate that sits behind the tile face will never sit flat. Use box extenders when tile is thicker than the box.
Peel-and-stick behind the burners. Heat softens the adhesive and yellows the vinyl. Use a real tile or a metal panel there.
Pushing the range back too early. A bumped back-buttered tile moves before the mortar sets, and that is how you get a lipped row.
Rushing the cure. Grouting wet thinset traps moisture and the joints stain or crumble within months.
When to Call a Pro
Call a licensed tradesperson when any of these apply. Gas line disconnection and reconnection, hardwired or dedicated range circuits, and moving or relocating the appliance all need licensed hands and often a permit.
Hire someone if the wall needs structural changes, if the substrate is uneven enough to require shimming or backer board across a wide area, or if the plan involves heavy natural stone that has to be carried and set on a narrow wall.
A pro is worth it when your clearance numbers do not work with tile, no material change solves it, and the fix means altering the counter or the cabinet run. Same when your range is rear-venting and the manual limits what can go above it, or when you are unsure whether a local inspector cares about the finish you have chosen.
Maintenance
Wipe splatter off while it is still warm and soft. Once grease mist hardens into a film, it needs a degreaser and elbow grease, and that is how a glossy surface ends up looking permanently hazy.
Use a soft cloth, warm water and a small amount of dish soap. Avoid acidic or abrasive cleaners on natural stone and cement tile, since they strip the sealer. Let the surface cool before you wipe it; hot glass or porcelain shocked by cool water can craze.
Check the countertop caulk line twice a year. If it has shrunk, cracked or pulled away, cut it out and re-caulk before water tracks down the wall behind it. Grout that has washed out or gone powdery in the highest-grease zone is normal wear and is a half-hour fix with a grout rake and fresh grout.
Reseal natural stone every year or per the sealer instructions, and recheck the gap behind the range annually. Appliances get nudged, and the gap is what keeps heat and crumbs out of the wall cavity.
Frequently Asked Questions
How high should a backsplash be behind a stove?
Most kitchens run the band from countertop to the underside of the upper cabinets, which is typically 15 to 18 inches. If your upper cabinets are unusually high, stop the tile at a clean horizontal line such as the hood height or a 24 inch band. If there are no upper cabinets, run to the hood and cap the top edge with trim. Whatever height you choose, match it on the adjoining walls.
How far should a backsplash go behind the stove?
Tiling behind the range is optional, and many builders stop the tile just short of the appliance. If you do tile behind it, the finished surface must stay within the rear clearance in your range manual, and the tile plus mortar build-out must be small enough that the range still lines up with the counter beside it. Measure that gap before you buy tile.
Can you put a peel-and-stick backsplash behind a stove?
Not directly behind the burners. The vinyl softens with heat, the adhesive releases, and the colour can shift in a warm zone. It is a reasonable choice on a wall beside the range or in a rental where you cannot commit to tile. If you want the look without the heat problem, use a metal-backed or glass panel in the burner zone instead.
Are peel-and-stick backsplashes heat resistant?
Not in any meaningful sense. Print claims differ wildly between brands, and experienced DIYers report discolouring and peeling wherever a stove gives off radiant heat. Treat the printed rating as unverified. Below a hood and well away from burners, peel-and-stick is fine, but over a range the safe and durable choice is a non-combustible tile or panel.
What is the best material for a backsplash behind a stove?
Porcelain or glazed ceramic for most kitchens, because both are non-combustible, grease resistant and easy to wipe down. Natural stone is more durable and looks richer but needs sealing. Metal and glass-backed panels install fastest and suit tight clearances. Avoid peel-and-stick in the burner zone. Whichever you pick, check thickness against the gap behind your range.
What grout should I use behind a stove?
Use a sanded poly-blend grout for joints 1/8 inch and wider, which is the default behind a range. Choose unsanded grout for glass or polished stone tile, since it will not scratch the surface. At the countertop line, do not grout at all. Leave a 1/8 inch gap and fill it with silicone caulk so the joint can move.
Start With the Clearance Gap
Start with the clearance gap, not the tile. Two numbers, taken before anything is bought, tell you whether this ends as a weekend project or a rebuild of the counter run.
Once you know what you have room for, work in order: prep the wall, dry-lay from the centerline, set with 1/8 inch spacers, let it cure a full day, then grout and caulk the movement joint. Take your time on the dry lay. It is the cheapest hour in the whole job.
